

Before we jump into today’s project, I wanted to let you know that I sometimes use affiliate links to share my favorite products. Don’t worry, these links won’t cost you a dime – they’re just little crafty helpers behind the scenes that help support me if you use them to make a purchase! Let’s dive into today’s creative journey together!
Halloween cardmaking is even more fun when you add a few unexpected details! In my latest livestream, I created this cute and spooky ghost Halloween card while testing some of the newest products, tools, and crafty finds from Scrapbook.com.
I also shared tips and tricks for using layers, patterned paper, ink blending, texture, sparkle, and small finishing details to make a handmade Halloween card really pop.
🛍️ Scrapbook.com Savings
If you’re shopping for new crafting supplies, Scrapbook.com is currently offering 15% off your order with code SURPRISE through September 27, 2026. The discount can be used on top of current deals, with some exclusions.

🎥 Catch the Livestream Replay
Missed the livestream? You can still catch the full replay on my YouTube channel!
We’ll walk through the card from start to finish, explore some of the new Scrapbook.com products and tools, and talk about the little techniques that can take a Halloween card from simple to spooktacular! 👻
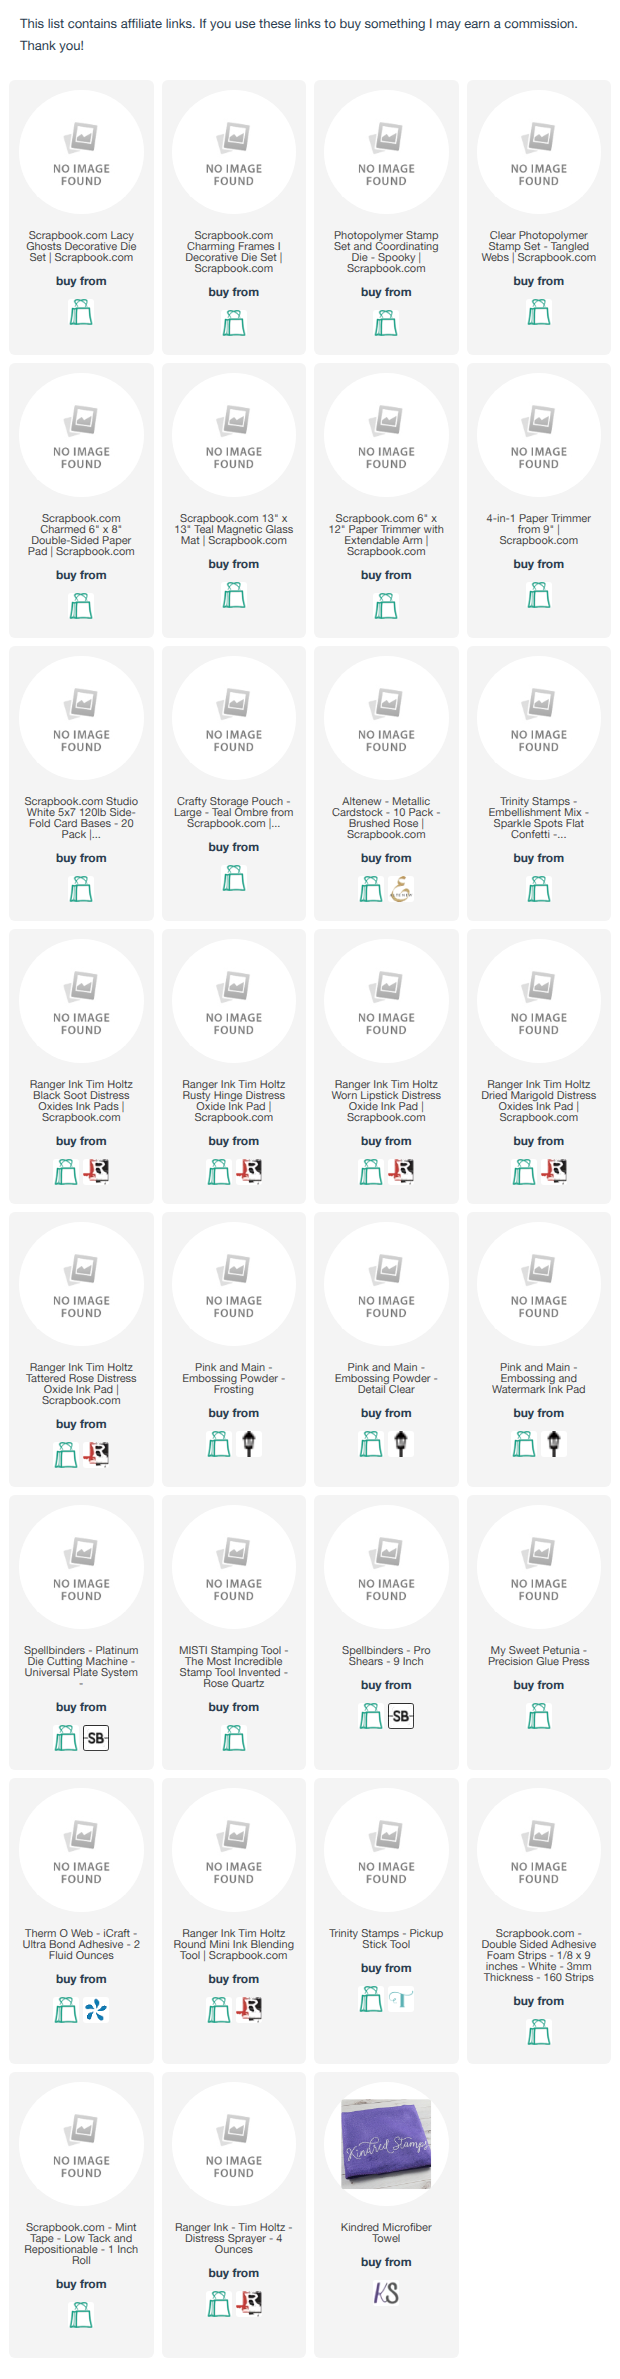
🛒 Supplies
Creating a Cute & Spooky Halloween Card
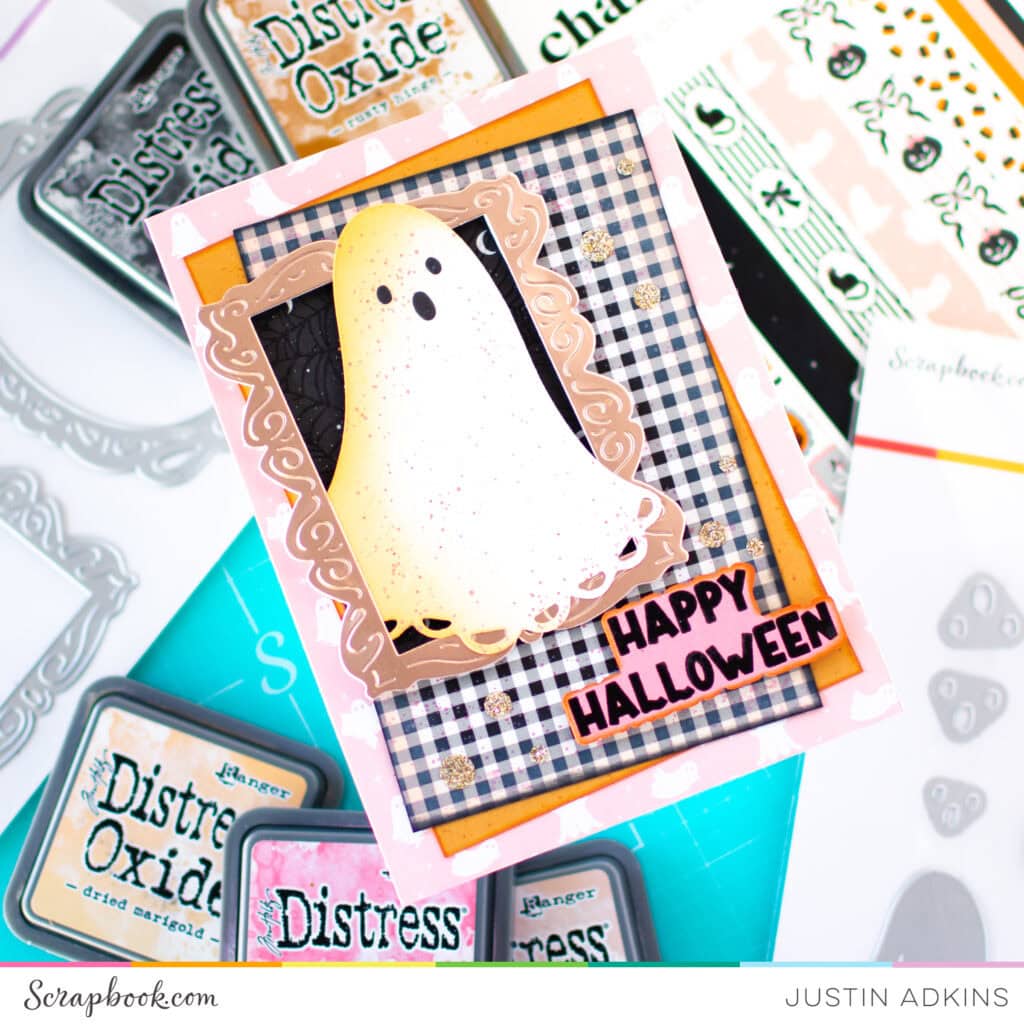
For this Halloween card, I wanted to create something that felt spooky without being too scary. The adorable ghost became the star of the card, and I built the rest of the design around it with a combination of soft pink, warm orange, black, and cream. The gingham patterned paper adds a classic fall feel, while the ghost-patterned background gives the card an extra dose of Halloween personality.
One of my favorite parts of this card is how much impact comes from the little details. I added ink blending around the ghost, subtle splatters, layered die cuts, dimensional elements, and plenty of sparkle to bring everything together. The framed ghost creates a strong focal point, while the bold “Happy Halloween” sentiment adds the perfect finishing touch. These are the kinds of small details that can make a handmade card feel much more finished and give your design that extra bit of personality.

👻 Keep the Halloween Cardmaking Fun Going!
If you enjoy Halloween cardmaking, handmade cards, and discovering new crafting products, be sure to watch the livestream replay! You’ll see exactly how this spooky card came together and get plenty of tips for adding texture, dimension, sparkle, and other finishing touches to your own Halloween cards.
And don’t forget to check out the newest Scrapbook.com products and tools featured during the livestream. You might just discover your next crafty favorite!
Thanks so much for joining me for another fun cardmaking livestream. I hope this project inspires you to add a few extra spooky details to your next Halloween card!
Happy Crafting!
Justin
Justin
Be sure to follow me on Instagram at @justanotebyjustin and subscribe to my YouTube Channel for even more crafting inspiration!
Note: This blog does use affiliate links when possible. Please know that I only recommend products that I love and think you’ll love too!
Did you know that I have written a special blog post that I rank all of the current Distress Oxide colors?
Check it out if you haven’t yet! I have had a lot of great response from people who have used this list to start their Distress Oxide Journey!
Leave a Reply