

Before we jump into today’s project, I wanted to let you know that I sometimes use affiliate links to share my favorite products. Don’t worry, these links won’t cost you a dime – they’re just little crafty helpers behind the scenes that help support me if you use them to make a purchase! Let’s dive into today’s creative journey together!
Hello friends! Today I am posting my very last blog as a member of the Pink & Main Design Team. I joined the Pink & Main Team back in January of 2022, and these past 2 years have been filled with so much admiration and crafty inspiration. Before I continue, I want to send a huge thank you to Michelle, founder of Pink & Main, and Yolie, our Design Team Coordinator, for allowing me to create for such an amazing company these past 2 years!
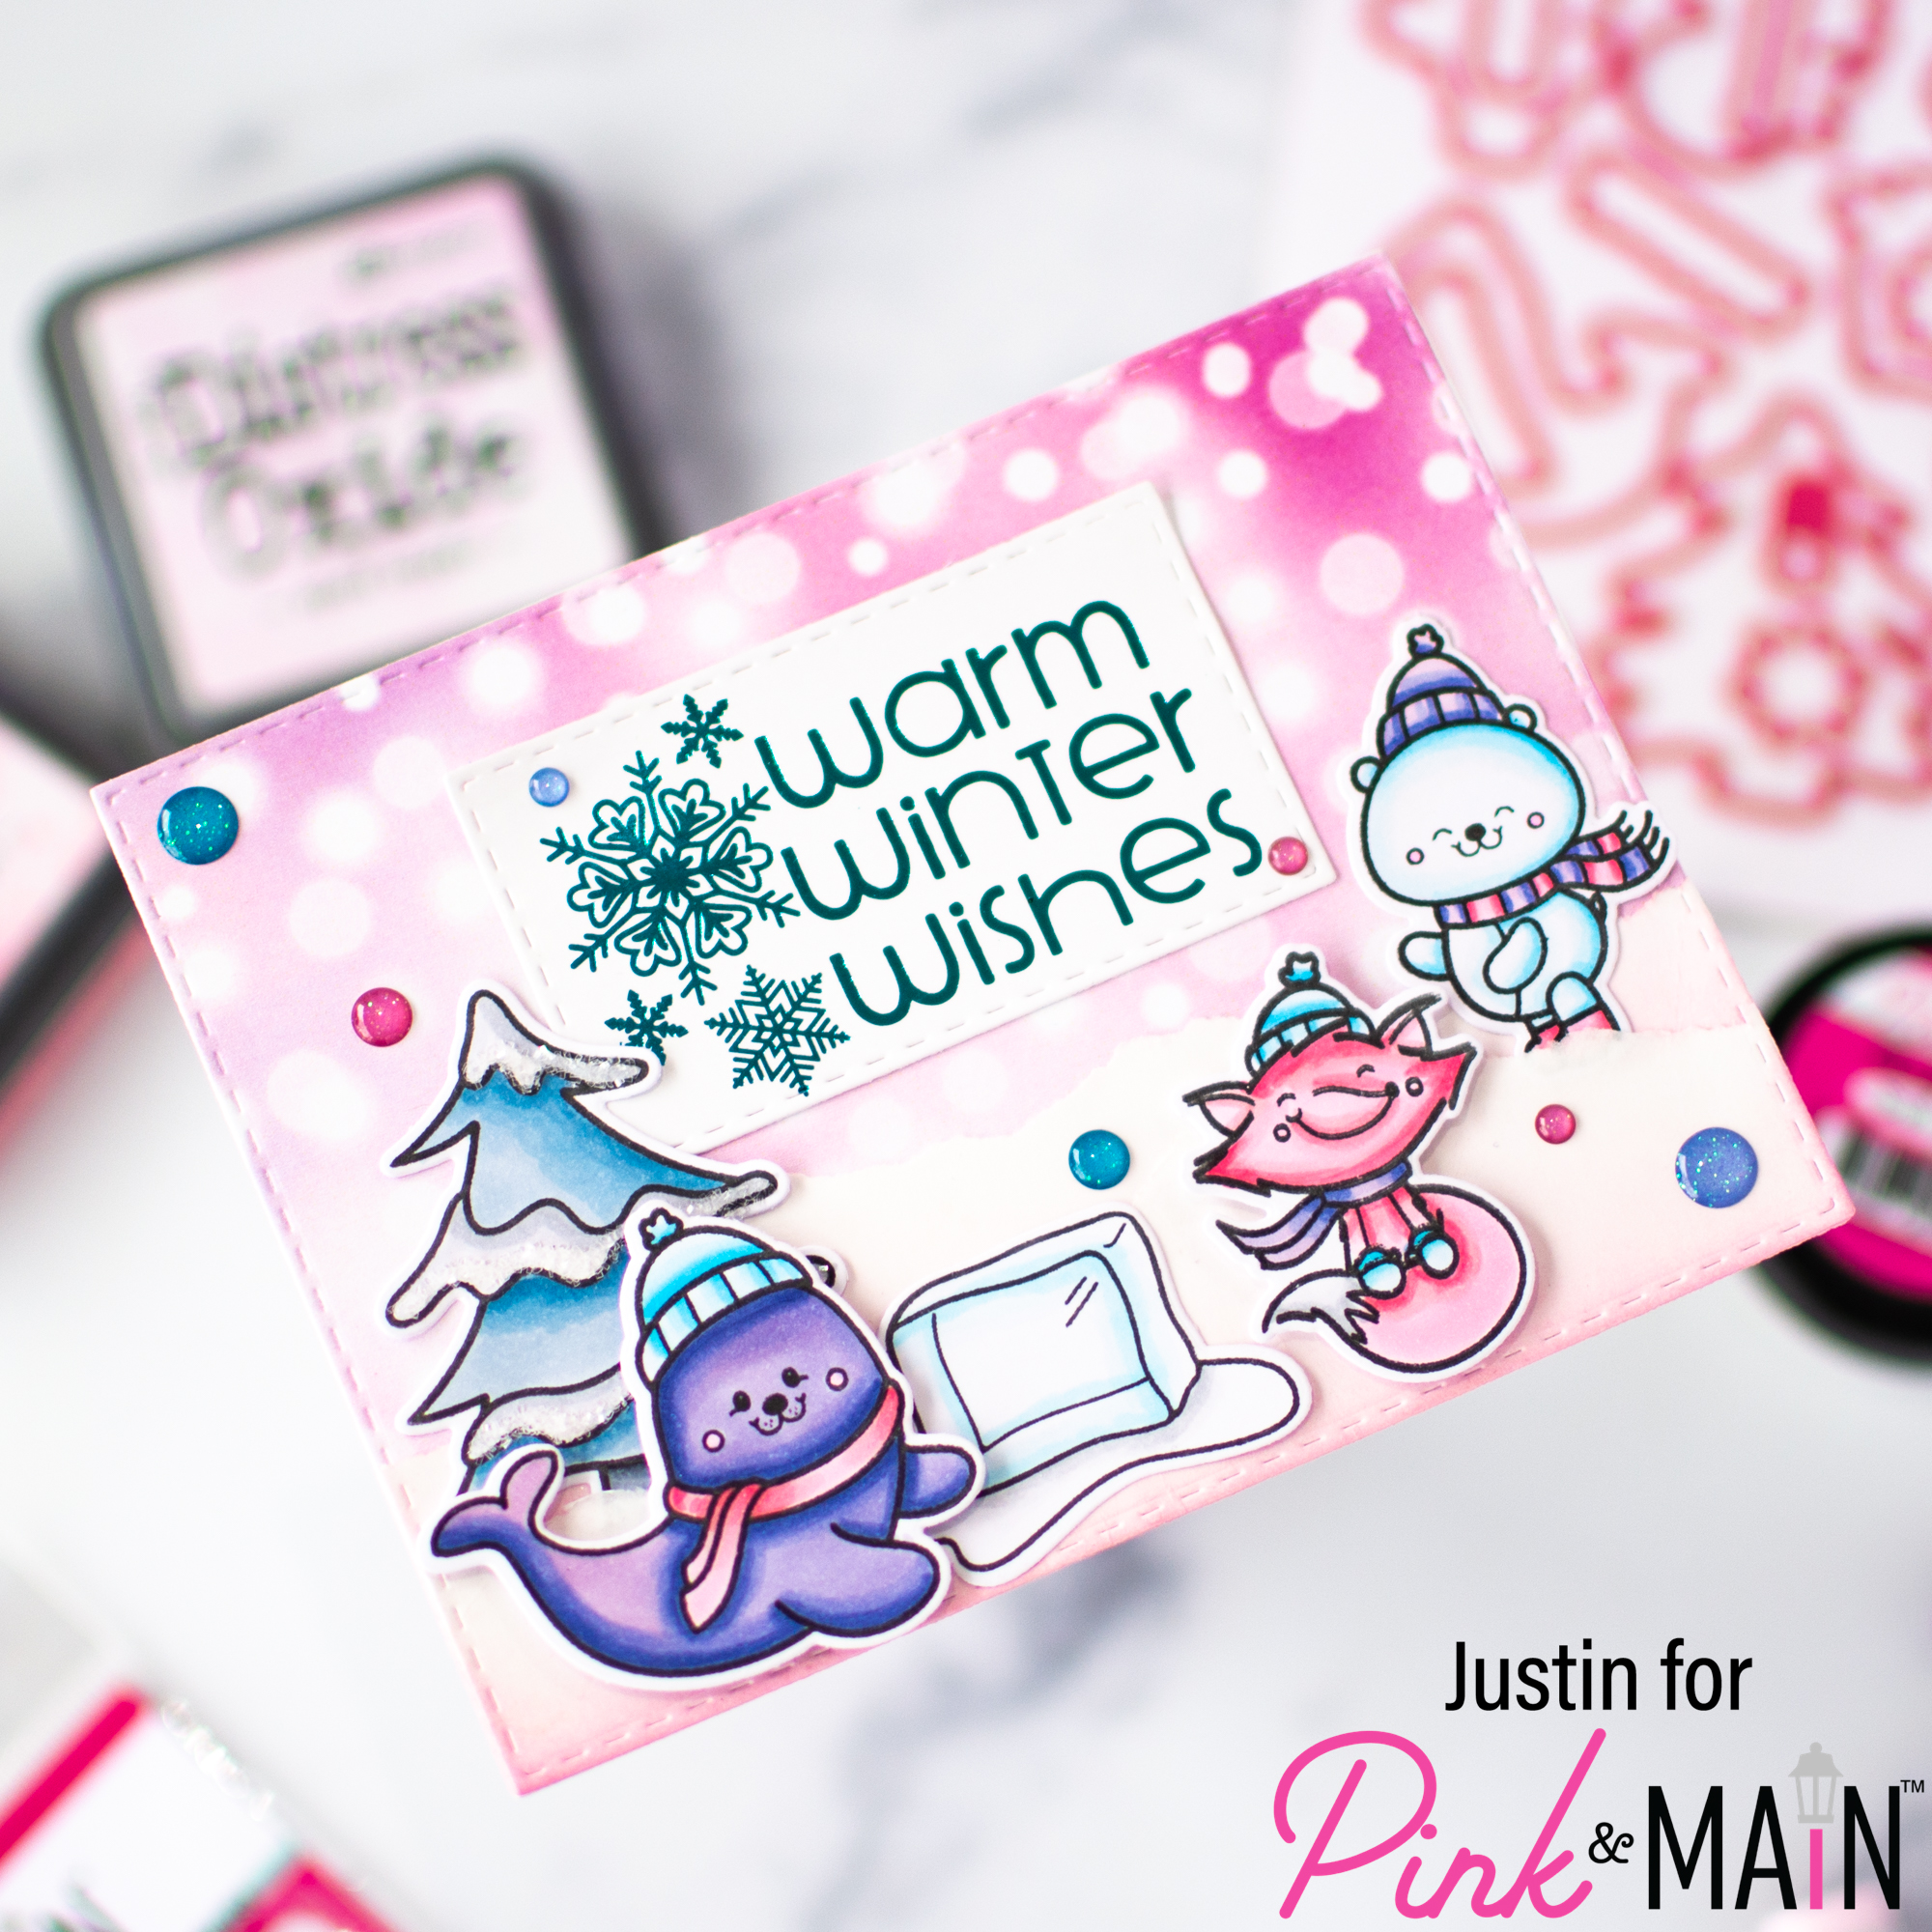
For my final card, I am sharing some wintery inspiration using the new Winter Joy stamp set, which I paired with the Let It Snow Foilable Kit and Snow Drift Chunky Glitter!
Below is a list of products that I used to create this card:
Pink & Main Products Used:
Winter Joy Stamp Set
Winter Joy Coordinating Dies
Let It Snow Foilable Kit
Fun Pastels Paper Pad
Stitched Rectangle Dies Set 1
Snow Drift Chunky Glitter
Good Times Glitter Enamel Dots
Lagoon CheerFoil
Foam Tape
Liquid Adhesive
Touch of Gloss
Mini Minc
Other Key Items Used:
Copic Markers
Distress Oxide Inks: Spun Sugar & Kitsch Flamingo
Now, let’s get into the details for how I put my wintry card together!
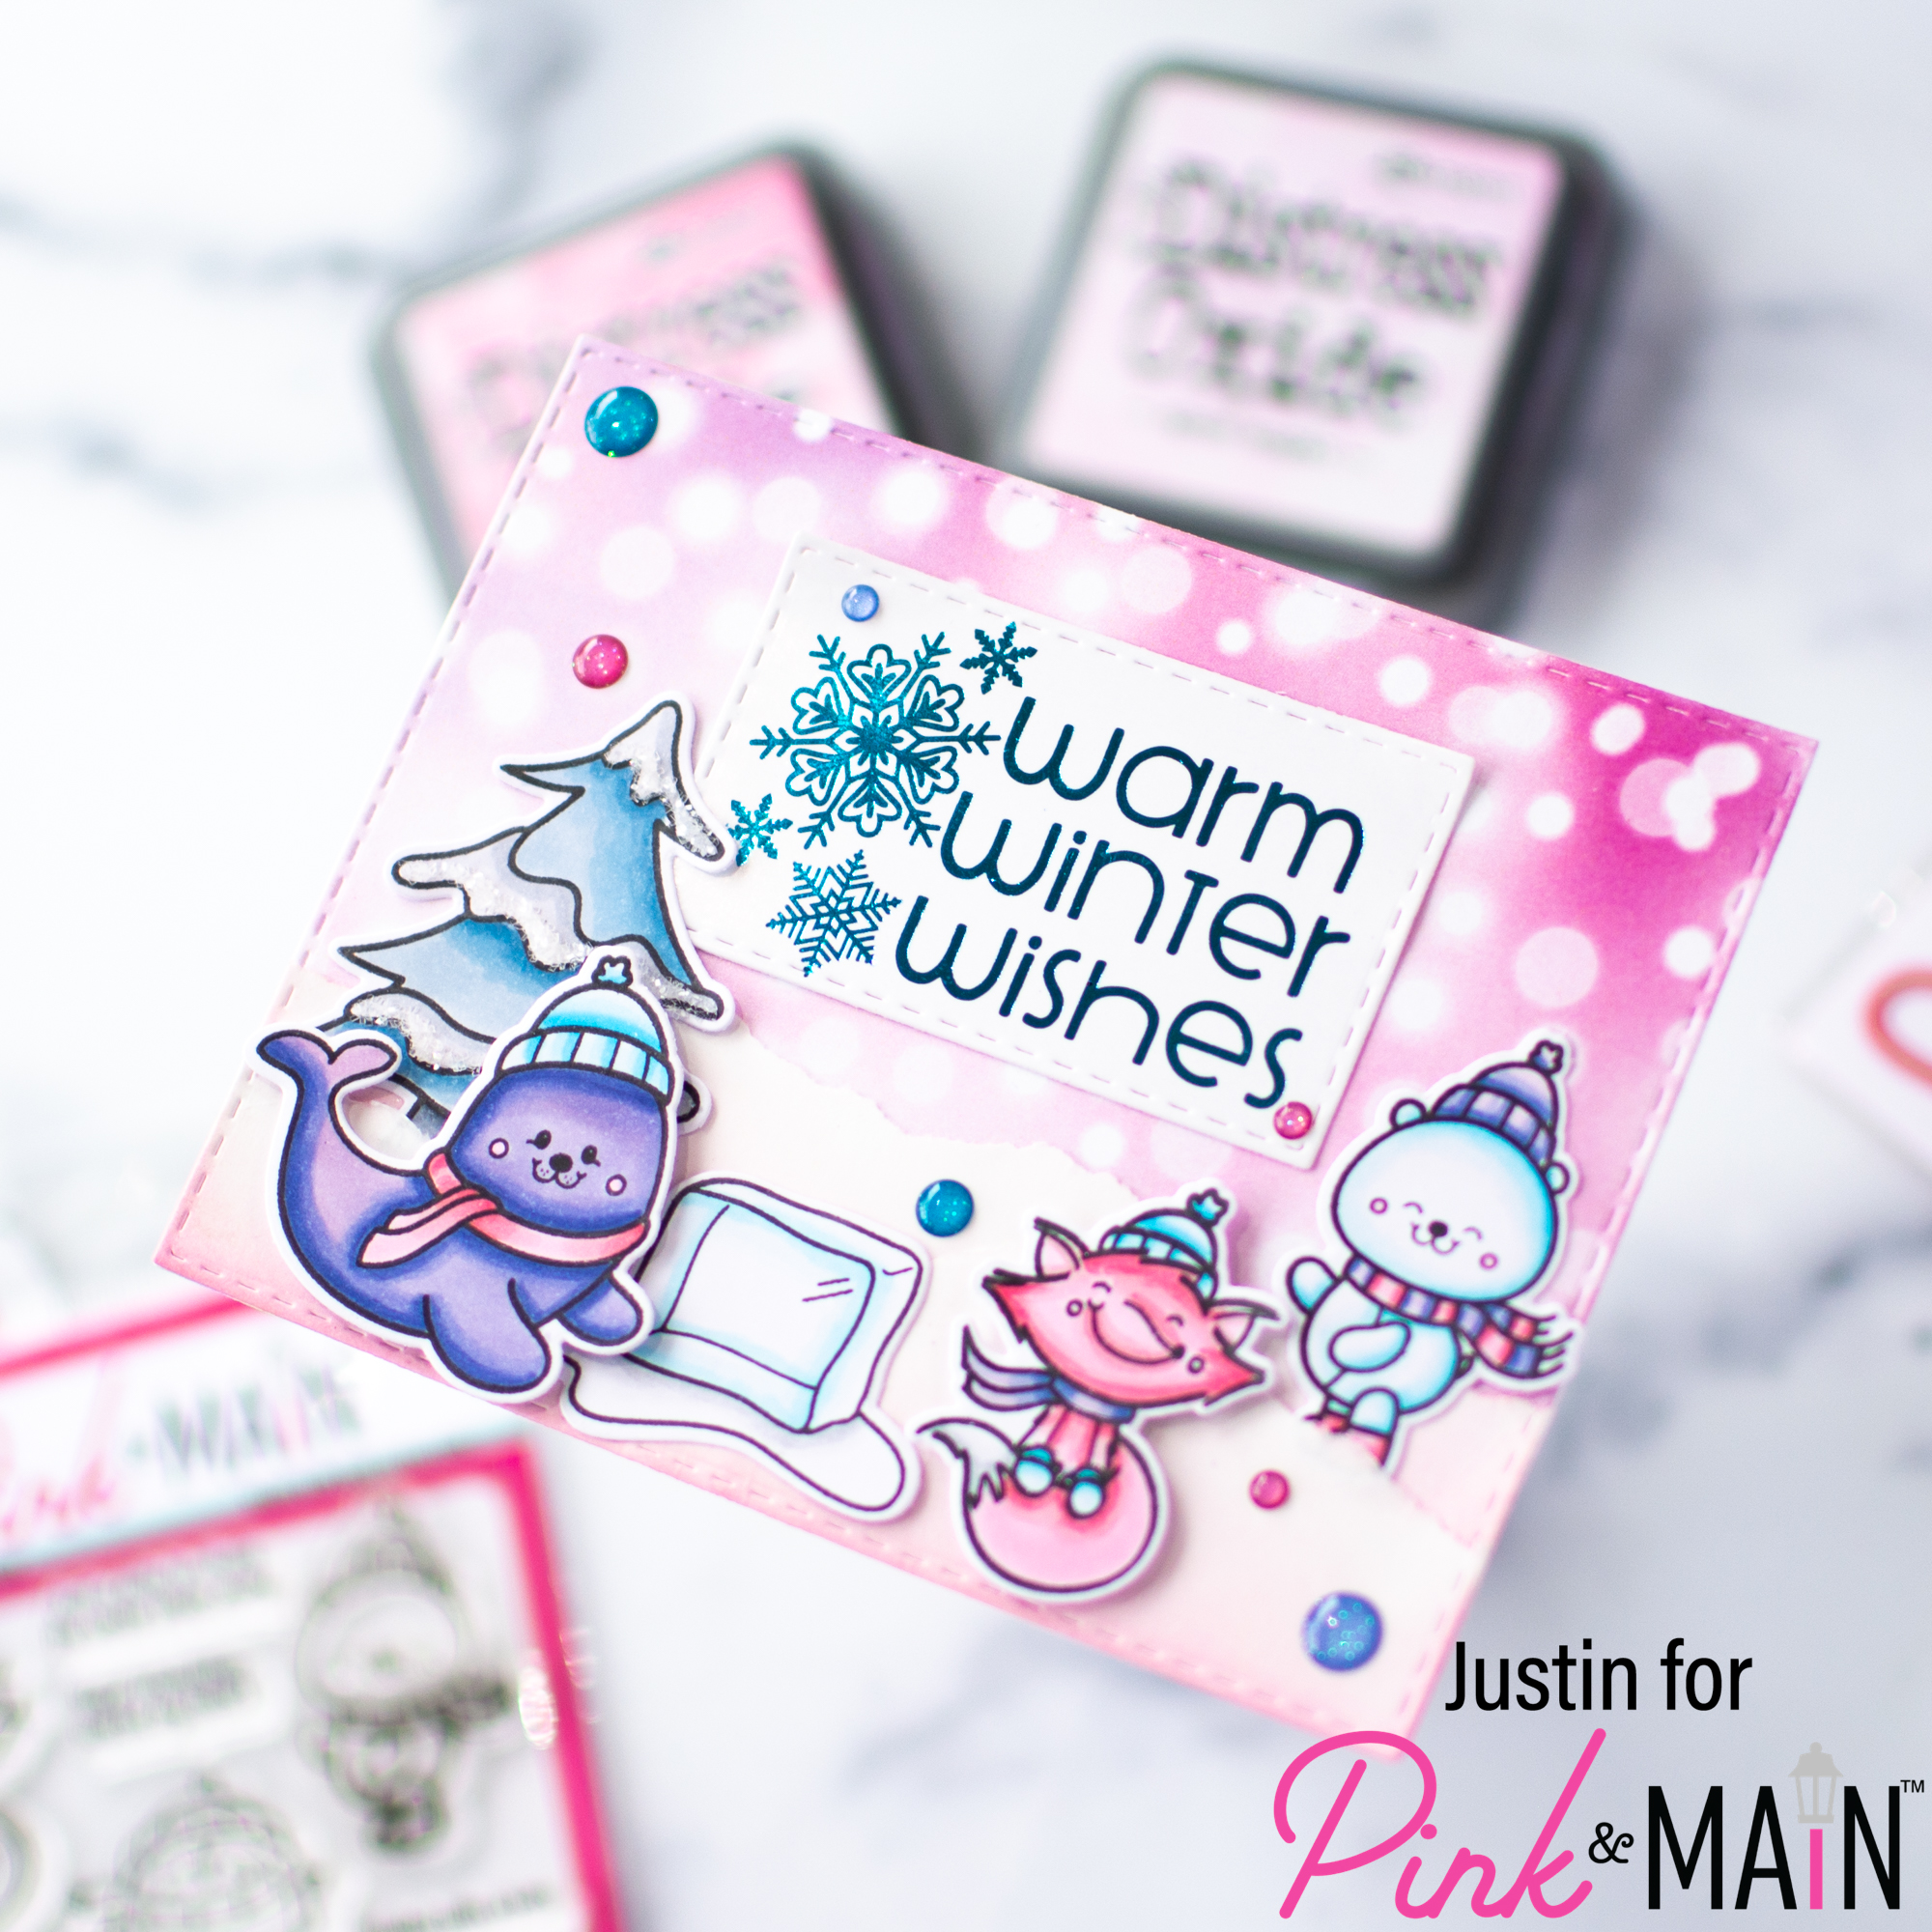
I colored up all of my images that I wanted to use from the Winter Joy stamp set, and cut them out with the coordinating dies. For my tree image, I added some Touch of Gloss to the snow covered areas, poured some Snow Drift Chunky Glitter over top, and then let the tree dry entirely.
Next, I went ahead and used my Mini Minc Machine and foiled the sentiment “Warm Winter Wishes” from the Let It Snow Foilable Kit with Lagoon CheerFoil. I then used one of the dies from the Stitched Rectangle Dies Set 1 to cut the sentiment out, allowing it to have that clean stitched edge. I also went ahead and die cut a pink & purple bokeh pattern from the Fun Pastels Paper Pad, using the largest die from the Stitched Rectangle Dies Set 1.
I wanted to create snowy ground, so that I went ahead and used the largest stitched die from the Stitched Rectangle Dies Set 1 to cut out the shape from white blending cardstock. I tore the edges of the panel so that I had 2 separate snowy ground pieces. I blended the bottom of each panels with Kitsch Flamingo and Spun Sugar Distress Oxide Inks to carry through my color scheme for my project.
I adhered my snowy ground pieces to my bokeh background with liquid adhesive. I then went ahead and used a combination of foam tape and liquid adhesive to adhere my sentiment piece and images to my card. I finished off my project by adhering my panel to an A2-sized card front and placing some glitter enamel dots!
And there you have it! A super sweet and snowy card that is sure to bring some joy to someone stuck inside on a cold winter day!
Thank you so very much for stopping by the blog today, and for allowing me to provide you with some creative inspiration with Pink & Main for the past 2 years! The pleasure has truly been all mine!
Crafty Hugs!
Justin
Leave a Reply