Before we jump into today’s project, I wanted to let you know that I sometimes use affiliate links to share my favorite products. Don’t worry, these links won’t cost you a dime – they’re just little crafty helpers behind the scenes that help support me if you use them to make a purchase! Let’s dive into today’s creative journey together!
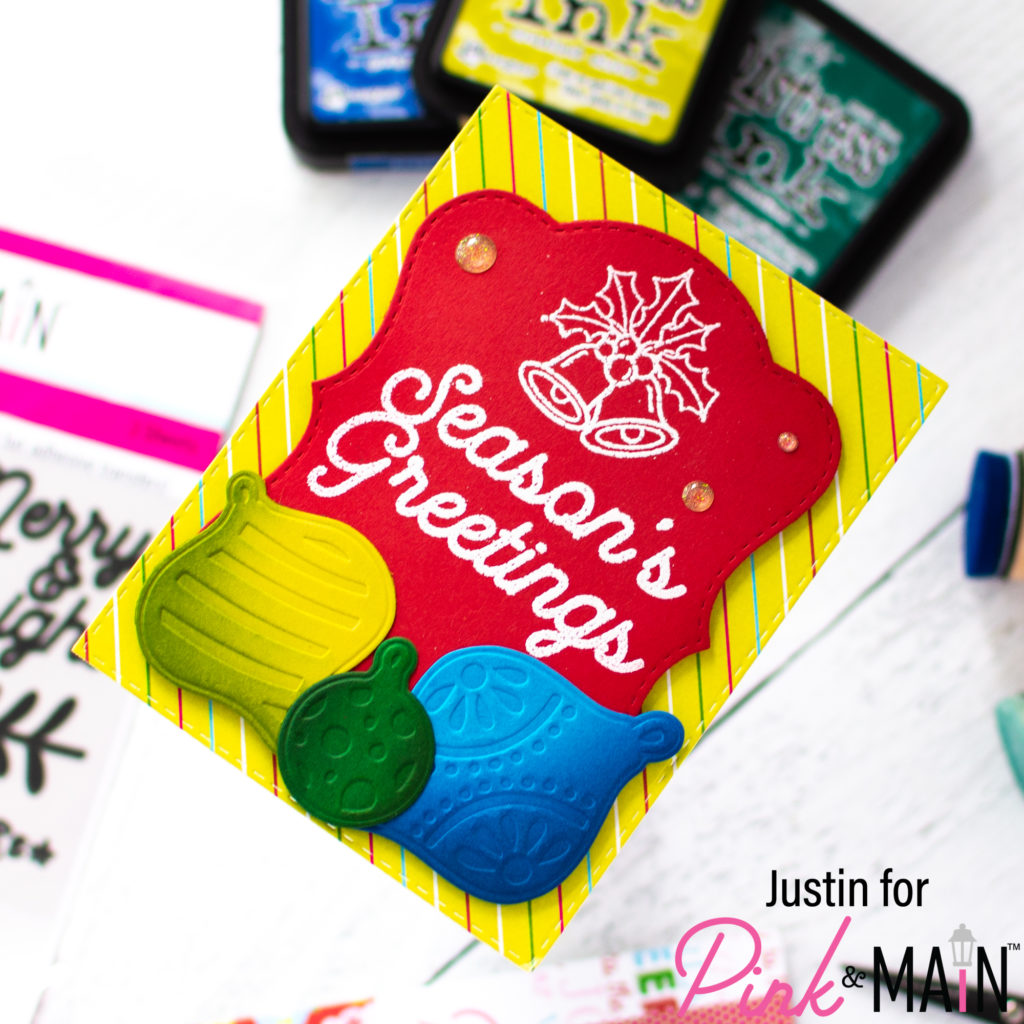
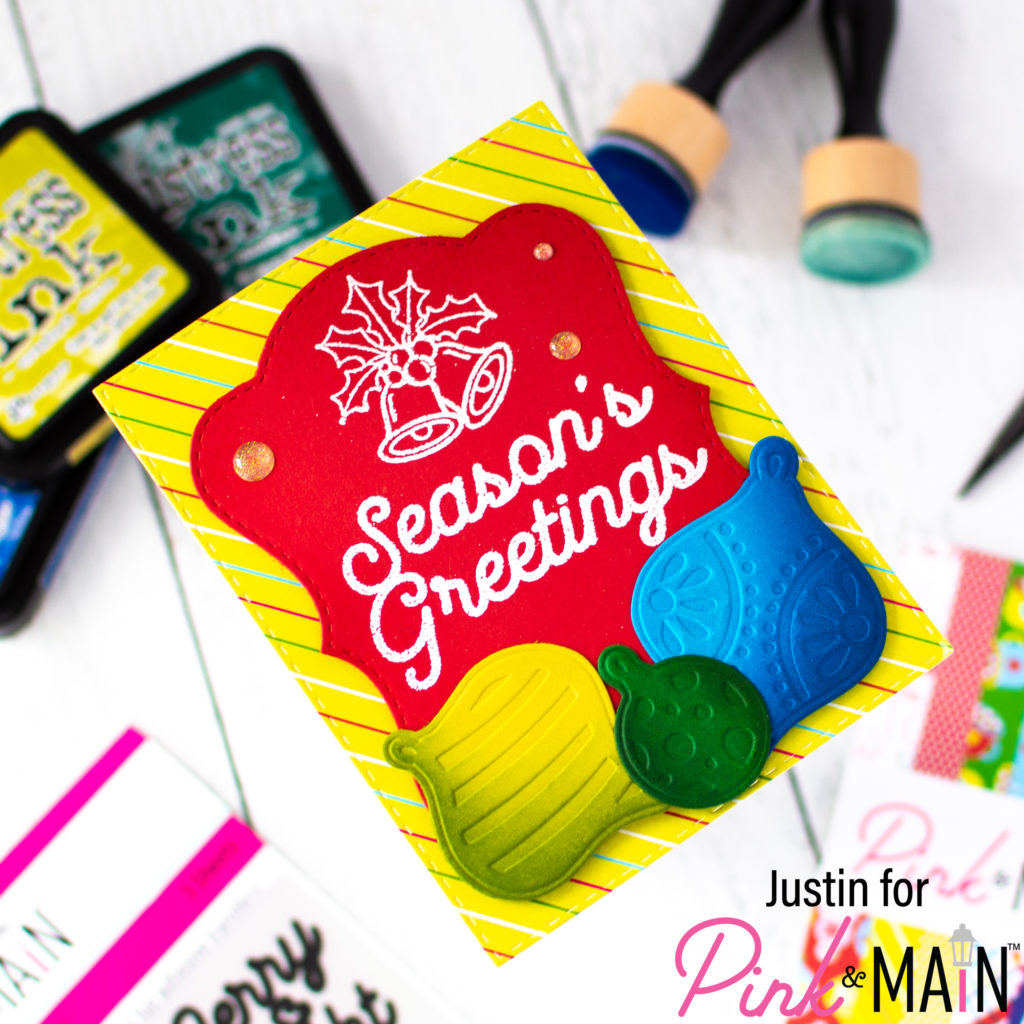
Hello, friends! With Thanksgiving now behind those of us in the U.S. who celebrate, my crafty mind is charging full speed ahead for Christmas Crafting! Today, I am sharing a card that I created using the Ornaments Cut & Emboss Folder, along with the Winter Greetings Stickies Adhesive Transfers!
Below is a list of products used to create this card:
Ornaments Cut and Emboss Folder
Fancy Frame Dies
Winter Greetings Stickies Adhesive Transfers
Merry and Bright Paper Pad
Stitched Rectangles 1 Die Set
Stop Sign Cardstock
The Park Cardstock
On the Green Cardstock
Middle School Cardstock
Frosting Embossing Powder
EZ Squeeze Adhesive
Foam Tape
Clear Glitter Enamel Dots
Other Key Products Used:
Distress Inks: Crushed Olive, Pine Needle, & Prize Ribbon
Now let’s get in to the details for how I created this holiday card!
I started off my card by using the Ornaments Cut & Emboss Folder to cut out ornaments from different Pink & Main Colored Cardstock (The Park, On the Green & Middle School). Once cut out, I then ink blended each ornament with Distress Inks that coordinated with their color. I set the ornaments aside for later.
I then used the Large Stitched Rectangle Dies to cut out a 4.25″ x 5.5″ stitched rectangle from a striped pattern included in the Merry & Bright Paper Pad.
Using the Fancy Frame Dies, I used the largest die to cut out a shape from Stop Sign Cardstock. I actually used the inside piece from the frame, and not the actual frame itself. I then used my Mini Minc machine to transfer some of the Winter Greetings Stickies so that my cards sentiment read “Season’s Greetings” and also had a pair of holiday bells at the top of the die cut. I heat embossed the stickies with Frosting Embossing Powder. I then arranged and adhered my ornament die cuts to the bottom of the panel.
With the use of foam tape, I adhered my ornament panel on top of the stitched striped rectangle panel. I finished my card off by applying some Clear Glitter Enamel Dots and adhering the panel to an A2-sized card base. My holiday card was completed!
Thank you so very much for stopping by the blog today! I hope this card leaves you with some holiday-filled inspiration for your next project using the Ornaments Cut and Embossing Folder!
Don’t forget that for more crafty inspiration, you can follow me on Instagram, subscribe to my channel on YouTube, and check out my personal blog as well!
Thanks again for stopping by!
Happy Crafting!
Justin


Leave a Reply