

This post uses affiliate links to products I love at no additional cost to you! By clicking the links in this post, I earn a small commission should you make a purchase. Thank you in advance!
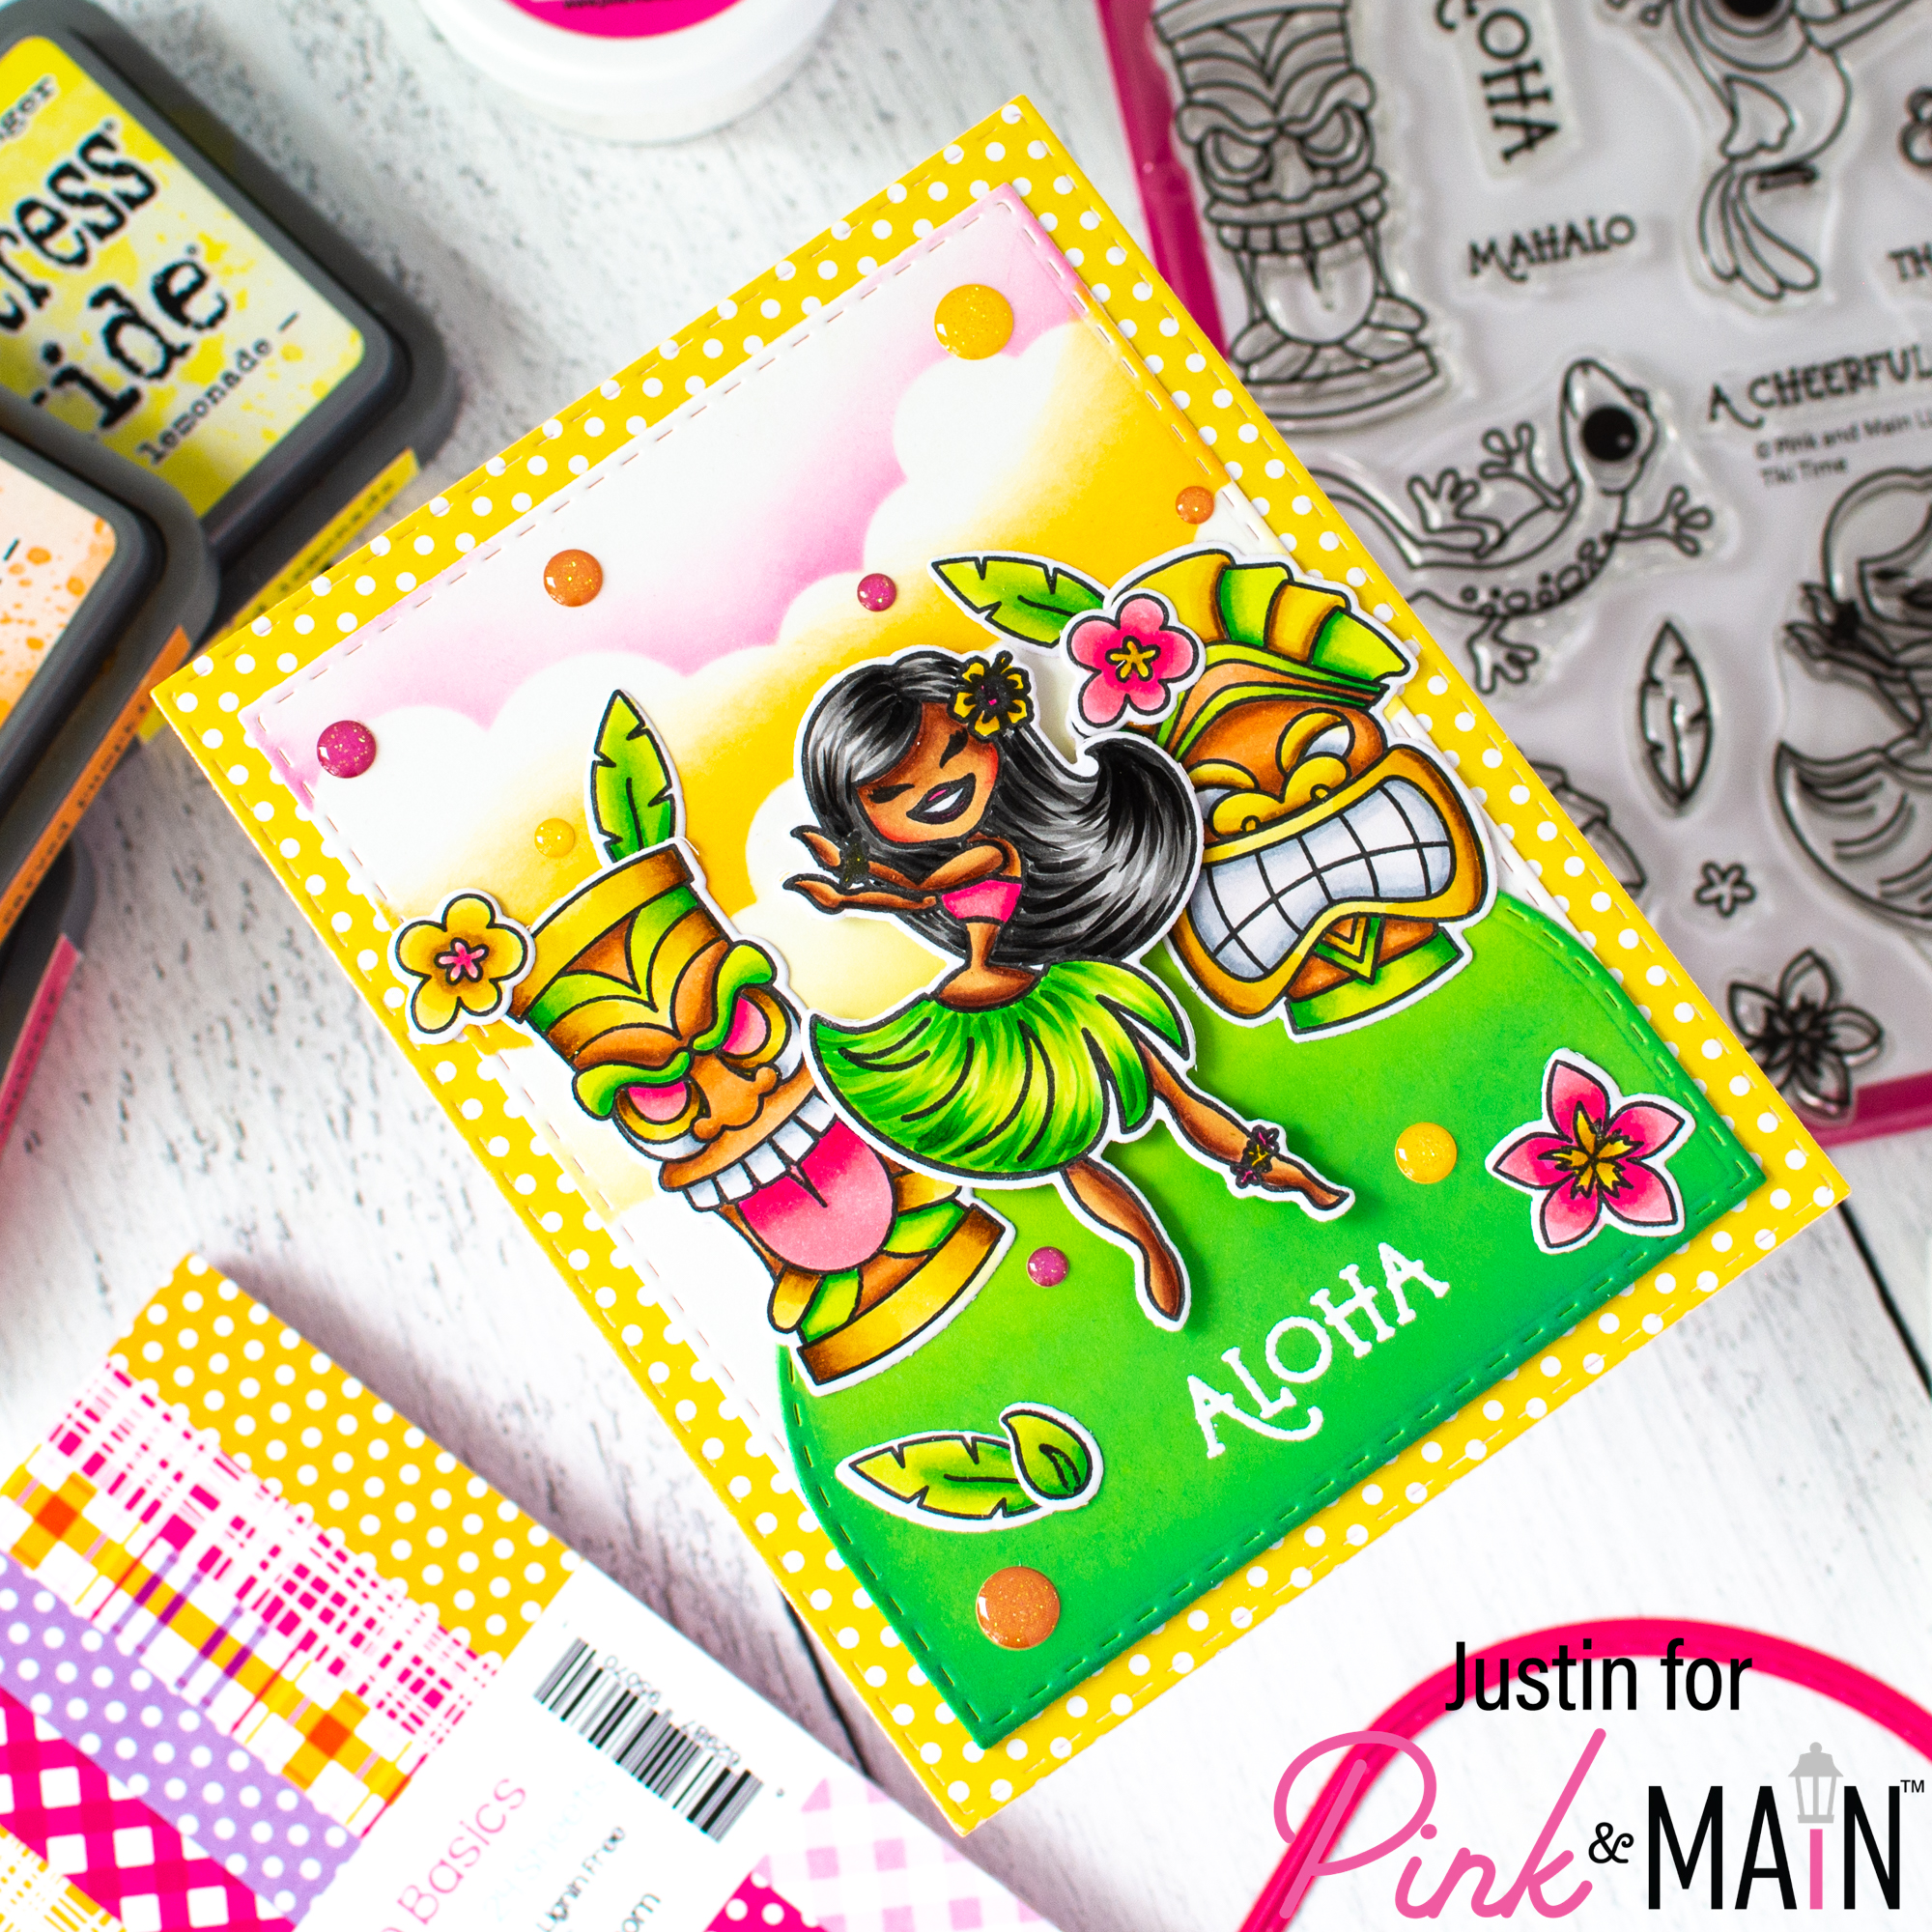
Hello, friends! Justin here, and today I’m feeling all of those tropical vibes using the new Tiki Time stamp set! I am always a sucker for tropical tiki theming, and this set is absolutely no exception! I paired it with some older and newer Pink & Mai products to really give this hula dancer a proper setting! Let’s get into the details!
Below is a list of products used to create this card:
Pink & Main Products Used:
Tiki Time Stamp Set
Tiki Time Coordinating Dies
Wide Stitched Arches Dies
Stitched Rectangle Dies Set 1
Cloudy Day Stencil
Warm Basics 6″ x 6″ Paper Pack
Moss Cardstock
Ice Rink Cardstock
Pretty Posies Glitter Enamel Dots
Watermark Embossing Ink
Frosting Embossing Powder
Magic Anti-Static Brush
EZ Squeeze Craft Adhesive
Foam Tape
Other Key Products Used:
Copic Markers
Distress Oxide Inks: Picked Raspberry, Carved Pumpkin, Squeezed Lemonade & Lucky Clover
Now let’s talk about how I put this card together!
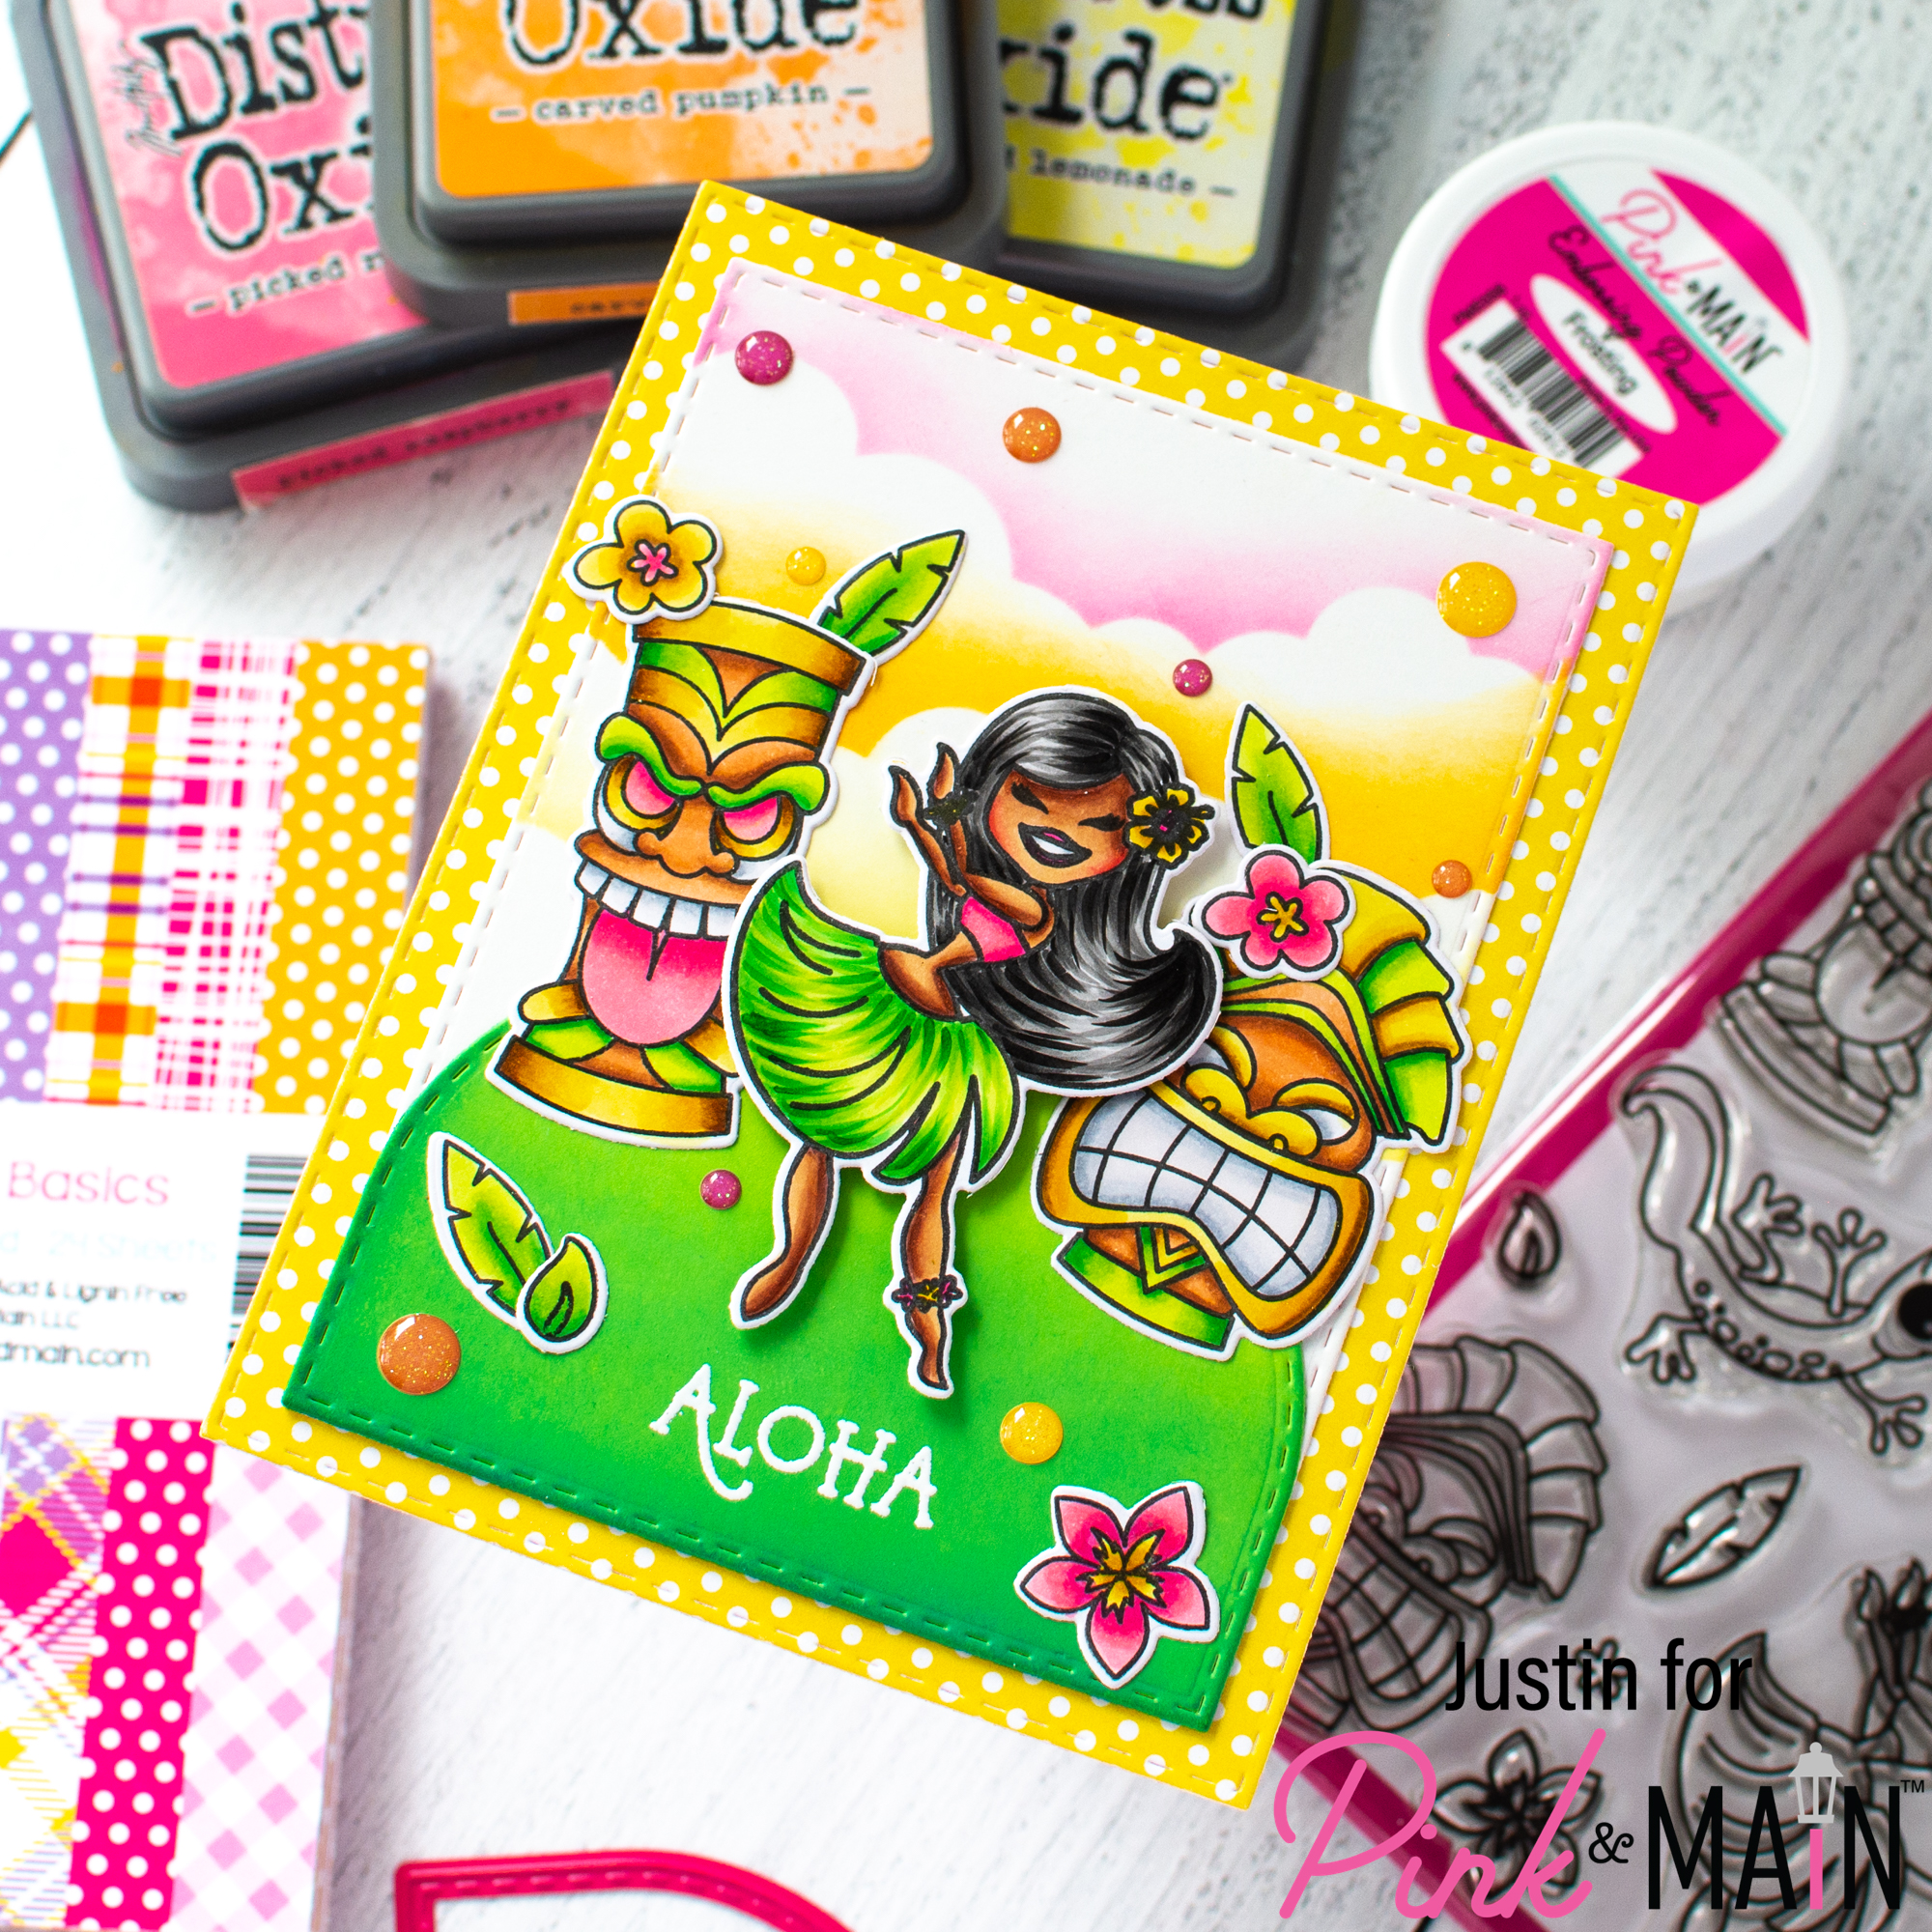
I started by stamping out all the images from Tiki Time that I wanted to use, and then coloring them with Copic Markers. I used the Tiki Time coordinating dies to cut out all of my images. I set them aside for later.
Next, I took the the largest die from the Stitched Rectangle Dies Set 1 and cut out the Yellow and White Polka Dot Pattern from the Warm Basics Paper Pack. I used the 2nd largest die to cut out the shape from Ice Rink cardstock. Finally, using the 3rd largest die from the Wide Stitched Arches Dies, I cut the shape out from Moss Cardstock. I blended the bottom of my Moss Stitched Arch Die Cut with Lucky Clover Distress Oxide Ink.
I brushed my Moss Wide Arch die cut with the Magic Anti-Static Brush, and then I then stamped the sentiment “Aloha” in Watermark Embossing Ink. I heat embossed my sentiment with Frosting Embossing Powder.
Next, taking my Ice Rink Stitched Rectangle die cut, I used the Cloudy Day stencil to blend up a cloudy background using Squeezed Lemonade, Carved Pumpkin & Picked Raspberry Distress Oxide Ink. I used EZ Squeeze Craft Glue to adhere my Moss Wide Stitched Arch die cut to the bottom of my cloudy ink blended panel. I adhered this unit to my yellow polka dot A2-sized panel.
I then began adhering all of my Tiki Time images to my card using a combination of EZ Squeeze Craft Glue and Foam Tape. I placed some Pretty Posies Enamel Dots on my card, and then finished by adhering my whole panel to an A2-sized card base.
Thank you so much for stopping by today! I hope this card leaves you wanting to hula dance on over to your craft stash and make some fun tiki creations!
Don’t forget that for more crafty inspiration, you can follow me on Instagram, subscribe to my channel on YouTube, and check out my personal blog as well!
Thanks again for stopping by!
Happy Crafting!
Justin
Leave a Reply