

This post uses affiliate links at no additional cost to you! By clicking the links in this post, I earn a small commission should you make a purchase. Thank you in advance!
Hello friends! II cannot believe we are just days away from Christmas! I often find myself crafting Christmas-themed projects RIGHT up to the day… sometimes because it’s crunch time… but most times because I just adore using my holiday-themed products!
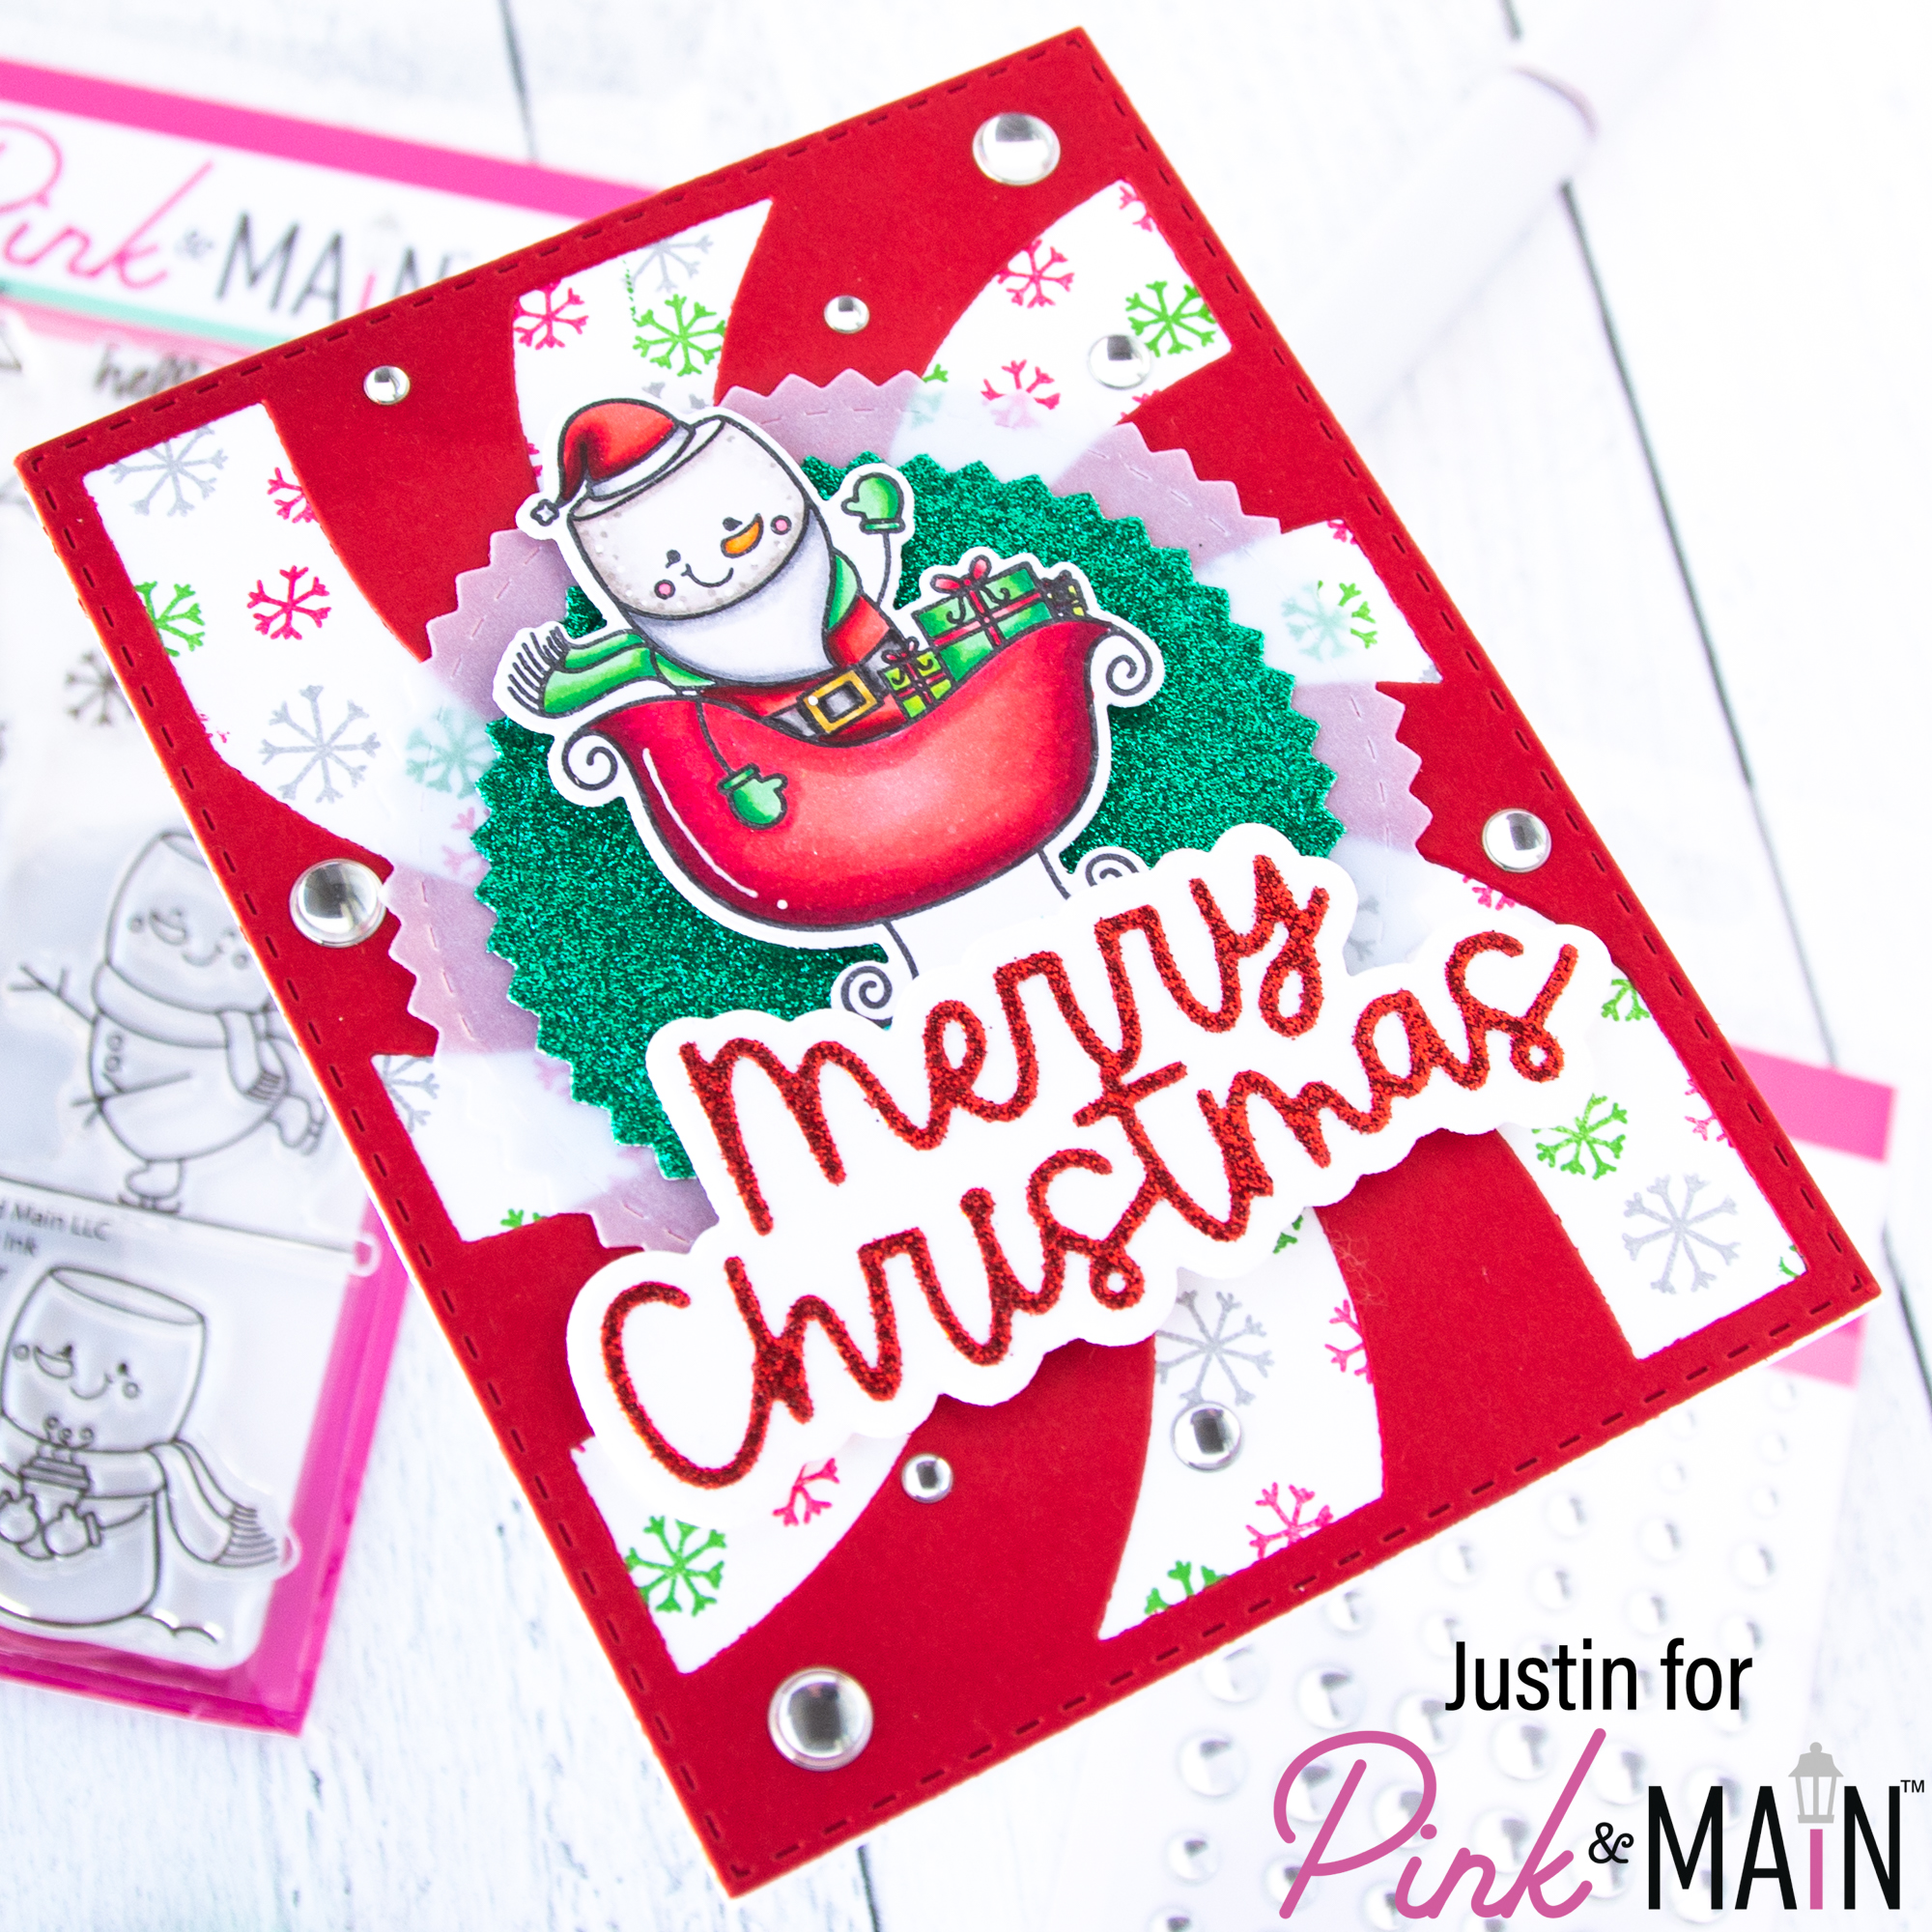
Today I am showing a Christmas Card that I created using the new Hello Winter stamp set by Pink & Main, and combined it with a couple older products that are favorites of mine!
Below is a list of products used to create this card:
Pink & Main Products Used:
Hello Winter Stamp Set
Hello Winter Coordinating Die Set
Peppermint Cover Die
Christmas Greetings Dies
Zig Zag Circle Dies
Winter Glitter Paper Pack
Silver Glossy Dots
Stop Sign Cardstock
Ice Rink Cardstock
Other Key Products Used:
Copic Markers
Catherine Pooler Inks: Rockin’ Red, Grass Skirt & Twilight
Distress Ink: Lumberjack Plaid
Vellum
Foam Tape
Ok, let’s get into how I put this card together!
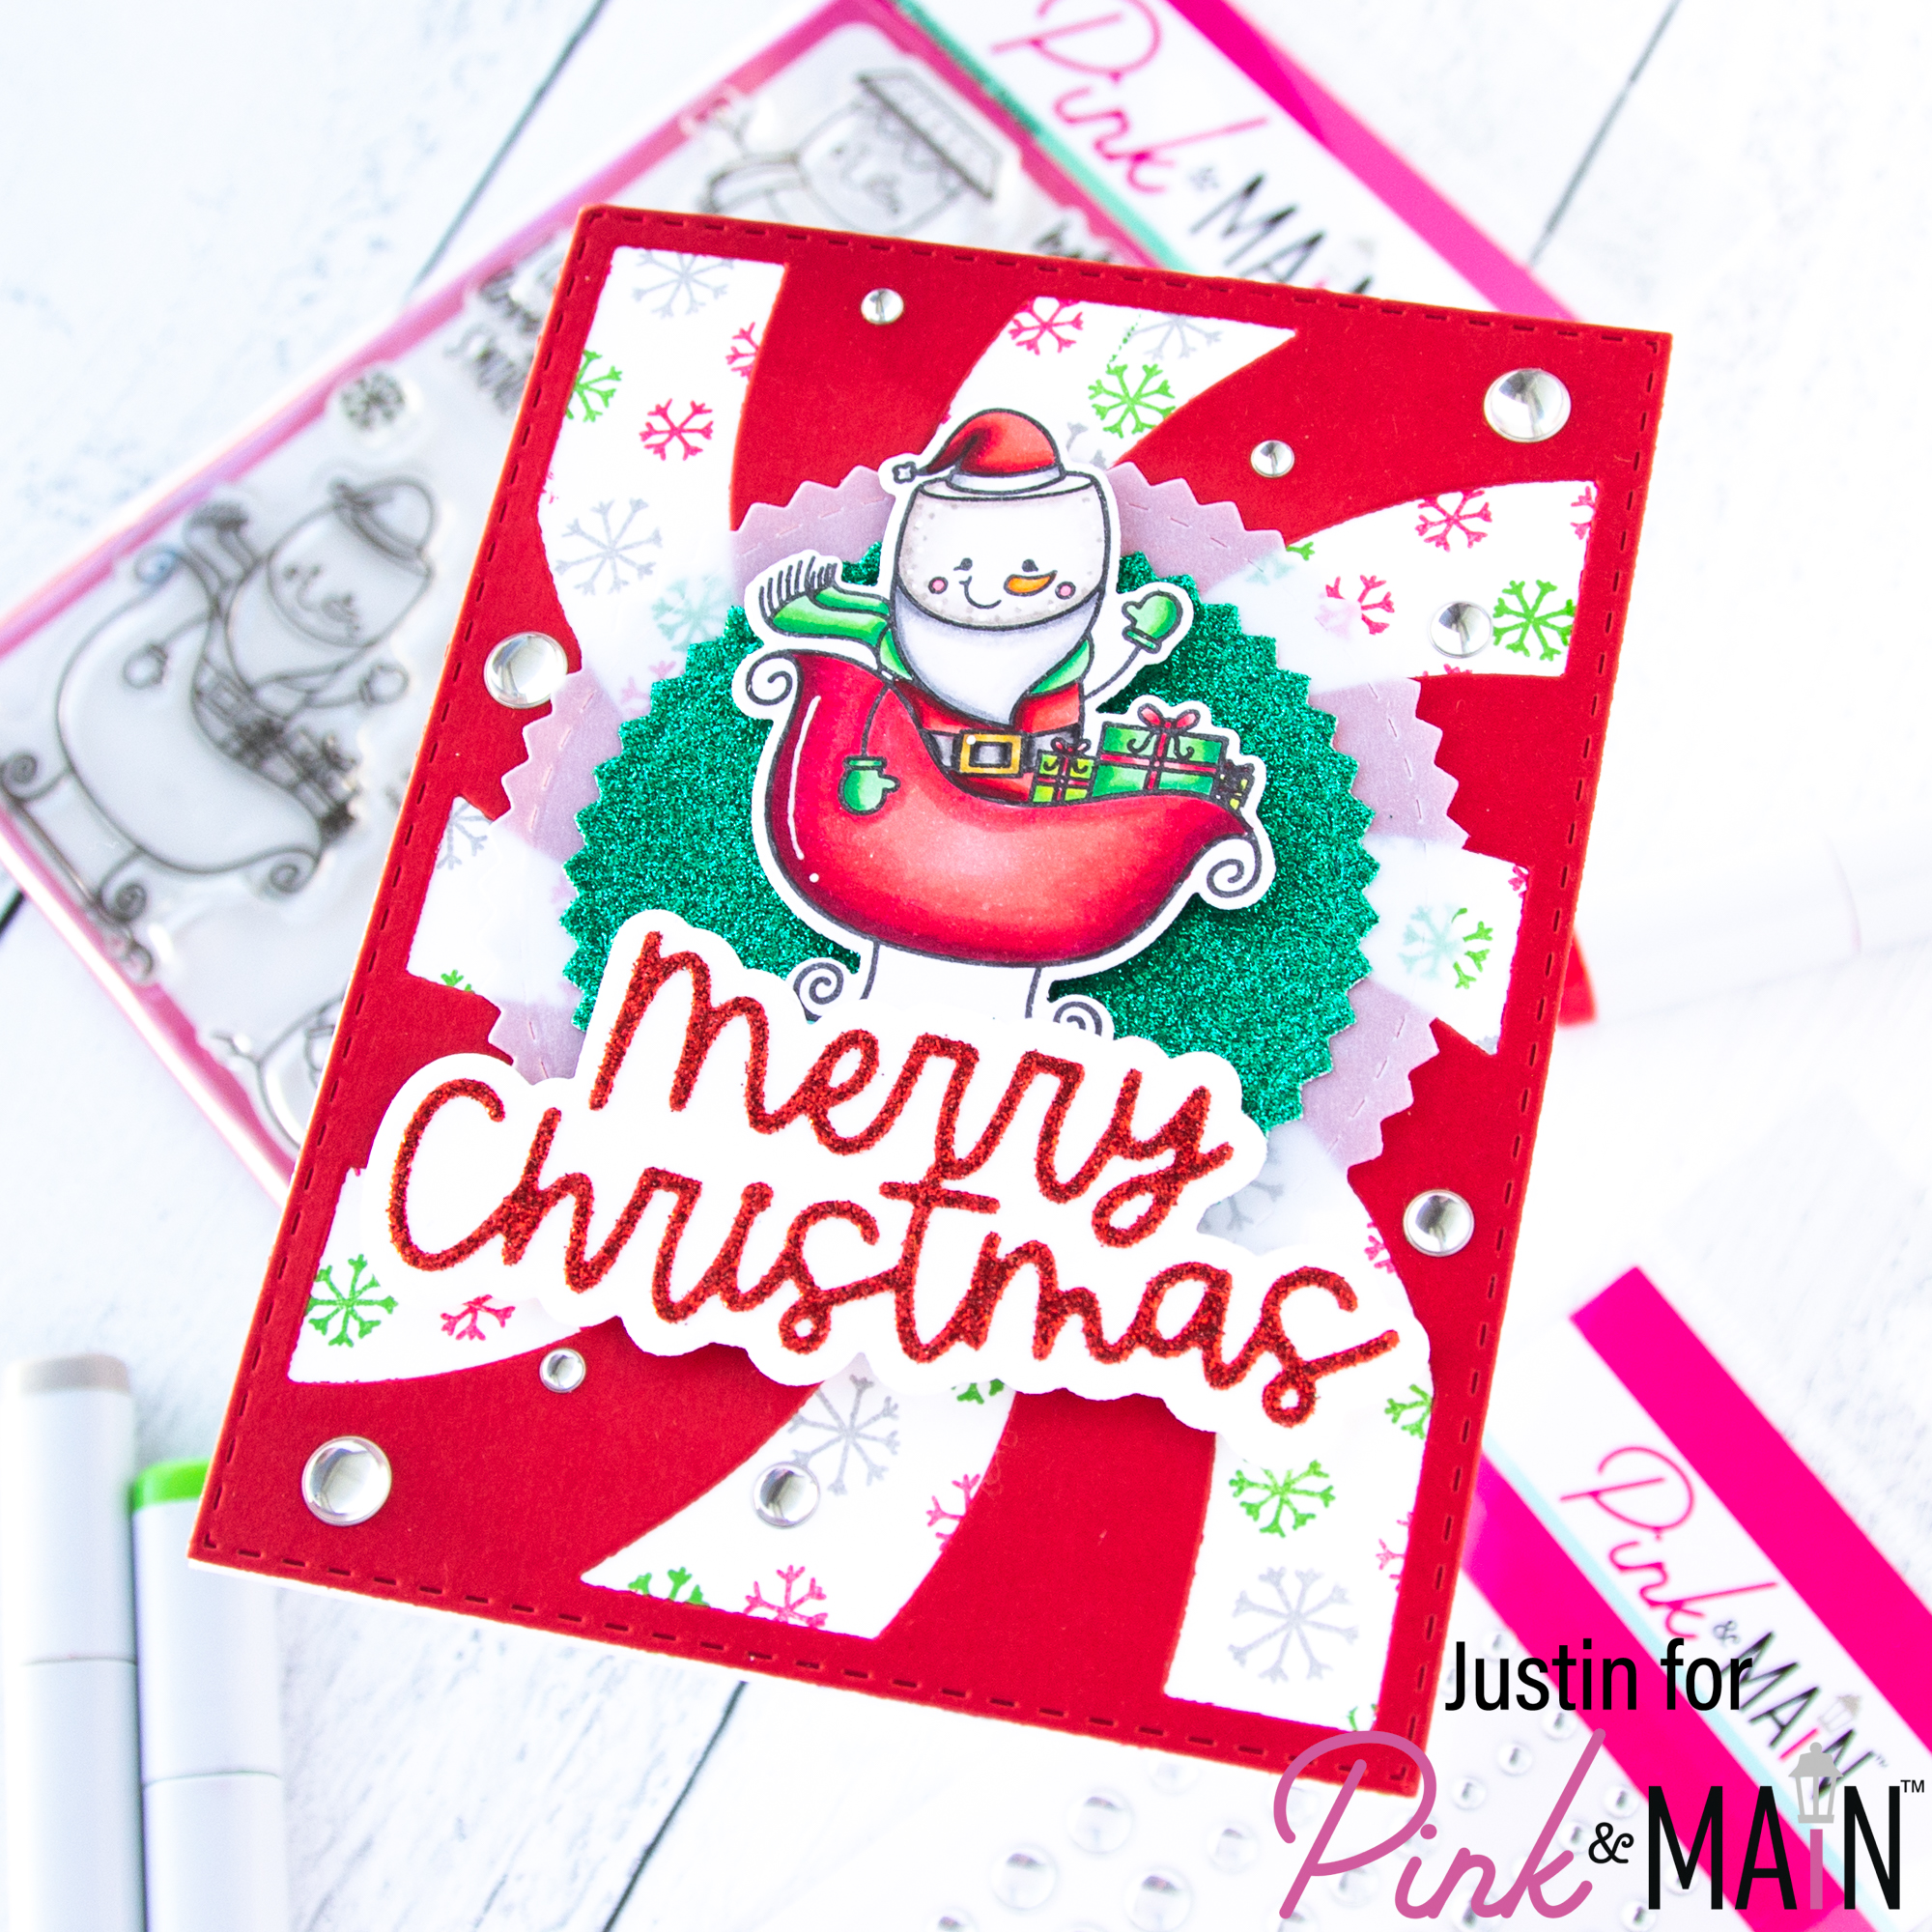
I started my project by coloring up the Santa Marshmallow Snowman from Hello Winter with Copic Markers, and then used the coordinating dies to cut out the image.
Next, using the Christmas Greetings Die Set, I cut out the “Merry Christmas” word die from Red Glitter Paper, included in the Winter Glitter Paper Pack. I used the outline die to then cut out the shape from Ice Rink Cardstock. I used liquid adhesive to adhere the word die cut to the outline die cut. I also set this unit aside for later.
Since I had the Winter Glitter Paper Out, I die cut a Zig Zag Circle from the included Emerald Glitter Paper. Using the next size die, I die cut a Zig Zag Circle from vellum, and then adhered the Glitter Emerald die cut on top of the vellum die cut. I set this aside with my word die cut and my image.
I trimmed down a piece of Ice Rink Cardstock down to A2-size, and then used the snowflake stamps from Hello Winter and stamped a random pattern of them in Rockin’ Red, Grass Skirt and Twilight Inks by Catherine Pooler.
I then used the Peppermint Cover Die to die cut a piece of Stop Sign Cardstock. I distressed the edges of the die cut with Lumberjack Plaid Distress Ink. I adhered this layer on top of my snowflake stamped paper with liquid adhesive.
All of my pieces were ready to be put together. First, I adhered my die cut sentiment unit and my image together, so it looked like my image was directly on top of the “Merry Christmas” die cut. I adhered my Zig Zag Circles unit to my main panel with liquid adhesive, and then also used foam tape to adhere my sentiment and image unit to my card. I applied a few Silver Glossy Dots to my card, and finished by adhering the completed panel to an A2-sized card base! My card was complete!
Thank you so very much for stopping by and checking out my card! I hope this jumpstarts some inspiration as you finish creating your Holiday Cards!
Justin
Be sure to follow me on Instagram at @justanotebyjustin and subscribe to my YouTube Channel for all my crafting projects!
Note: This blog does use affiliate links when possible. Please know that I only recommend products that I love and think you’ll love too!
Leave a Reply