

This post uses affiliate links at no additional cost to you! By clicking the links in this post, I earn a small commission should you make a purchase. Thank you in advance!
Hello friends! Today, I am looking beyond the rush to create holiday cards and am thinking towards holiday-themed thank you cards to send to loved ones I am exchanging gifts with! Most of the time when you need a thank you card, you need more than 1 in your stash, and I thought it would be really fun to come up with an easy way to create a set of Thank You cards using some of my favorite Pink & Main products that, while not overly time consuming, definitely have a couple features that really amp up that wow factor!
Pink & Main Products Used:
Basket Embossing Folder
Big Thank You Dies
On the Green Cardstock
Barbershop Cardstock
Stop Sign Cardstock
Ice Rink Cardstock
Cranberries Embossing Powder
Sterling Embossing Powder
Golden Palace Embossing Powder
Embossing & Watermark Ink Pad
Just a Note Glitter Enamel Dots
Silver Glossy Dots
Gold Glossy Dots
Other Key Products Used:
Vellum
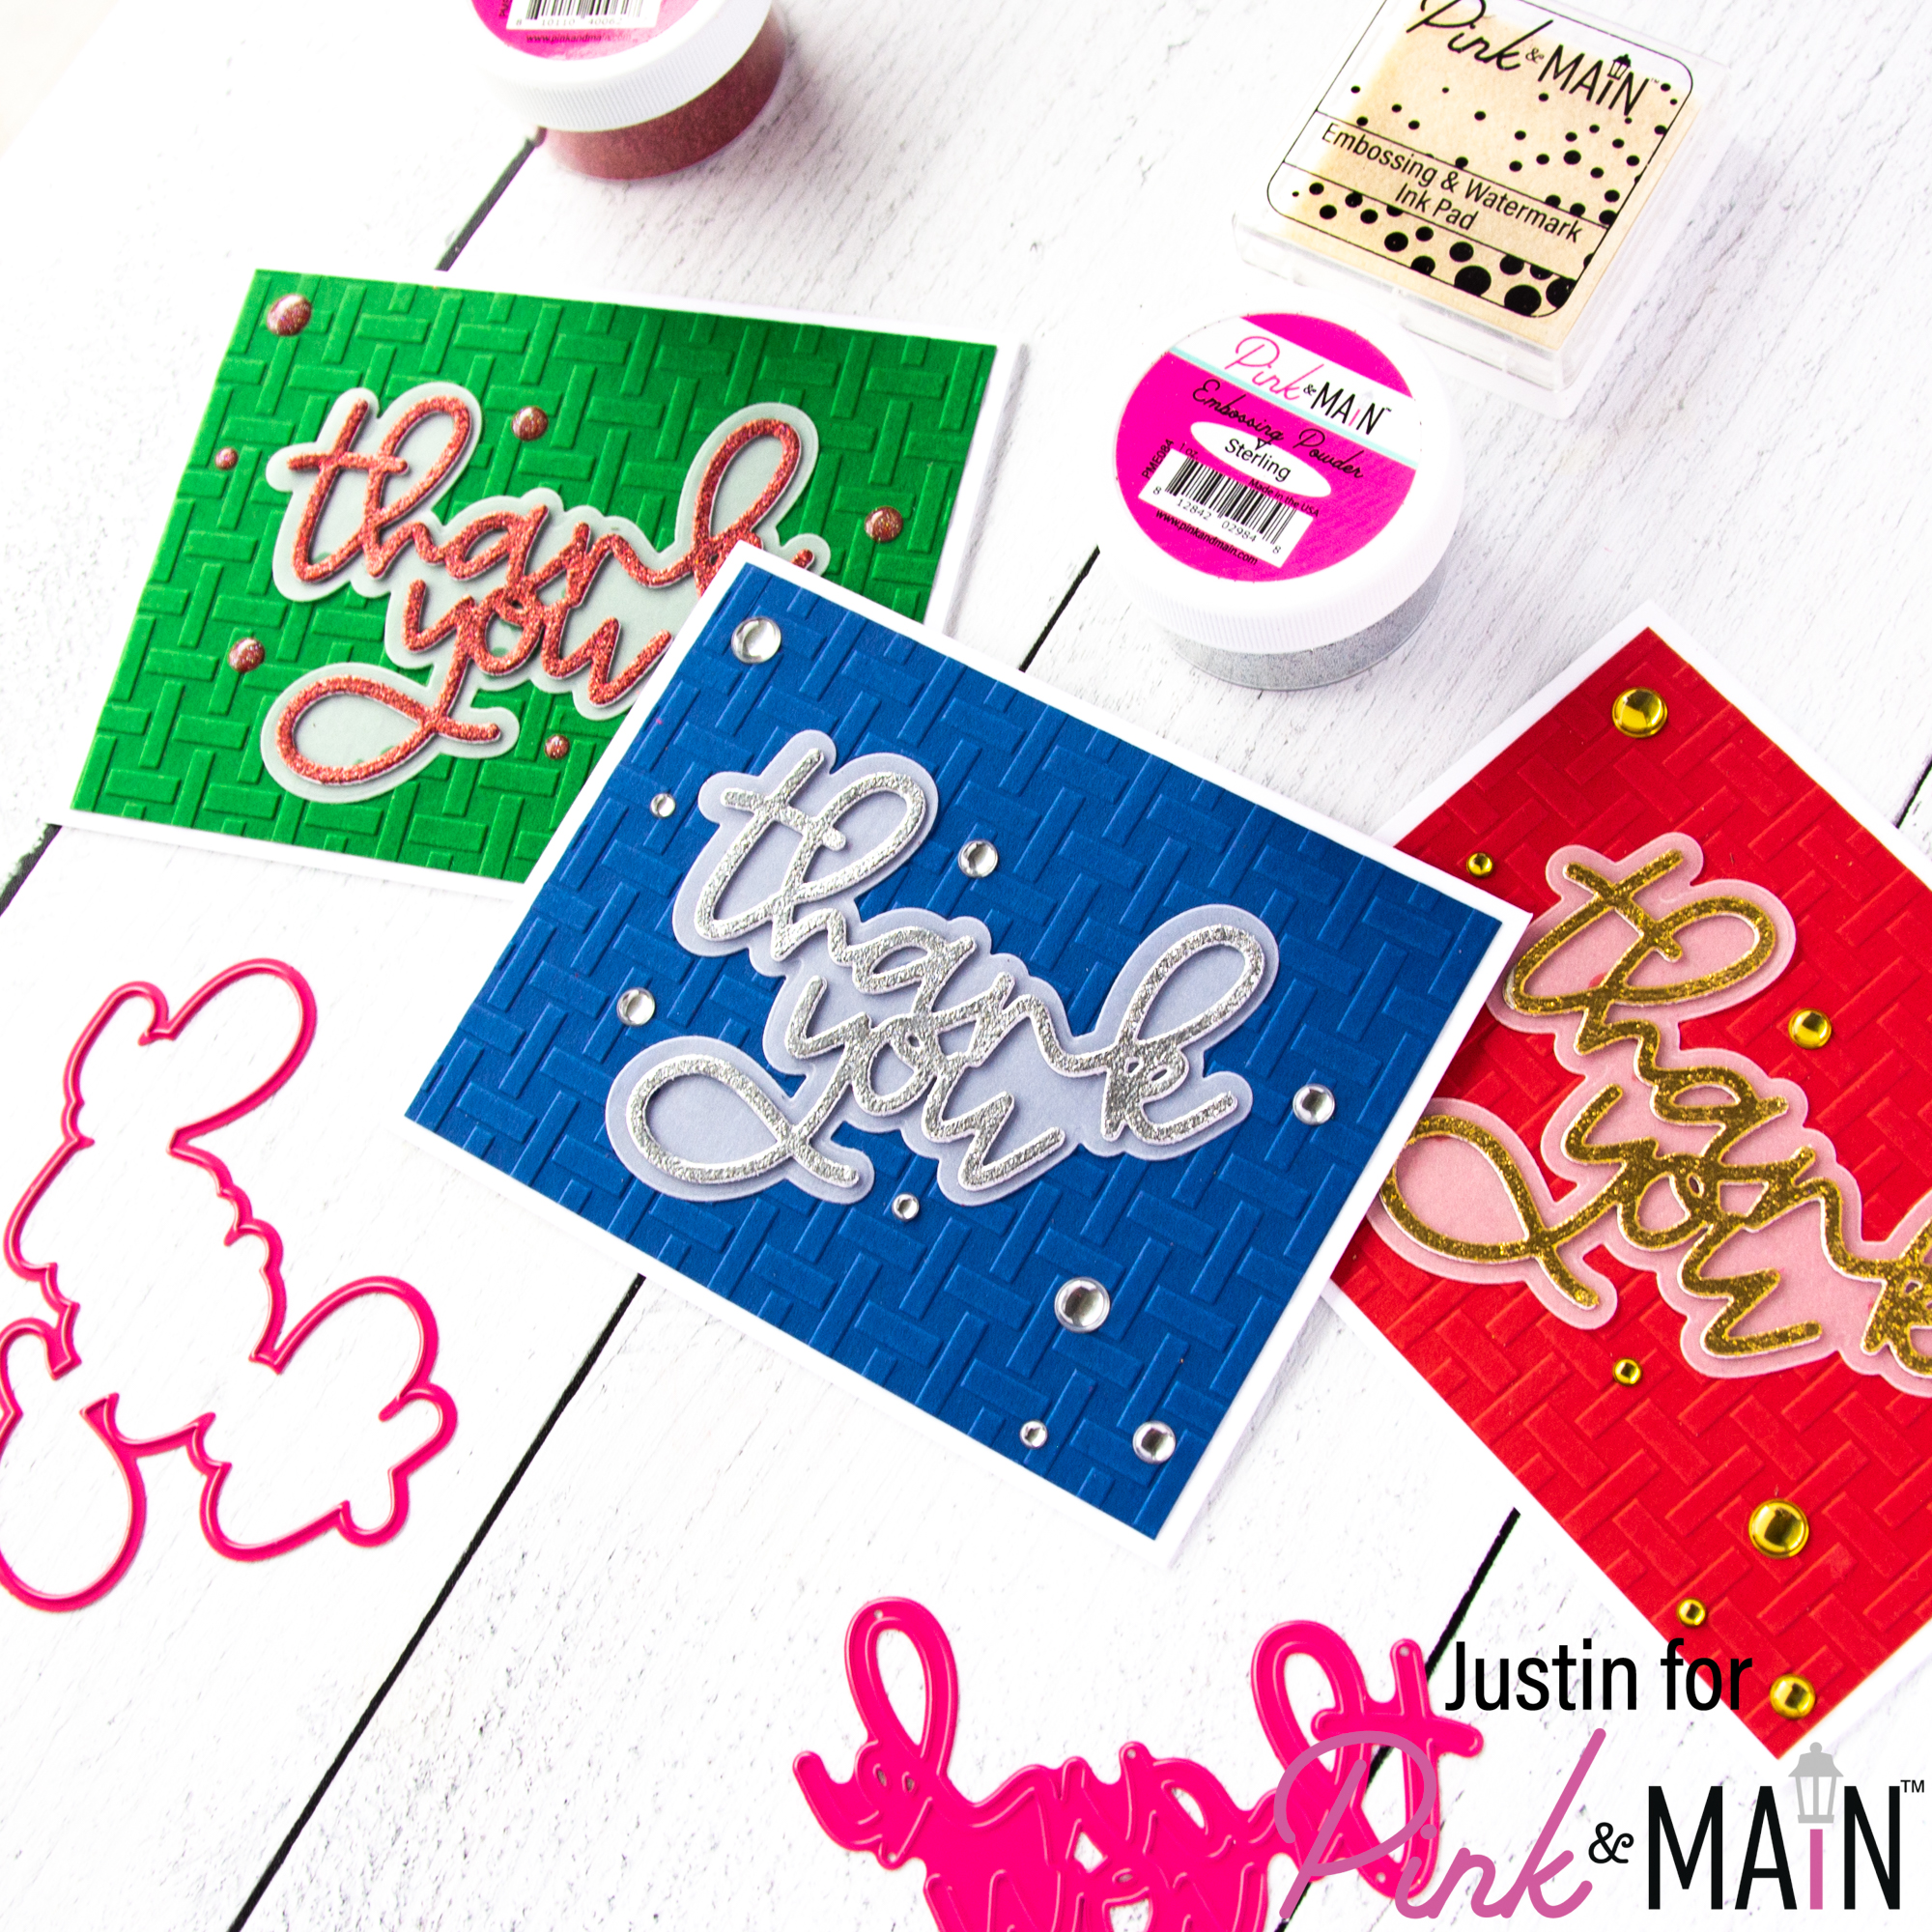
First, I cut down my (3) Colored Cardstocks to A2-size, misted them with water, and then processed them through my die cutting machine with the Basket Embossing Folder. I trimmed each panel down to 4″ x 5.25″, and then I adhered it to my white card base, which left a nice frame around the panels.
Next, using the Big Thank You die set, I die cut (6) “thank you” word dies from Ice Rink Cardstock and (3) outline dies from vellum.
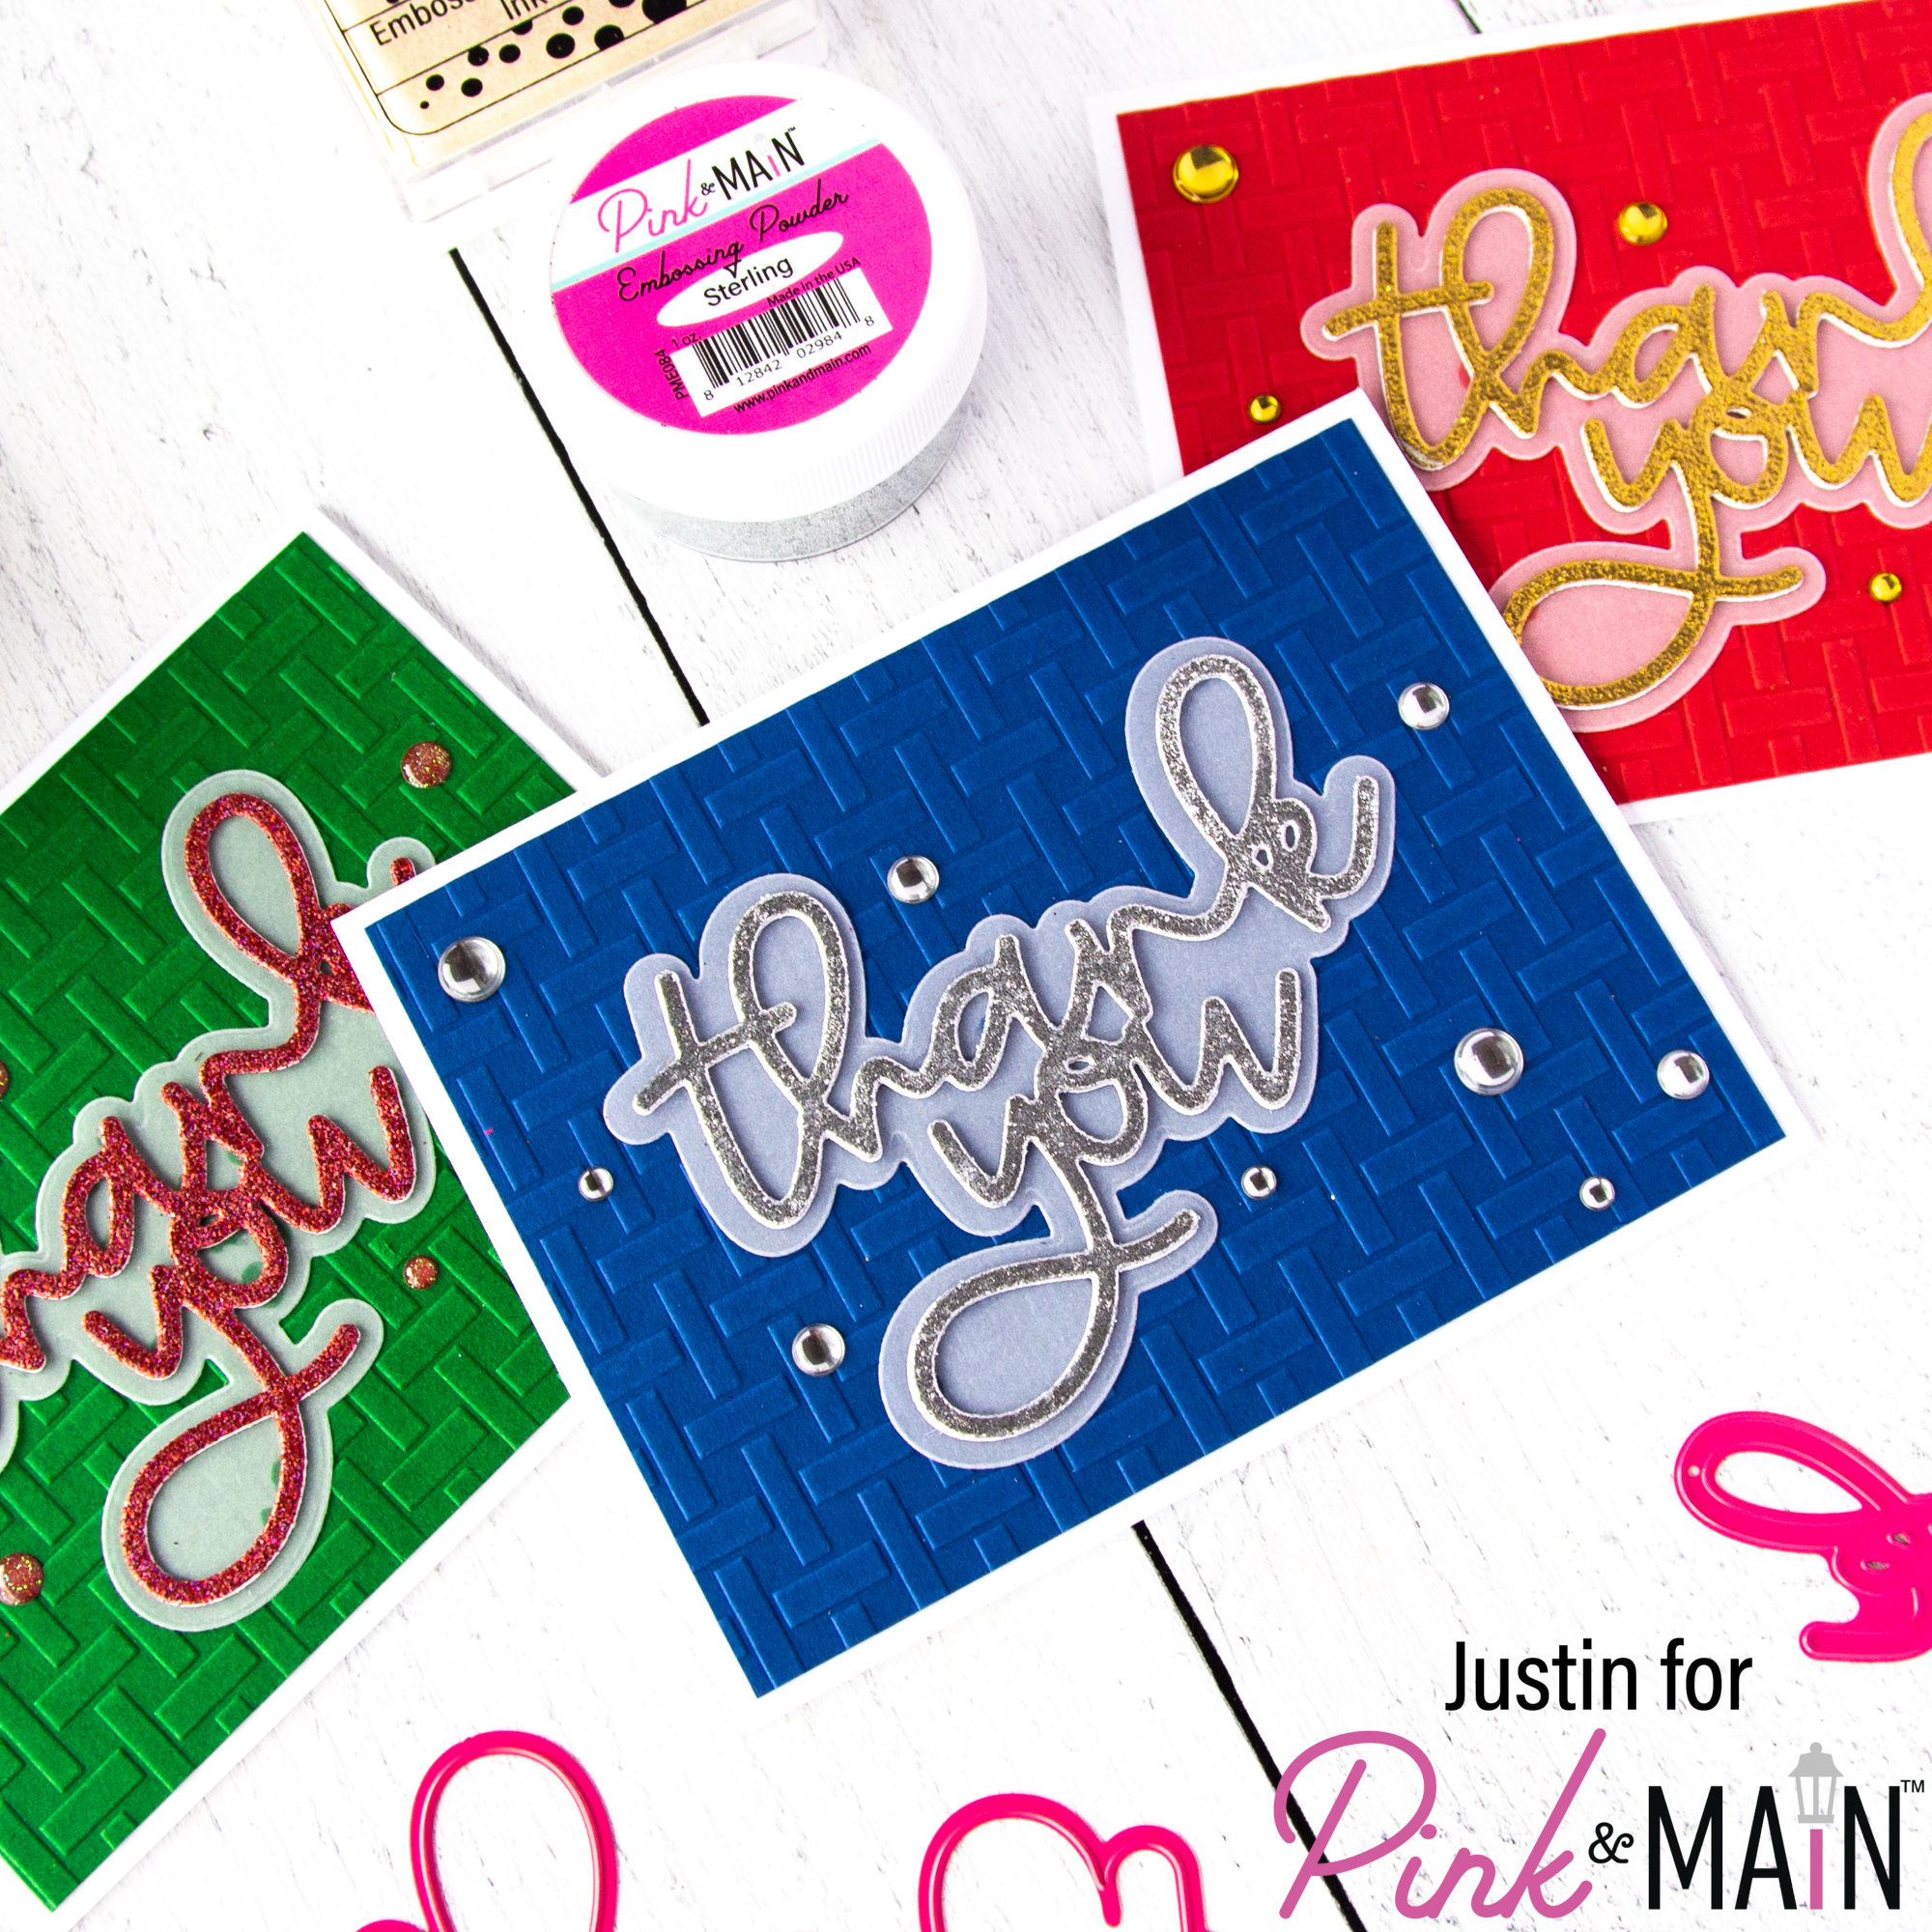
Taking an individual “thank you” die cut, I smooshed it with the Embossing & Watermark Ink Pad, poured Cranberries Embossing Powder over it, and then heat embossed it. I repeated this 2 more times, once using the Sterling Embossing Powder and once using the Golden Palace Embossing Powder.
For a little bit of dimension, I adhered each embossed “thank you” die cut directly on top of (1) Ice Rink “thank you” die cut with liquid adhesive. I then adhered each individual die cut directly on top of one of the vellum outline die cuts using liquid adhesive.
I adhered each embossed and vellum unit to their respective cards, and used either Just a Note Glitter Enamel Dots, Gold Glossy Dots or Silver Glossy Dots to embellish the cards accordingly. My trio of cards were complete!
Thank you so very much for stopping by and checking out my set of cards! I hope these simple, yet classy, thank you cards leave you inspired to break into your stash and use your favorite Pink & Main products to create your very own set of Thank You cards!
Justin
Be sure to follow me on Instagram at @justanotebyjustin and subscribe to my YouTube Channel for all my crafting projects!
Note: This blog does use affiliate links when possible. Please know that I only recommend products that I love and think you’ll love too!
Leave a Reply