

Hello everyone! Today I am sharing another beachy creation using the brand new Seashells 6″ x 6″ Emboss and Cut Folder by Pink & Main! Can I just start by saying WOW! This new product is just so incredible for creating die cuts with texture. I see so many possibilities for this Emboss and Cut Folder, like cards, gift tags, scrapbook layouts, even easy home decor if you have any nautical themed rooms in your home!
Below is a list of products I used to create this card:
Pink & Main Products Used:
Seashells 6″ x 6″ Emboss and Cut Folder
Floral Shells Stamp Set
Large Sentiment Strips Dies- 1/2″
Pebble Cardstock
Coffee Shop Cardstock
Frosting Embossing Powder
Embossing/Watermark Ink Pad
Magic Anti-Static Brush
Ahoy Enamel Dots
Other Key Products Used:
Distress Oxide Inks: Saltwater Taffy, Seedless Preserves & Uncharted Mariner
Vintage Photo Distress Ink
Sparkle Silk
White Acrylic Paint
Alright, let’s get to how I put this card together!
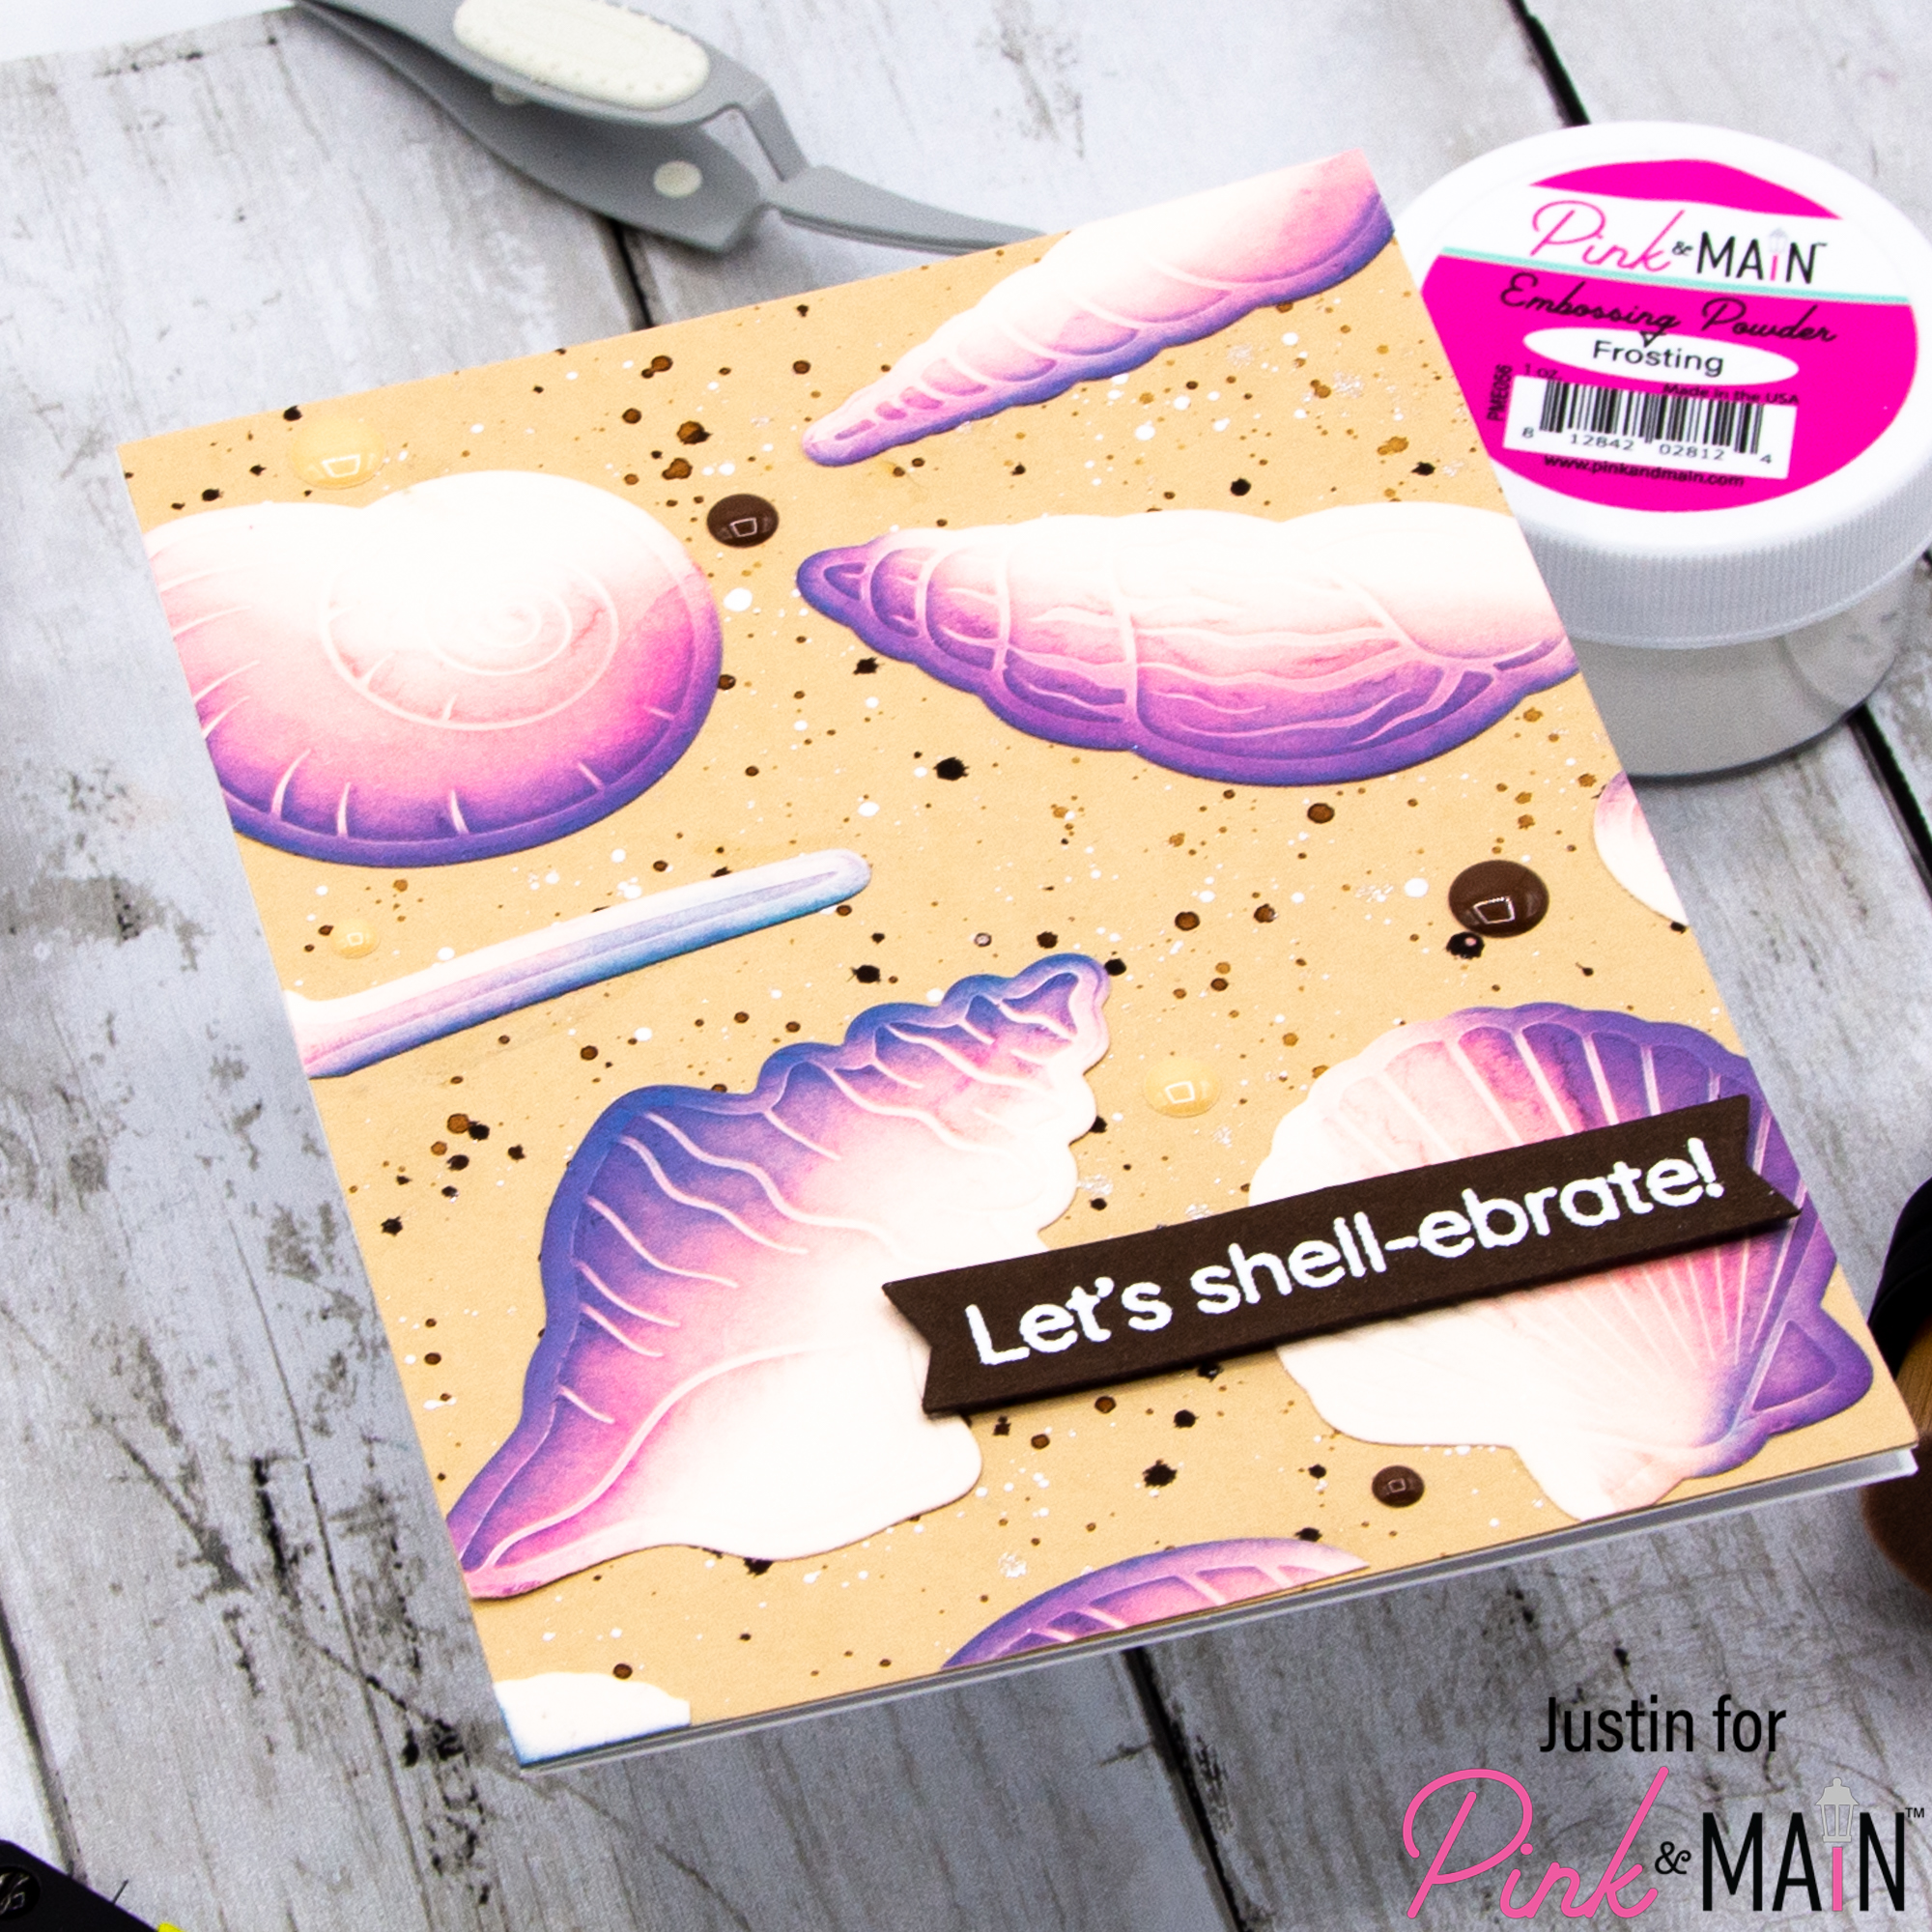
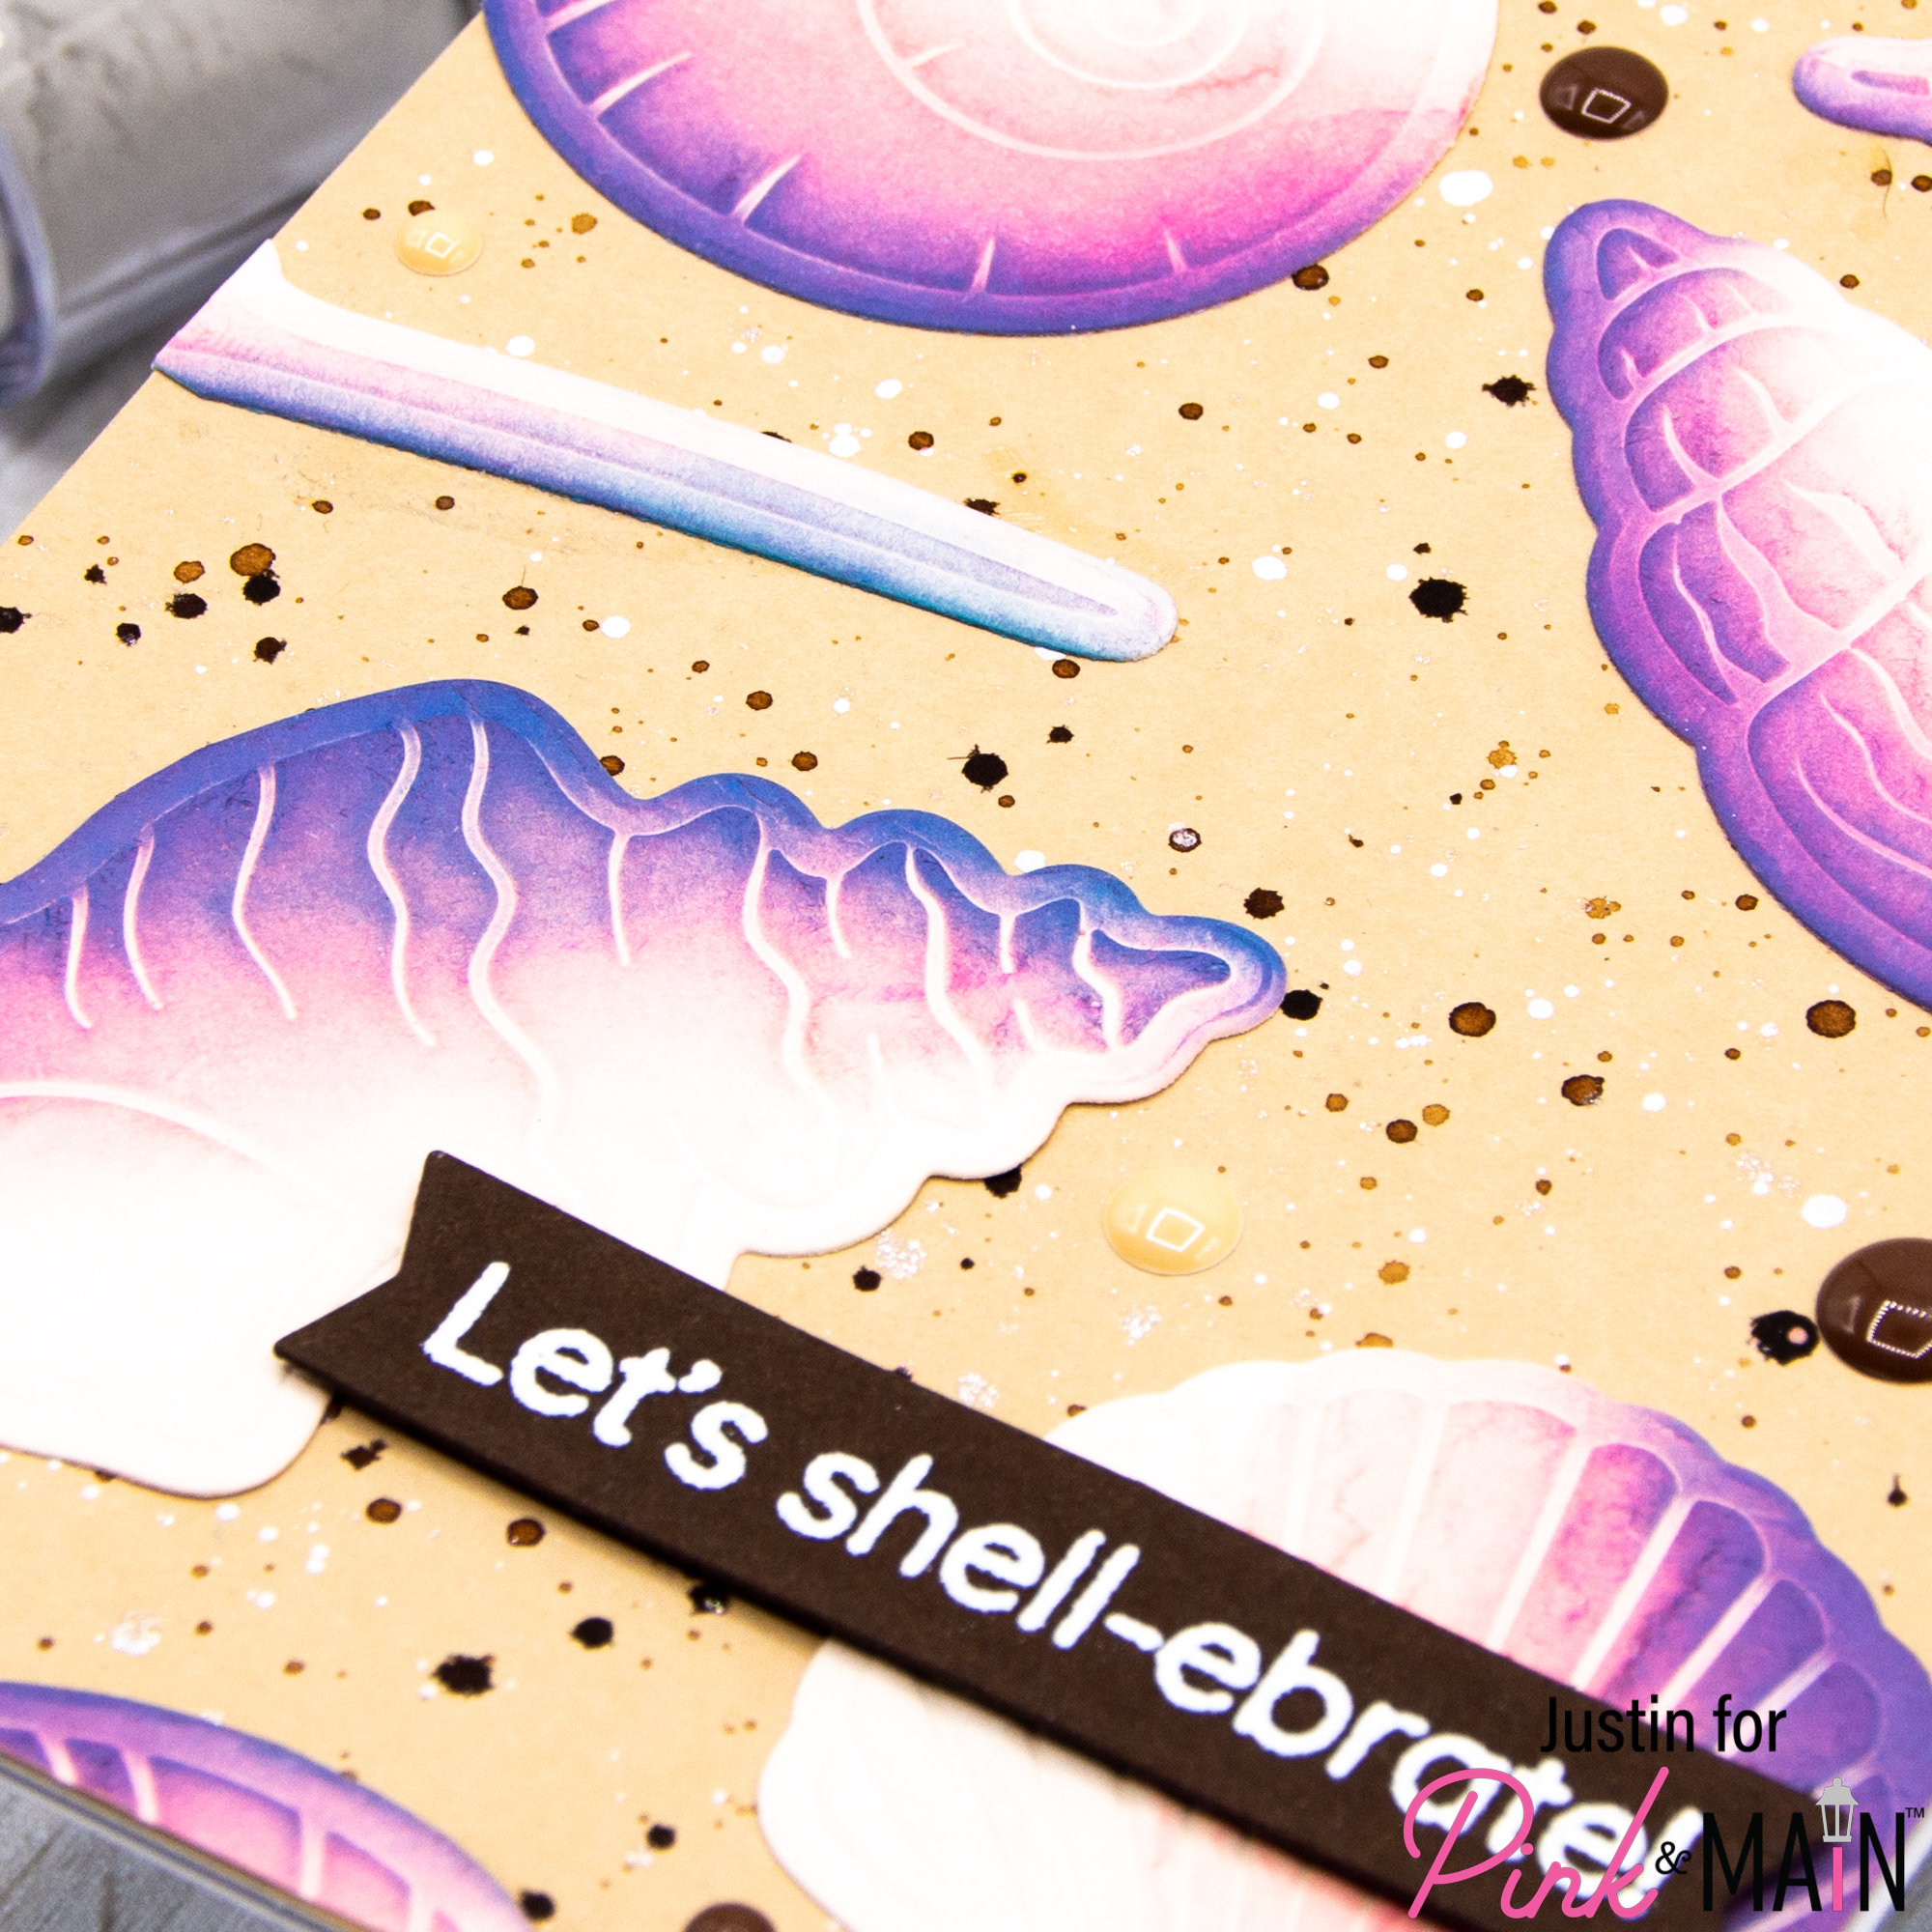
Taking a piece of 6″ x 6″ blush cardstock from my stash, I placed it into my Seashells 6″ x 6″ Emboss and Cut Folder and ran it through my die cutting machine to get one of each shell. I ink-blended each shell using Saltwater Taffy Distress Oxide Ink, then Seedless Preserves, and finally Uncharted Mariner. Uncharted Mariner, when blended into Seedless Preserves, took on much more of a deep blue violet color rather than the dark blue green I expected. However, this was definitely a happy accident because I loved how it looked!
I cut an A2-sized piece of Pebble cardstock. I smooshed Vintage Photo Distress Ink onto my glass mat and very lightly diluted it with water. I picked up the lightly-diluted ink with a watercolor brush and splattered it on my panel. Once dry, I diluted the Vintage Photo Distress Ink with a little more water, and the flicked a second round of it onto my panel (this gave a lighter color splatter). Once that was dry, I splattered some Sparkle Silk onto the panel. And finally, of course, once dry, I splattered some slightly-diluted white acrylic paint onto the panel.
I stamped my sentiment from the Floral Shells Stamp Set onto Coffee Shop Cardstock, after brushing it with my Magic Anti-Static Brush, in the Embossing/Watermark Ink, heat embossed it with Frosting Embossing Powder, and then die cut it with a Large Sentiment Strips Die.
Finally, it was time to put my card together. I adhered my seashells to my sandy background using liquid adhesive, trimming off any part of the shells that hung over the side of the card and re-using them whenever possible. I used foam tape to prop up my sentiment strip, and added a few Ahoy Enamel Dots for extra embellishment. The last step was to adhere my panel to an A2-sized card base!
Thank you so very much for joining me today! I hope this easy seashell card leaves you with lots of inspiration for how you can use the Seashells Emboss and Cut Folder the next time you sit down to create something!
Happy Crafting!
Justin
Be sure to follow me on Instagram at @justanotebyjustin for all my crafting projects!
Note: This blog does use affiliate links when possible. Please know that I only recommend products that I love and think you’ll love too!
Did you know that I have written a special blog post that I rank all of the current Distress Oxide colors?
Check it out if you haven’t yet! I have had a lot of great response from people who have used this list to start their Distress Oxide Journey!
Leave a Reply