
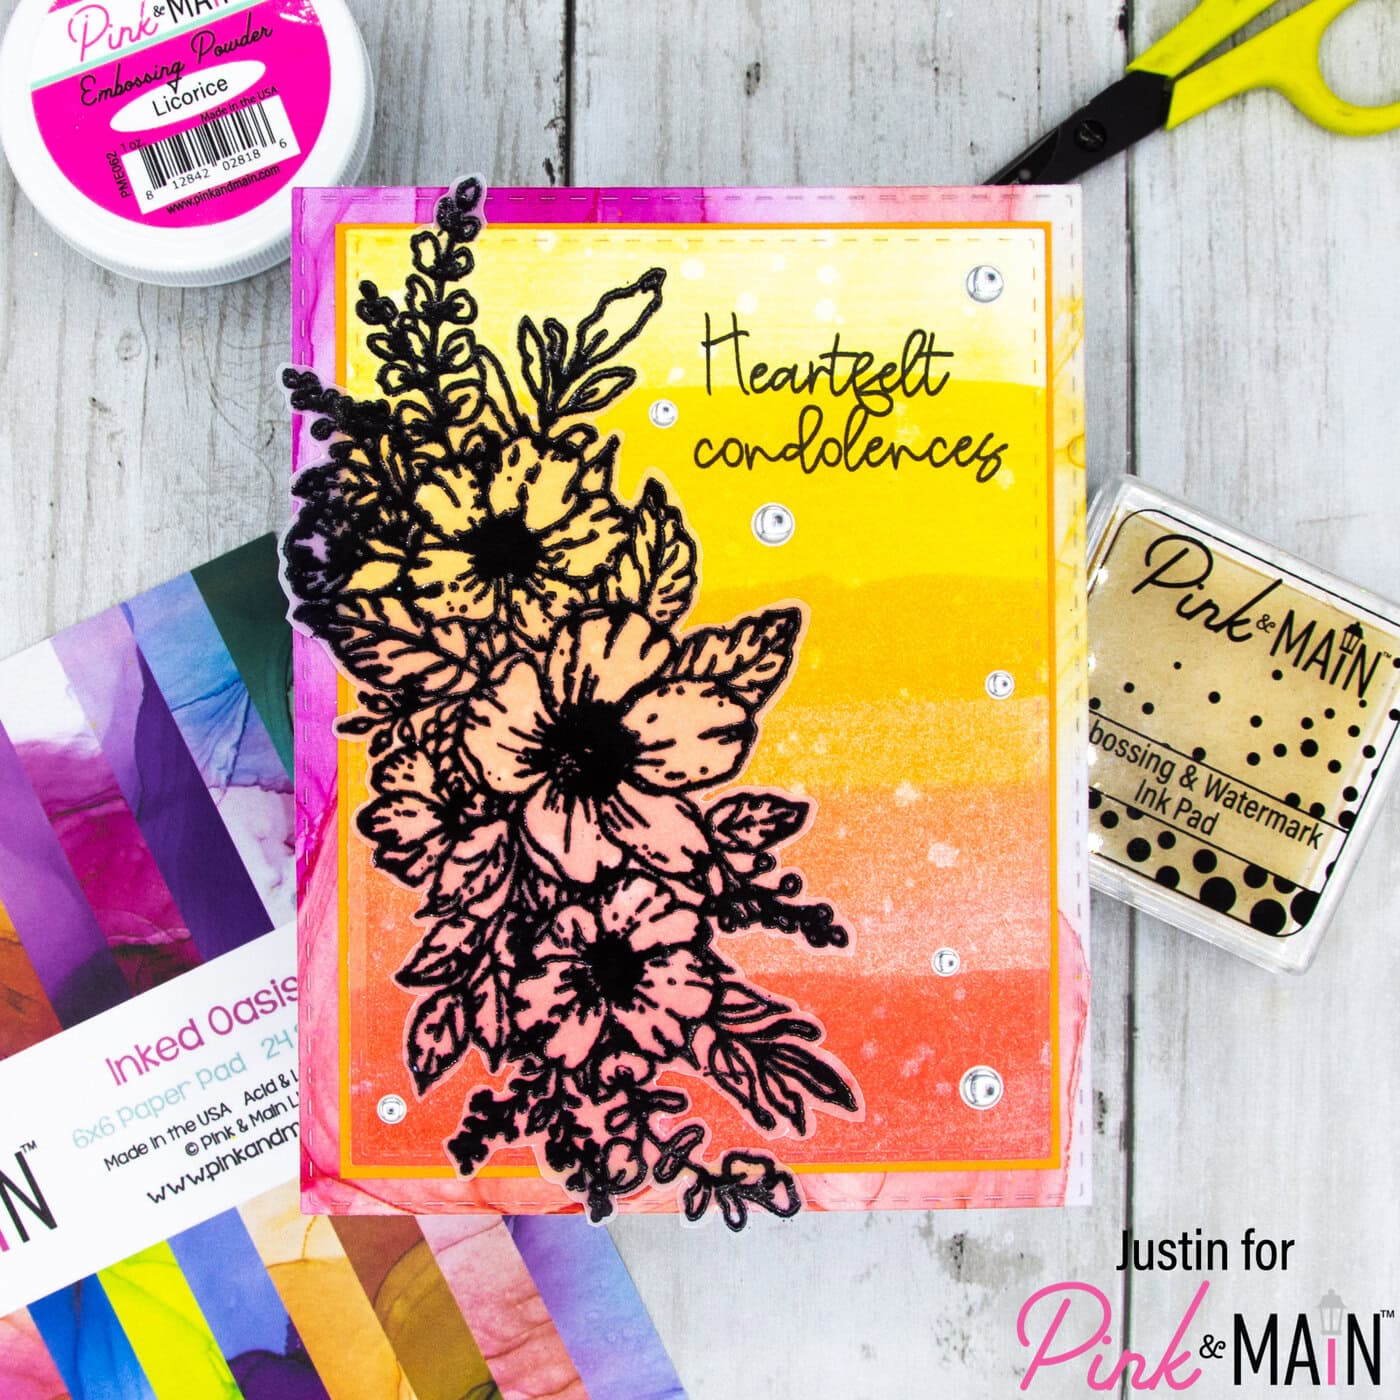
Hello everyone! Today I am sharing the type of card that nobody loves making, but we all find ourselves needing to make them from time to time: sympathy cards. And let’s also be honest, sometimes you need to make one quickly. Today I am showing off how I used the new Sketched Florals set with some of the amazing Pink & Main embossing powders to create a no-coloring required sympathy card.
Note: this blog uses affiliate links at no additional cost to you! By clicking on one of the links in this post and making a purchase, I earn a small commission. Thank you in advance for your support!
First, let me share a list of products used to create this card!
Pink & Main Products Used:
Sketched Florals Stamp Set
Stitched Rectangles Set 1 Dies
Inked Oasis Paper Pack
Construction Cardstock
Licorice Embossing Powder
Embossing & Watermark Ink Pad
Silver Glossy Dots
Magic Anti-Static Brush
Other Products Used:
Catherine Pooler Inks: Limoncello, Catching Rays, Bellini, Do Si Do & Coral Cabana
Versafine Clair Nocturne Ink
Blending Cardstock
Vellum
Also, this post is being featured on the Pink & Main blog today! Head on over, check it out, and give Pink & Main some love by clicking here!
This card was really easy to put together. I used 5 dye inks and smooshed them across a piece of blending cardstock (hint: when doing this, I recommend going from your lightest to darkest color. This prevents discoloration on your ink pad!). I spritzed the panel with water and then I cut out the panel with the 2nd largest die from the Stitched Rectangles Set 1 die set. I trimmed a piece of Construction Cardstock to be slightly larger than the rectangle, and adhered my striped panel.
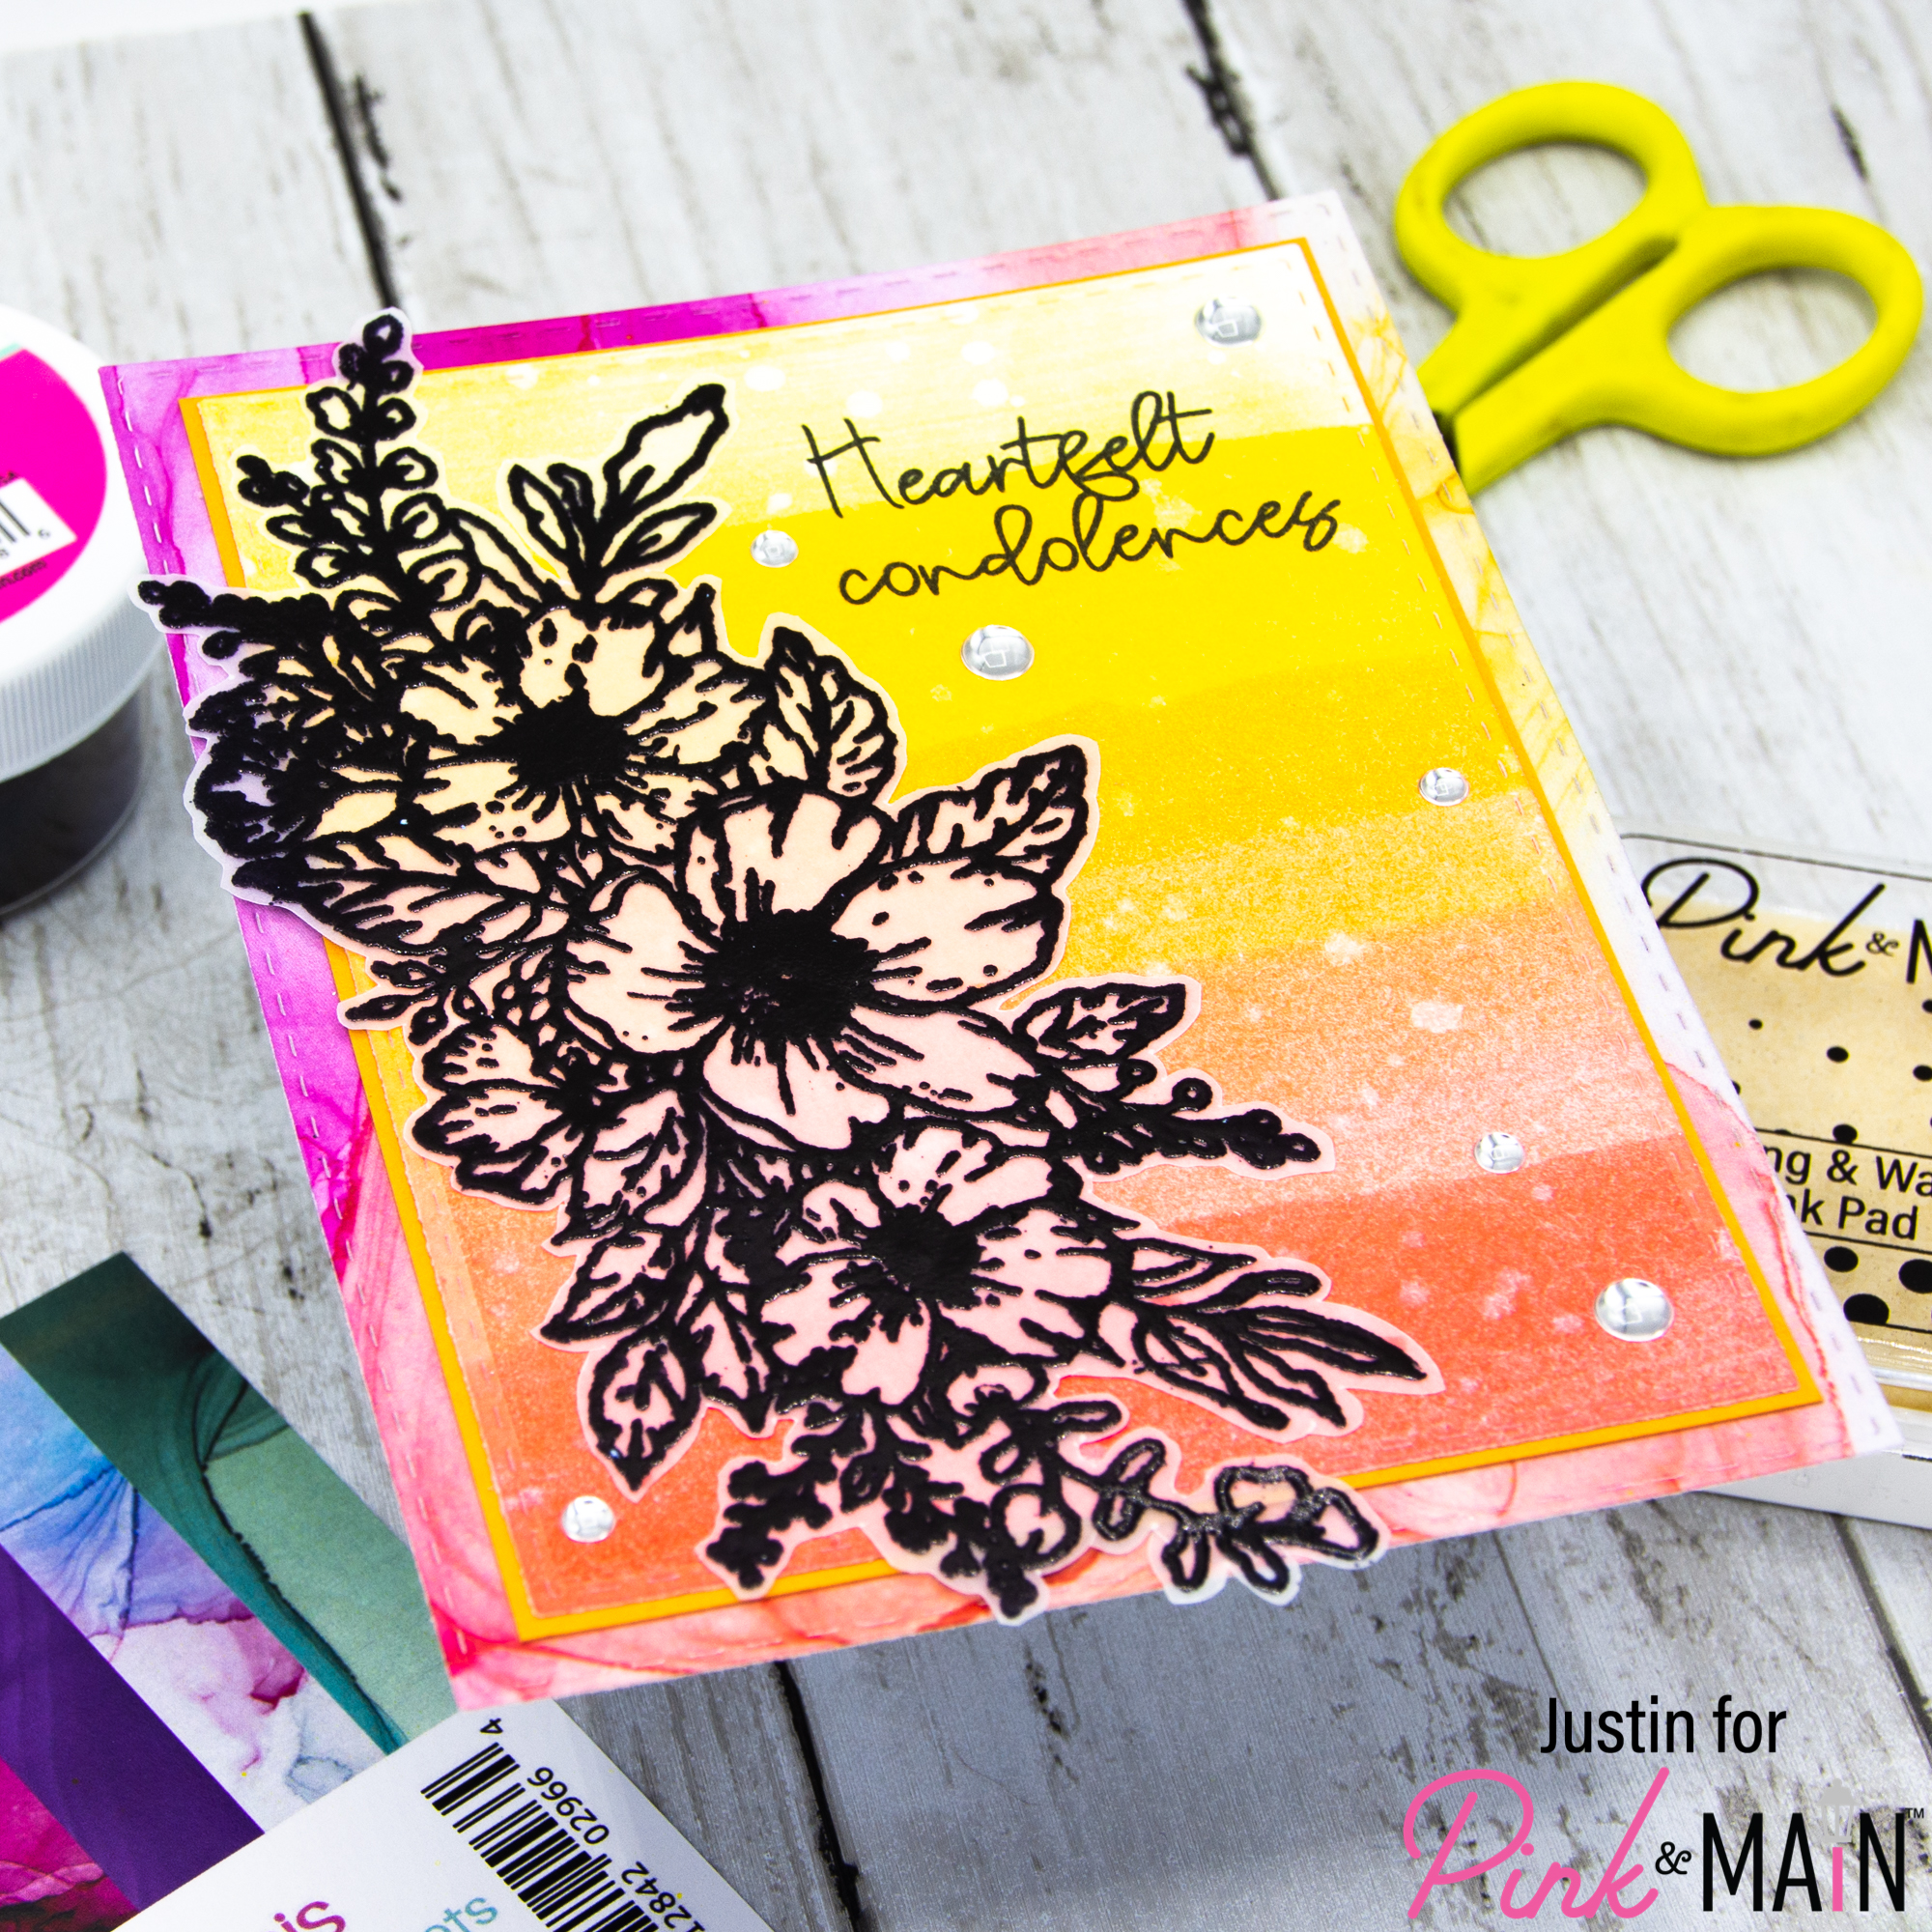
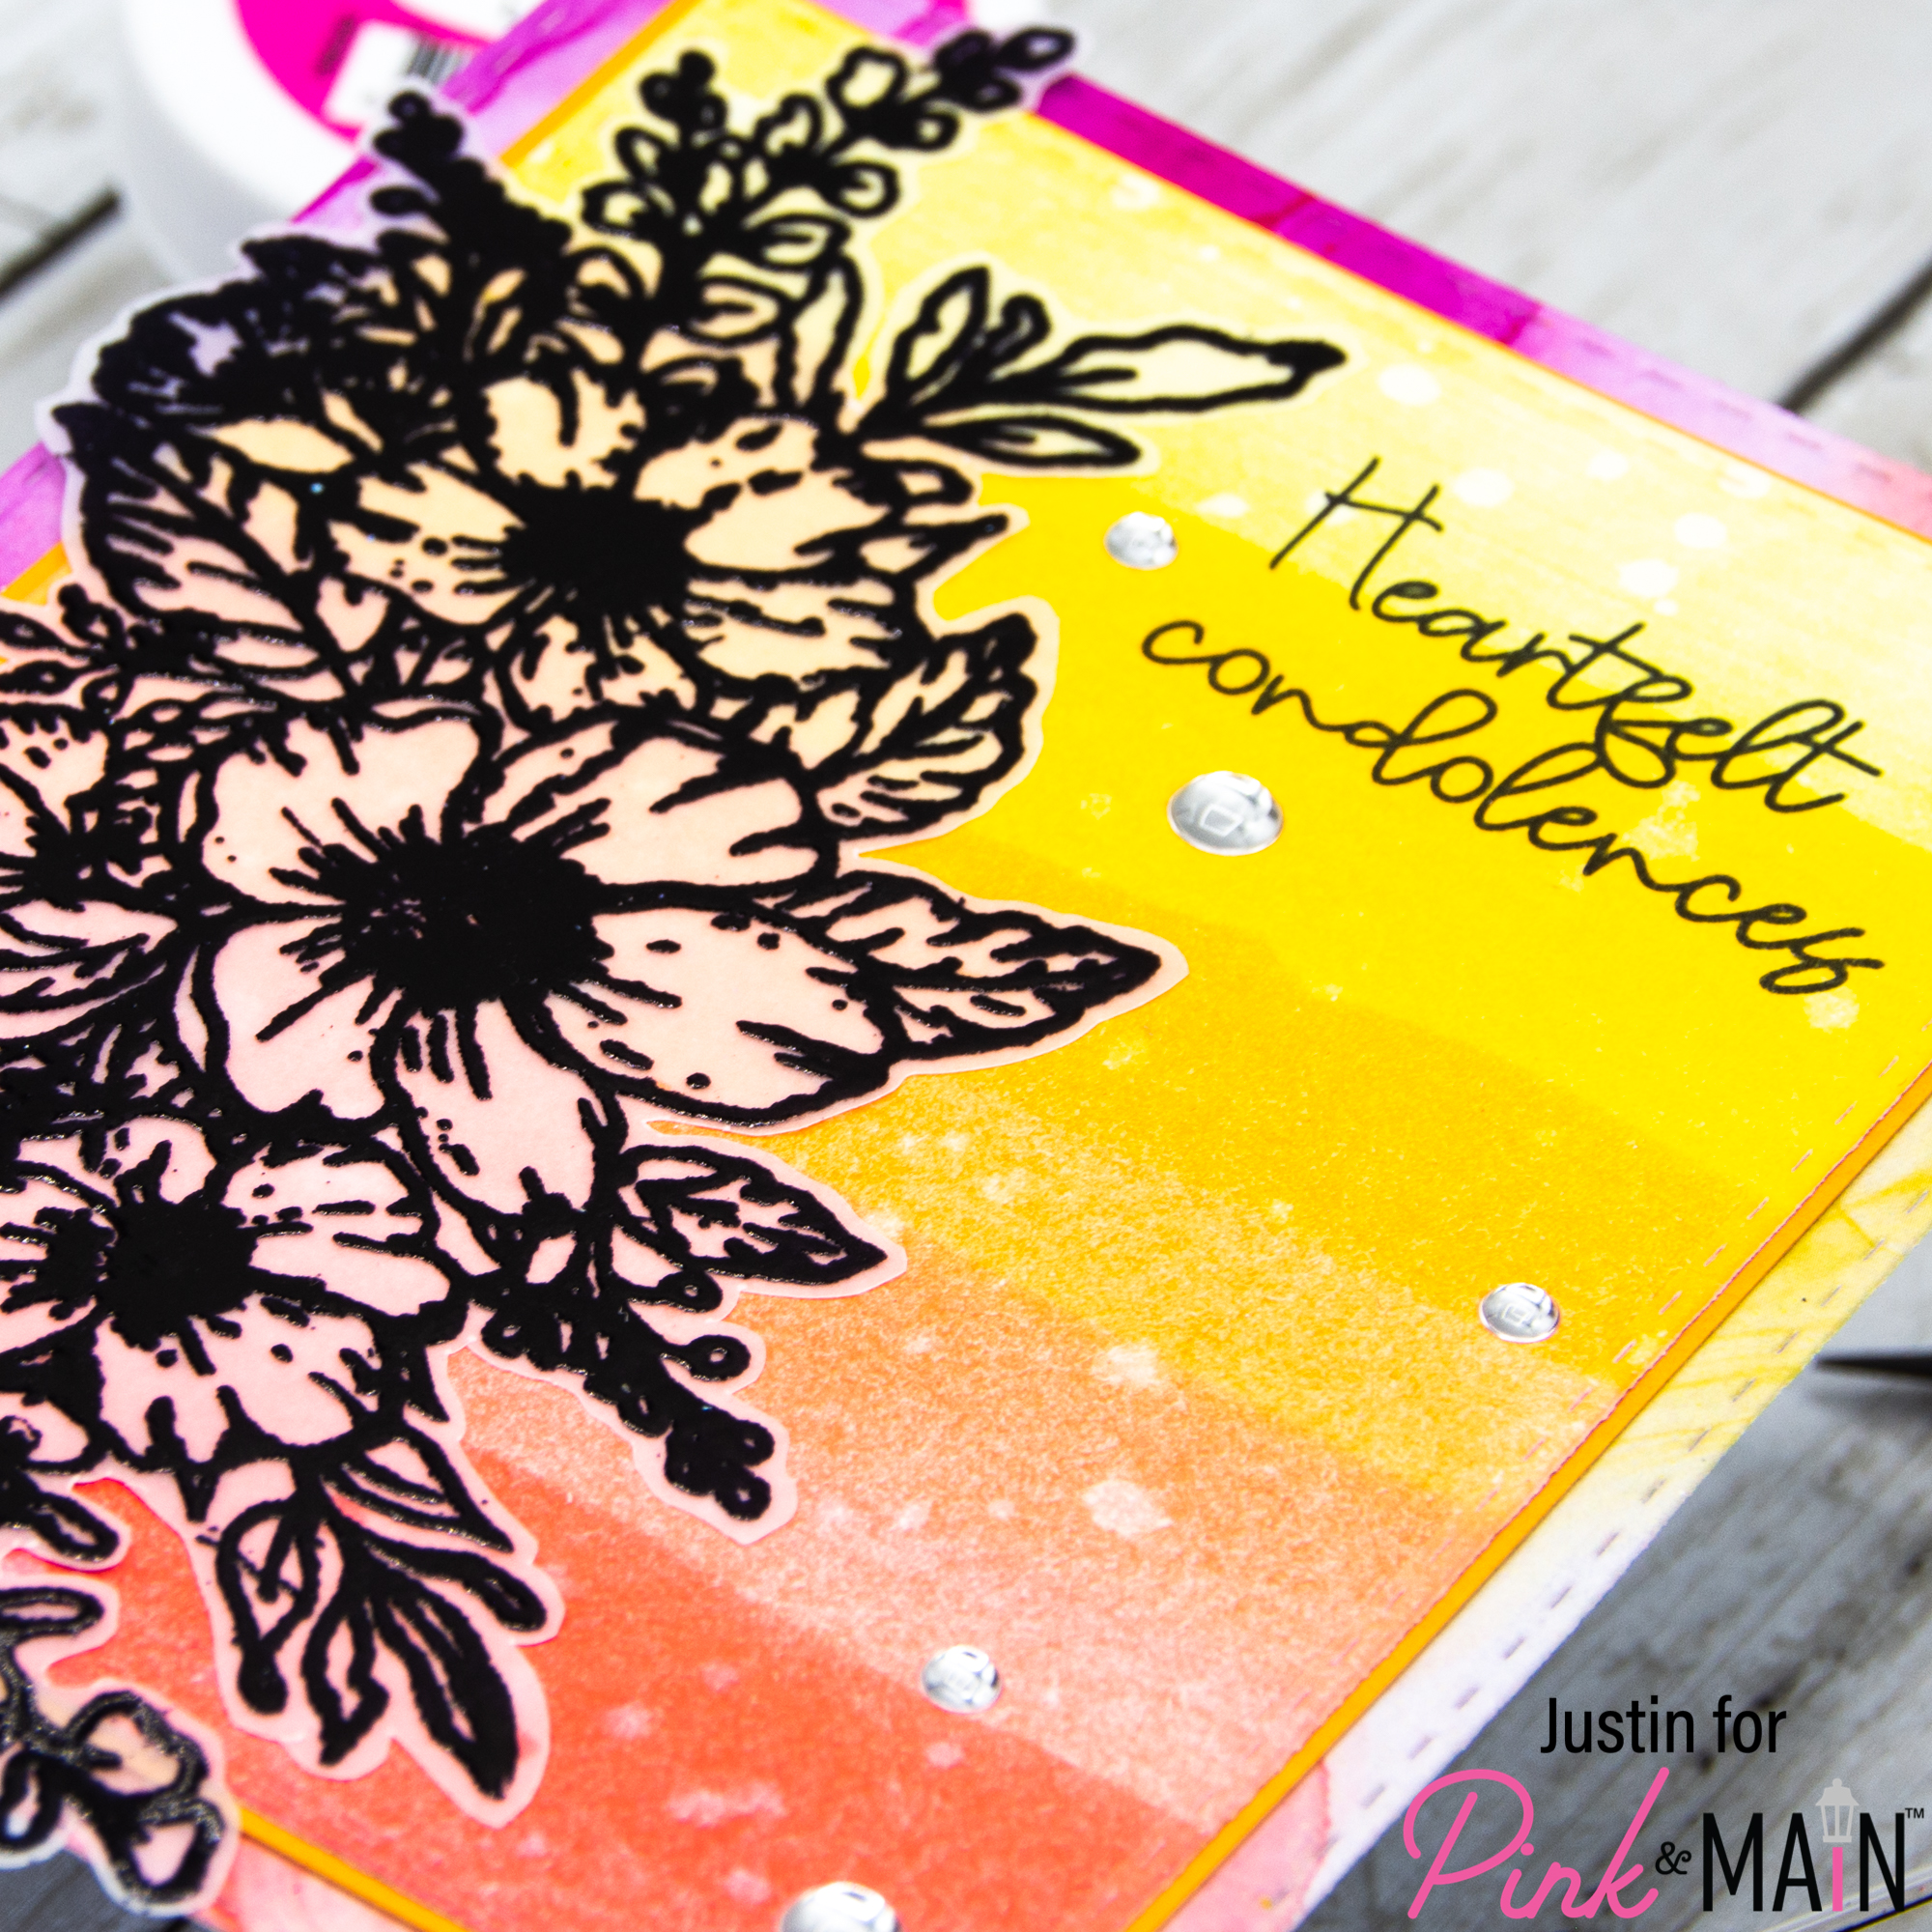
Next, I used my Magic Anti-Static Brush over a piece of vellum, and stamped one of the floral images from the Sketched Florals Stamp Set in Embossing Ink. I then poured Licorice Embossing Powder over it and set it with my heat gun. I fussy cut the flower out and set it aside.
I used the largest die from the Stitched Rectangles Set 1 Die Set and die cut a one of the patterns from the Inked Oasis Paper Pack. I adhered my Construction & Inky panel directly to the Inked Oasis panel with liquid adhesive. Then, I carefully applied liquid adhesive to the back of my vellum flower, doing it directly underneath the embossed areas so it wouldn’t show through once adhered. I adhered my flower to my panel and placed an acrylic block on top so I got solid contact for an extended period of time.
I finished my card off by stamping my sentiment in Versafine Clair Nocturne Ink, adhering some Silver Glossy Dots, and adhering my panel to an A2-sized card base.
Thank you so much for stopping by my blog! I’m hoping this project gives you a some inspiration for how you can whip up a quick sympathy card when you need it in a pinch.
Happy Crafting!
Justin
Be sure to follow me on Instagram at @justanotebyjustin for all my crafting projects!
Note: This blog does use affiliate links when possible. Please know that I only recommend products that I love and think you’ll love too!
Did you know that I have written a special blog post that I rank all of the current Distress Oxide colors?
Check it out if you haven’t yet! I have had a lot of great response from people who have used this list to start their Distress Oxide Journey!
Leave a Reply