

Hello everyone! Today I am sharing a card that I just find ribbit-ing! I am using the Pink & Main May Stamp of the Month: Ribbit, along with its coordinating die set, to make an adorably swampy birthday card! Let’s get into the details!
This blog post uses affiliate links at no additional cost to you! Affiliate links are used so that I earn a small commission on any purchases you make by clicking on the links below. Thank you in advance for your support!
Pink & Main Products Used:
May Stamp of the Month: Ribbit
Coordinating Die Set
Polka Hearts Cover Die
Large Sentiment Strip Dies
Stitched Rectangle Dies Set 1
Magic Anti-Static Brush
Frosting Embossing Powder
Spring Glitter Paper
Butterfly Kisses Enamel Dots
Other Products Used:
Copic Markers
Copic Paper
Copic-Safe Ink
Distress Oxide Inks: Salvaged Patina, Peacock Feathers, Broken China, Tumbled Glass, Shabby Shutters, Peeled Paint & Gathered Twigs
Versafine Clair Nocturne Ink
Blending Cardstock
Note: this post is also being featured on the Pink & Main blog. Head on over by clicking here and give them some love!
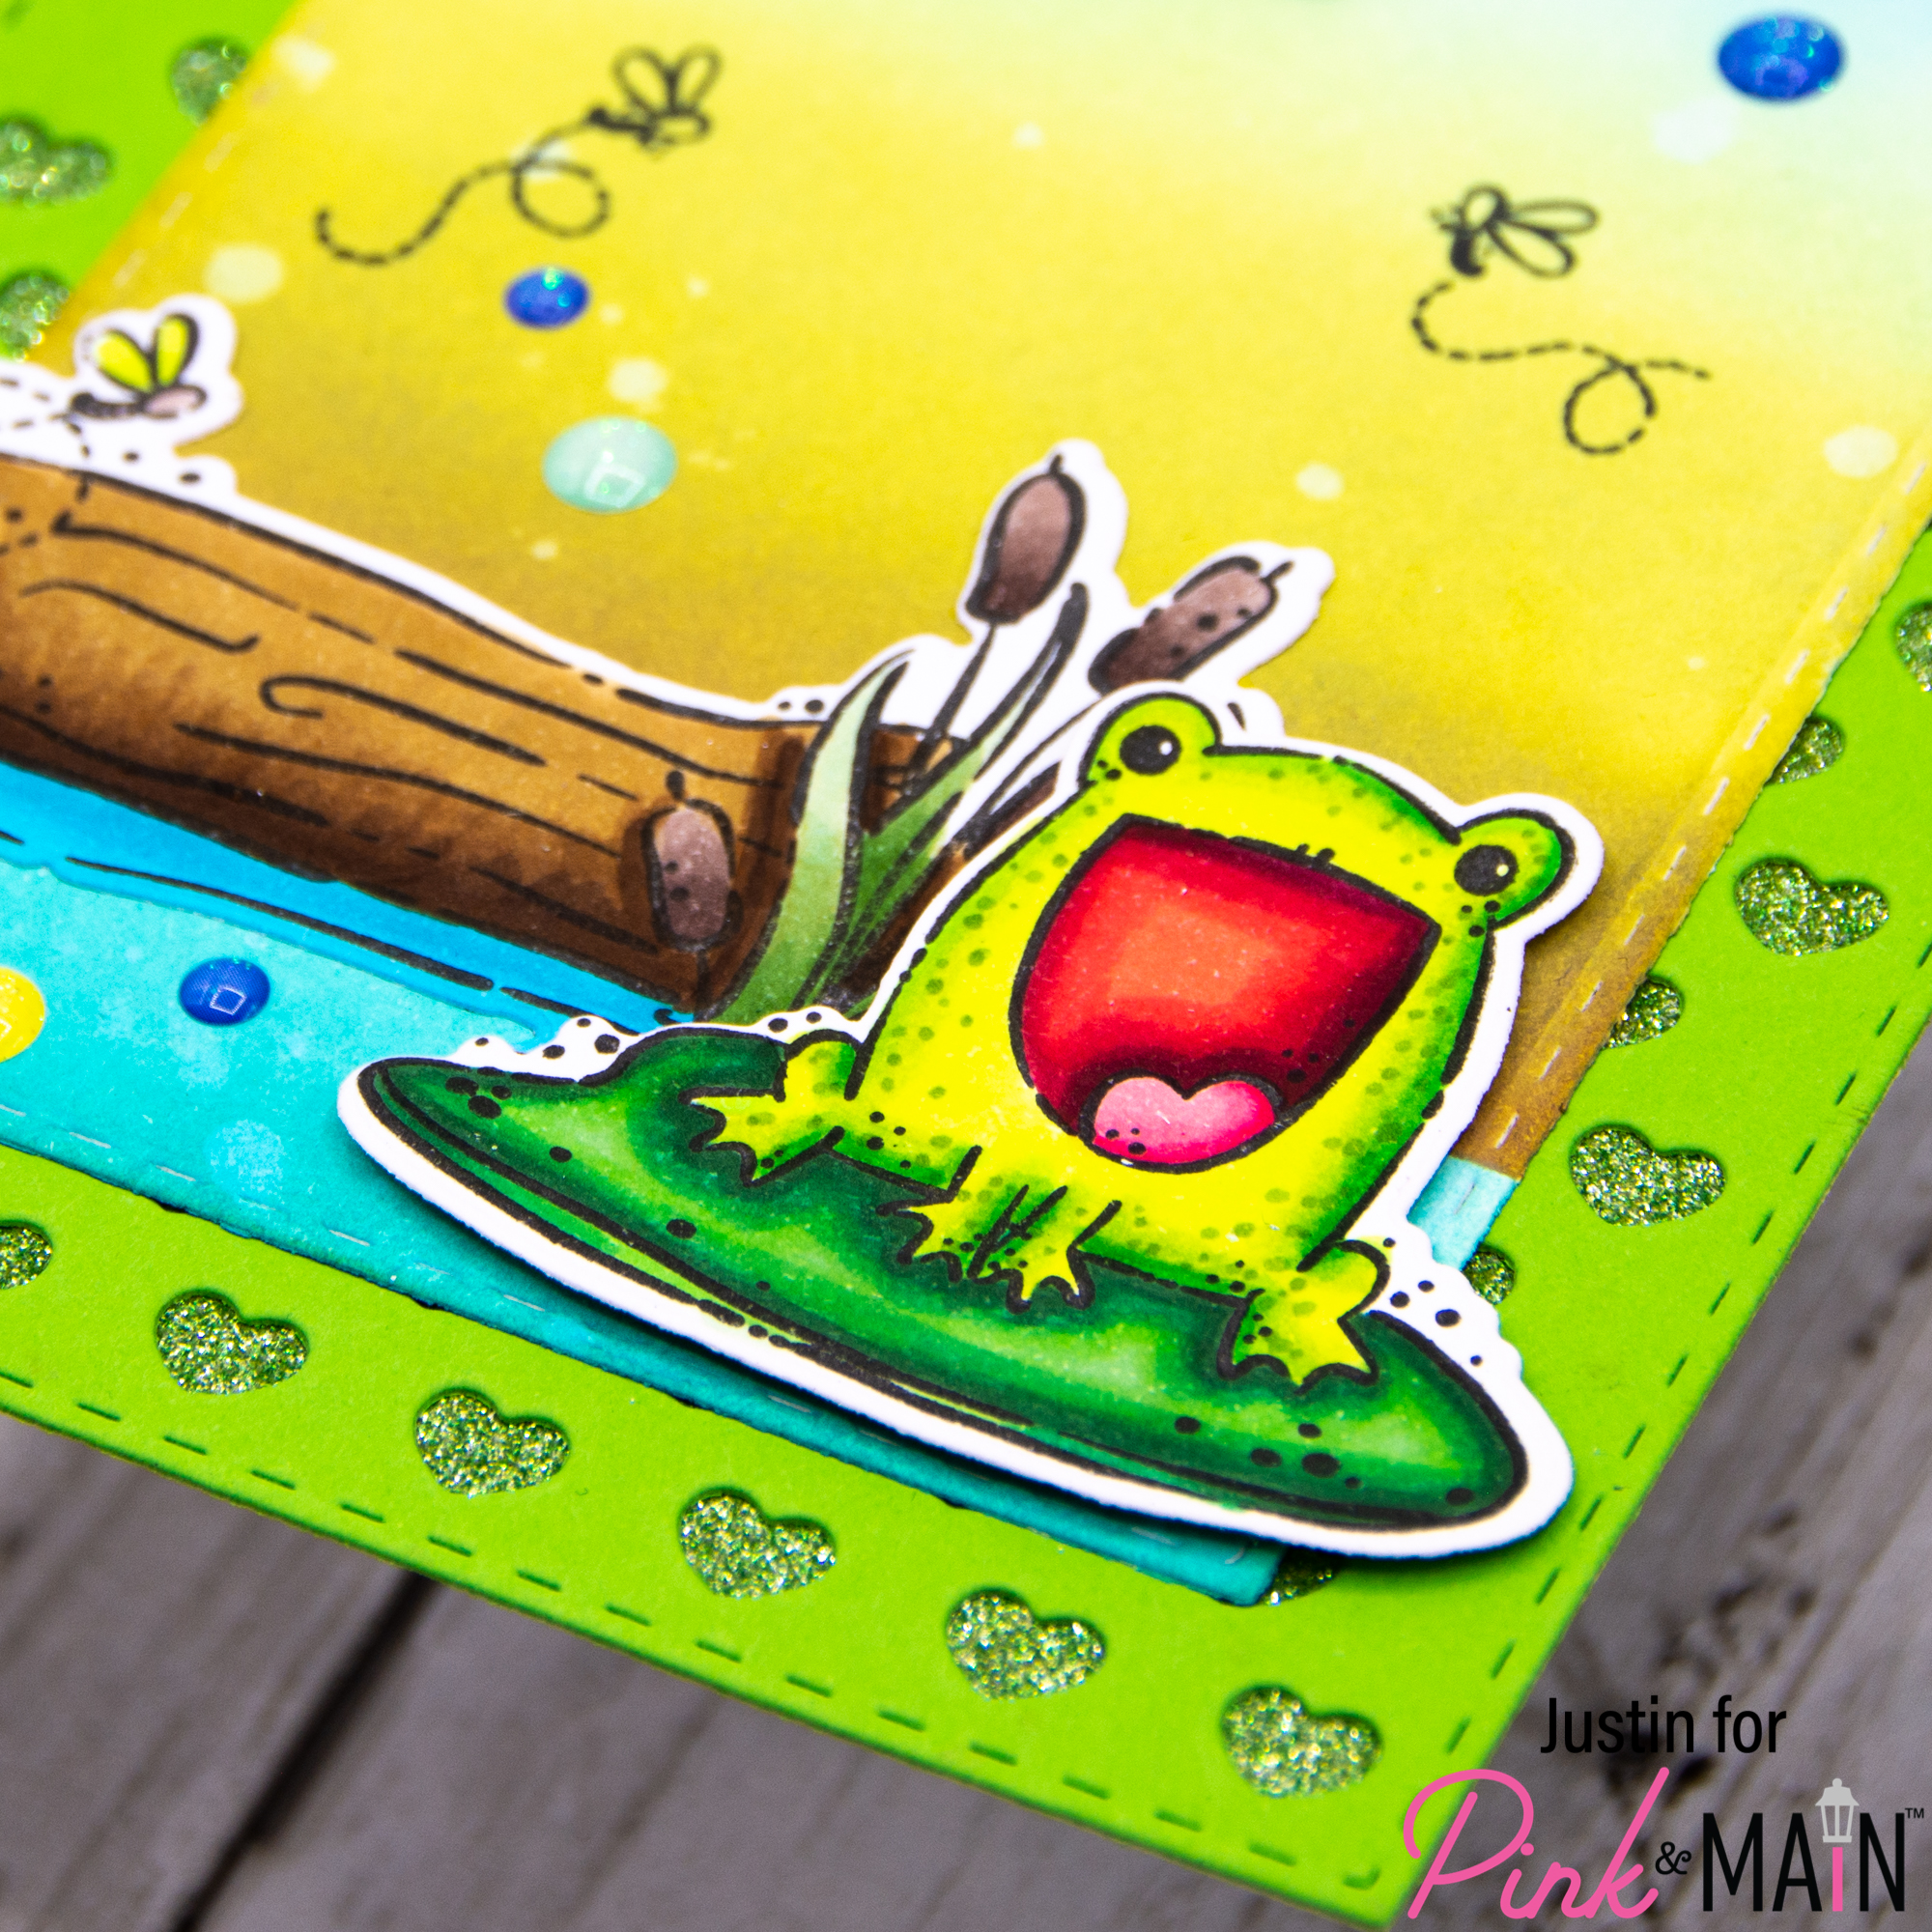
This card was quite simple to put together. Using the Ribbit Stamp of the Month set, I stamped out the image of the frog on the lily pad and the log image, and colored them with Copic Markers. I used the coordinating die cuts to cut them out accordingly.
For my scene background, I die cut a piece of blending cardstock with the 3rd largest die from the Stitched Rectangles Die Set 1. I then blended up a pond using Salvaged Patina and Peacock Feathers Distress Oxide Inks. I masked off my water portion and blended up an ombré on the top 2/3rds of my panel with Distress Oxide Inks (from top to bottom): Broken China, Tumbled Glass, Shabby Shutters, Peeled Paint & Gathered Twigs. I also spritzed this layer with water to get some bleached spots.
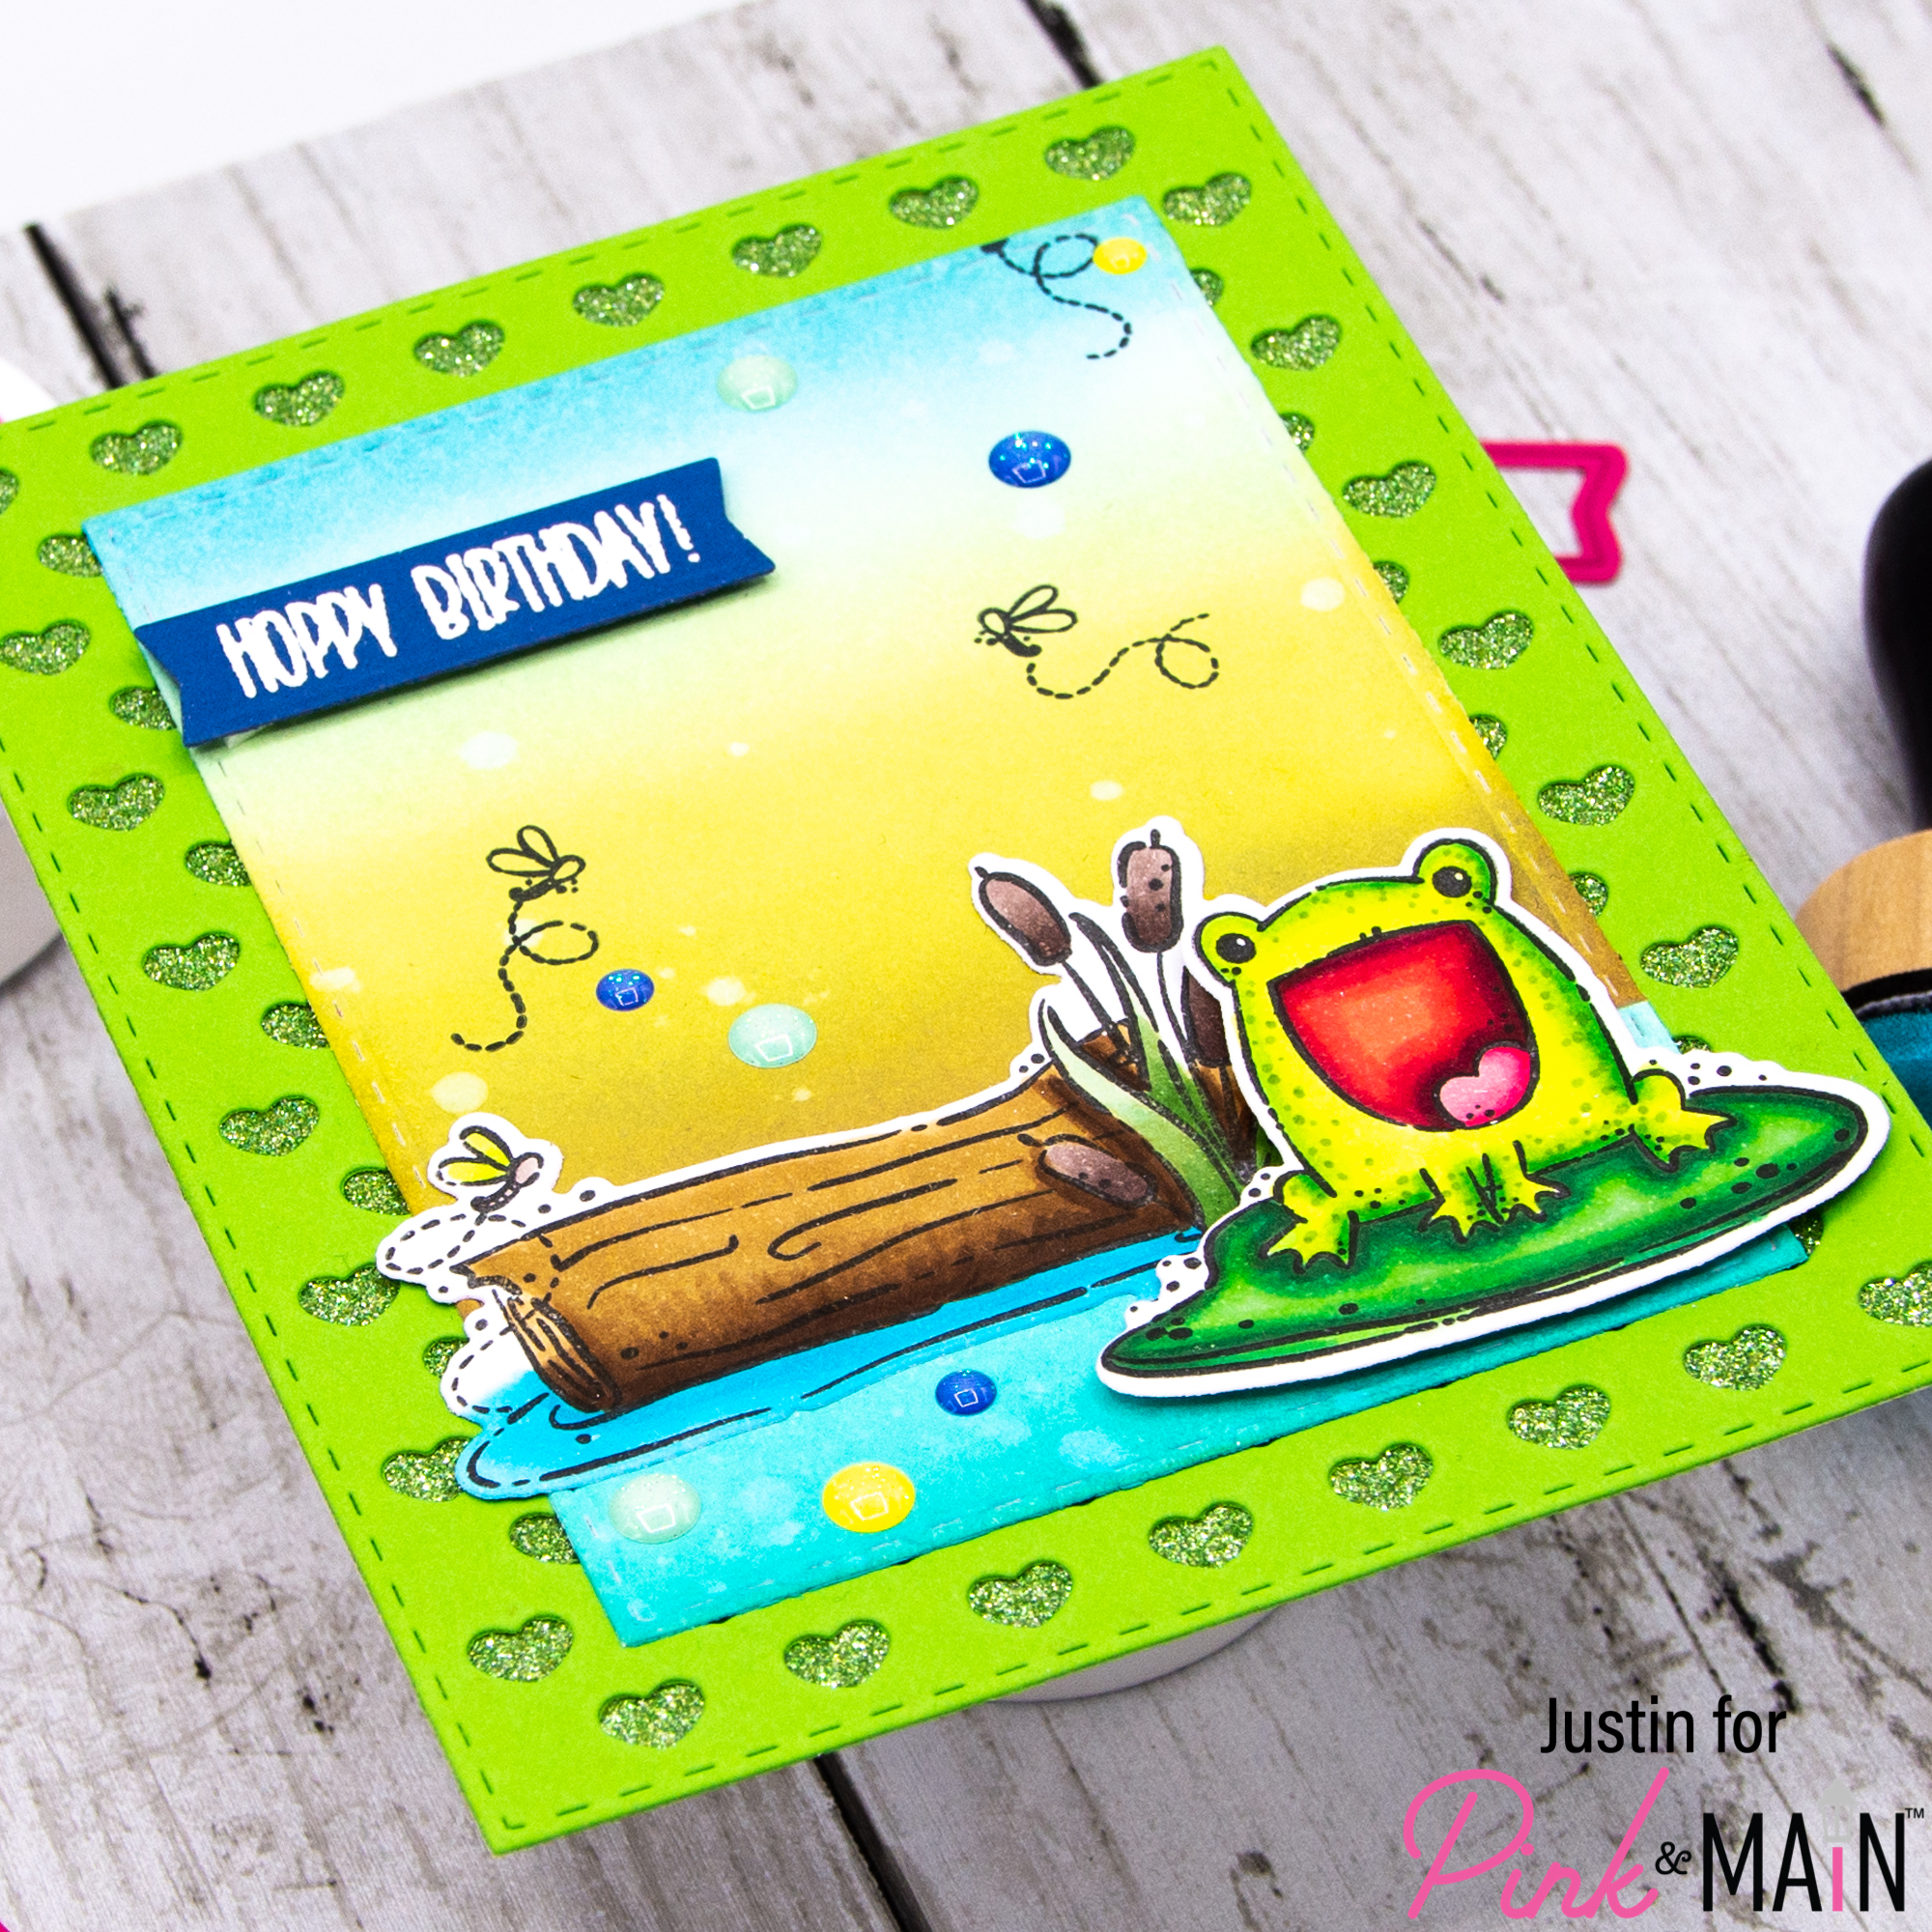
For my heart background, I die cut a piece of green cardstock with the Polka Hearts Cover Die. I then cut a piece of the Pale Green Glitter Paper from the Spring Glitter Paper Pack down to A2-size and adhered my Polka Hearts Die Cut directly on top. I adhered my scene stitched rectangle directly on top of my Polka Hearts panel as well.
Using the Frosting Embossing Powder, I heat embossed my sentiment and then die cut it using the Large Sentiment Strips Die Set.
I adhered my log image with liquid adhesive and then adhered my frog and sentiment using foam tape. I finished off my card by placing a few clusters of Butterfly Kisses Enamel Dots and adhering my card to a card base!
Thank you so much for stopping by the Pink & Main blog today! I hope this project provided some inspiration for how you can use the Ribbit Stamp set to create some frog-tastic projects!
For more crafty inspiration, please be sure to follow me on Instagram and check out my personal blog as well!
Thank you once again for stopping by! Happy Crafting!
Justin
Leave a Reply