
Hello Everyone! Today I am so excited to be sharing a spooky fun Halloween project that I made using the new Mini Halloween Hauntings die set by i-Crafter!
Now, I have been busy at work making all the festive crafts lately to build-up my stash! So, when I received the new Mini Halloween Hauntings die set from i-Crafter, I just knew I needed to make a fun card with it! However, I knew that I wanted to include a sentiment with it, and I thought it would be fun to do something short and sweet! I ended up stumbling upon the Comic Words die set and I had that lightbulb-turning-on idea!
First, I die cut each of the shapes in the Mini Halloween Hauntings die set 2-3 times from white cardstock. I had thought about just die cutting them directly from black cardstock, because I knew I wanted them all to be black. However, I like how applying ink gives it a more textured and shaded look. So, I took a foam blender, applied some Black Soot Distress Ink, and dabbed the blender over each shape to give it a slightly speckled look. I set these images aside to use for later.
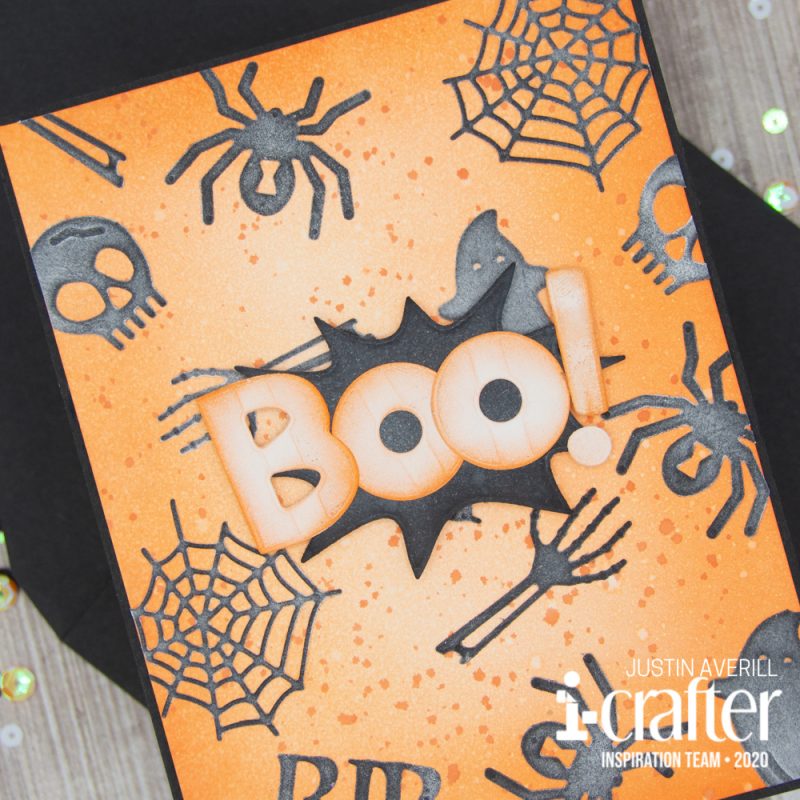
Next, I die cut out (1) B, (2) O’s, and the exclamation point from the Comic Words die set in white cardstock so that they would spell out “BOO!”. I also cut out one of the bursts from the set out of black cardstock. Using a blending brush, I blended each of the edges of the letters orange (and of course the exclamation point too). This created a nice ombré look to them.
For my background, I cut a 4.125″ x 5.375″ piece of white smooth cardstock. I then blended it entirely with Catherine Pooler Bellini dye ink. Next, I took Catherine Pooler Orange Twist ink and blended the edges so that it looked like it was a light to dark orange ombré, from the center going outwards. I spritzed this panel with a little bit of water for some more speckling. To finish this panel off, I took some Orange Twist ink, watered it down a tad, and splattered it onto the panel.
Once my panel was dry, I adhered my Mini Halloween Haunting die cuts to the panel so that they evenly covered it. I wanted to make sure that some of the die cuts went off the side of the panel. Once I was done adhering, I took my scissors to each of the overlapping die cuts and cut trimmed them so they stopped at the same spot as the panel.

I also adhered my “BOO!” sentiment to my black burst, and adhered foam tape to the back of this piece so that it 1) stuck together and 2) would give it a little bit of lift from the panel for that 3D look. I adhered this piece to the center of my card.
To finish this project off, I adhered my panel to an A2-sized piece of black cardstock, which gave the orange panel a nice frame. Then I adhered the whole unit to an A2-sized card base!
Thank you so much for stopping by the i-Crafter blog today! Be sure to head on over to the i-Crafter store and check out all of the amazing new September release goodies!
You can also follow me on Instagram and Pinterest for even more crafty creations!
Happy Crafting!
Justin
Be sure to follow me on Instagram at @justanotebyjustin for all my crafting projects!
Note: This blog does use affiliate links when possible. Please know that I only recommend products that I love and think you’ll love too!
Leave a Reply