
Before we jump into today’s project, I wanted to let you know that I sometimes use affiliate links to share my favorite products. Don’t worry, these links won’t cost you a dime – they’re just little crafty helpers behind the scenes that help support me if you use them to make a purchase! Let’s dive into today’s creative journey together!
Hey friends! Today I’m sharing a bright and funky floral card I created during my latest livestream, all about layering stencil techniques using products from Pretty Pink Posh. If you love bold color, easy techniques, and high-impact designs, this one is right up your alley!
If you missed the live, no worries—the replay is now available on my YouTube channel! 🎥 Be sure to check it out so you can see these layering stencil techniques in action. And while you’re there, don’t forget to like and subscribe so you never miss future tutorials and livestreams!
Supplies Used
Pretty Pink Posh
- Layered Sunflowers Stencil
- Floral Wreath Builder Die Set
- Winter Mug Dies
- Sentiment Strip Die Set
- Sentiment Strips: Summer Stamp Set
- Spring Shadow Die
Other Key Supplies
- Concord & 9th Ink Colors (Berry Kiss, Basil, Surfside, Oceanside, Capri, Aster, Hazelnut)
- Cardstock (Pink Lemonade, Parsley, Aqua Sky, Surfside, Aster, Peanut, White)
- Blending Brushes Waffle Flower 1+ Shader
- Crater Lake Sequins
- MISTI Precision Glue Press
- Die Cutting Machine
- Foam Strips
- Glass Mat
Card Recap
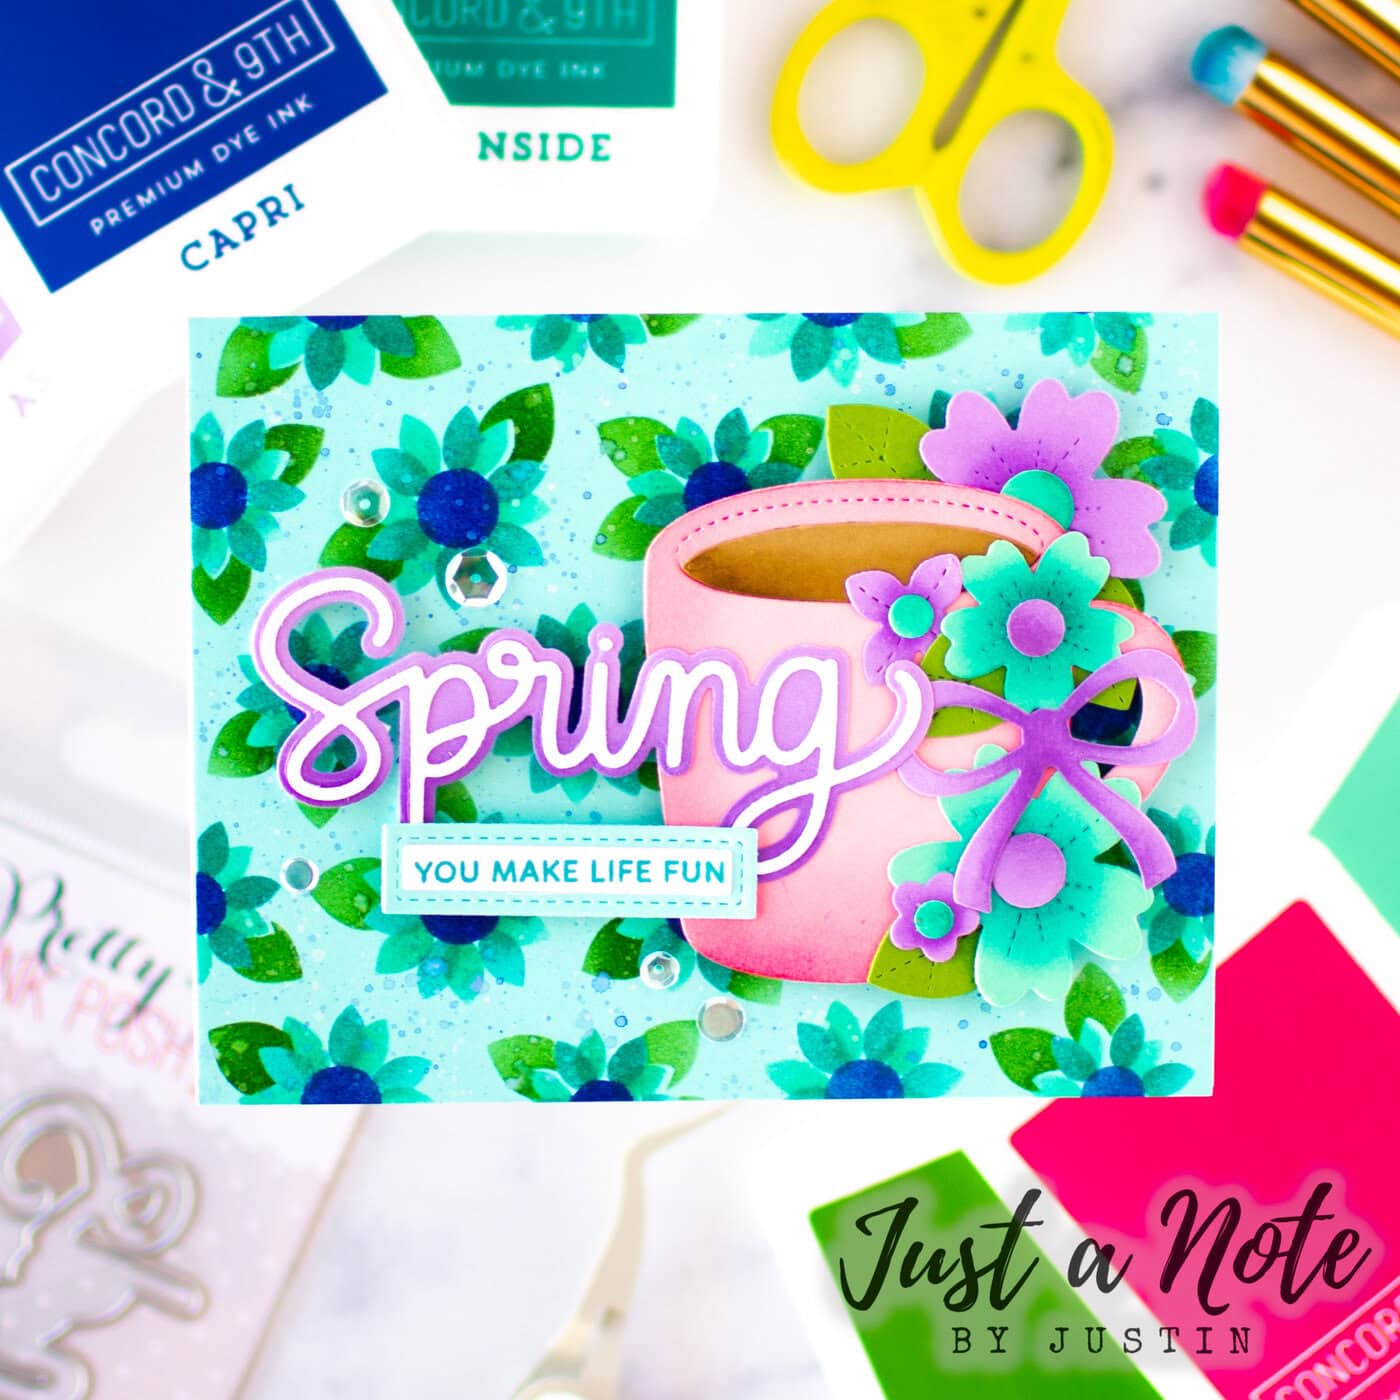
For this card, I really wanted to highlight how layering stencils can take your backgrounds to the next level. Using the Layered Sunflowers Stencil, I built up color in stages to create depth and dimension you just can’t get from a single stencil. Pairing those layers with some of the newer Concord & 9th inks made the colors feel extra vibrant and fresh—perfect for a bold, funky floral look.
I then brought everything together with die cuts and a clean sentiment to balance out all that color. The mix of bright cardstock, soft blending, and layered details creates a design that feels both playful and polished. It’s a great reminder that with the right stencil techniques, you can create eye-catching backgrounds quickly and easily!
Thanks so much for stopping by! 💕
Be sure to catch the replay on my YouTube channel, and I’ll see you in the next crafty session!
Happy Crafting!
Justin
Be sure to follow me on Instagram at @justanotebyjustin and subscribe to my YouTube Channel for even more crafting inspiration!
Note: This blog does use affiliate links when possible. Please know that I only recommend products that I love and think you’ll love too!
Did you know that I have written a special blog post that I rank all of the current Distress Oxide colors?
Check it out if you haven’t yet! I have had a lot of great response from people who have used this list to start their Distress Oxide Journey!
Leave a Reply