

This post uses affiliate links to products I love at no additional cost to you! By clicking the links in this post, I earn a small commission should you make a purchase. Thank you in advance!
Hello everyone! Today I’m sharing a birthday card that I created using the new Hammies stamp set! I just think this stamp set is the cutest, especially this little guy with the sign!
Below is a list of products that I used to put this card together!
Pink & Main Products Used:
Hammies
Hammies Dies
Pawsome Friend
Pawsome Friend Dies
Ruff Day Dies
Stitched Rectangle Dies Set 1
Large Sentiment Strip Dies
Summer Fun Glitter Enamel Dots
Clear Embossing Powder
Ice Rink Cardstock
Foam Tape
EZ Squeeze Craft Glue
Other Key Products Used:
Copic Markers
Catherine Pooler Inks: Pucker Up, Catching Rays & Fiesta Blue
Versafine Clair Nocturne Ink
Now let’s get into some details for how I put this card together!
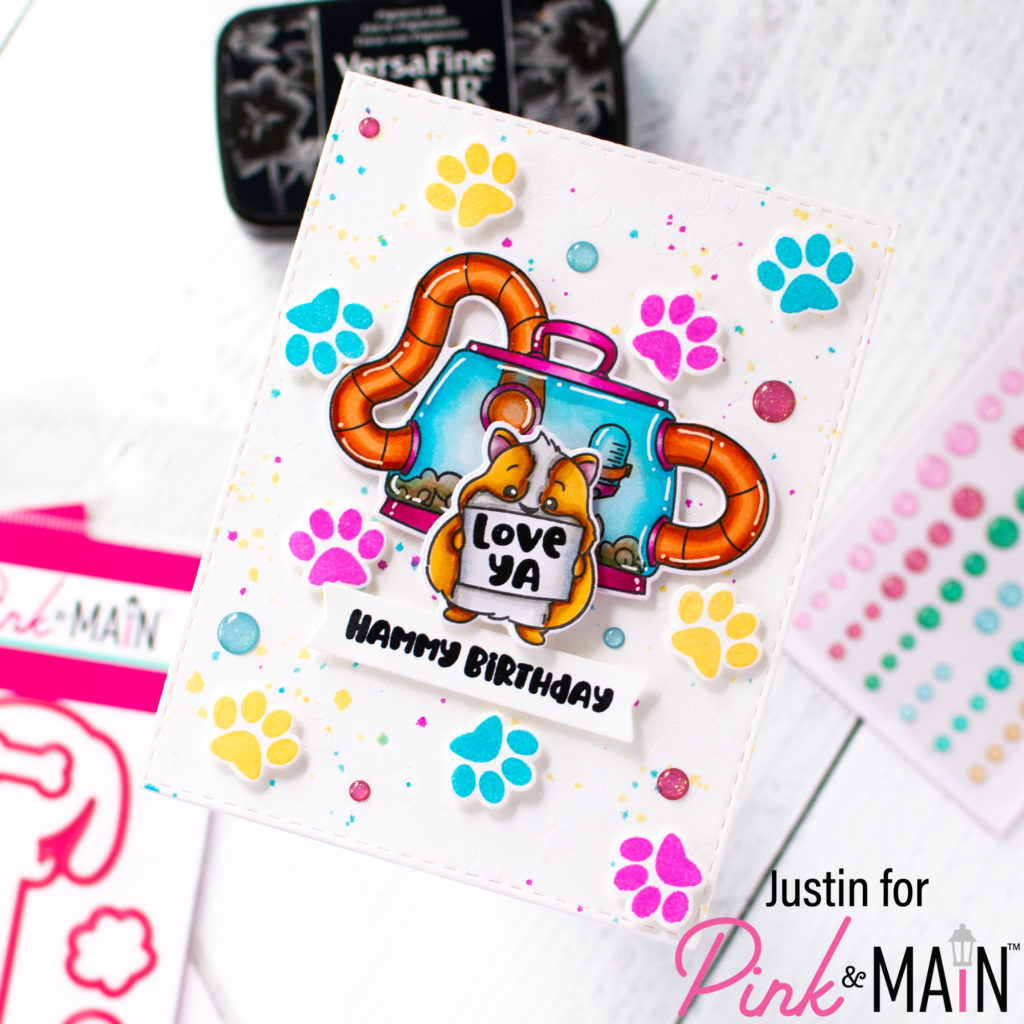
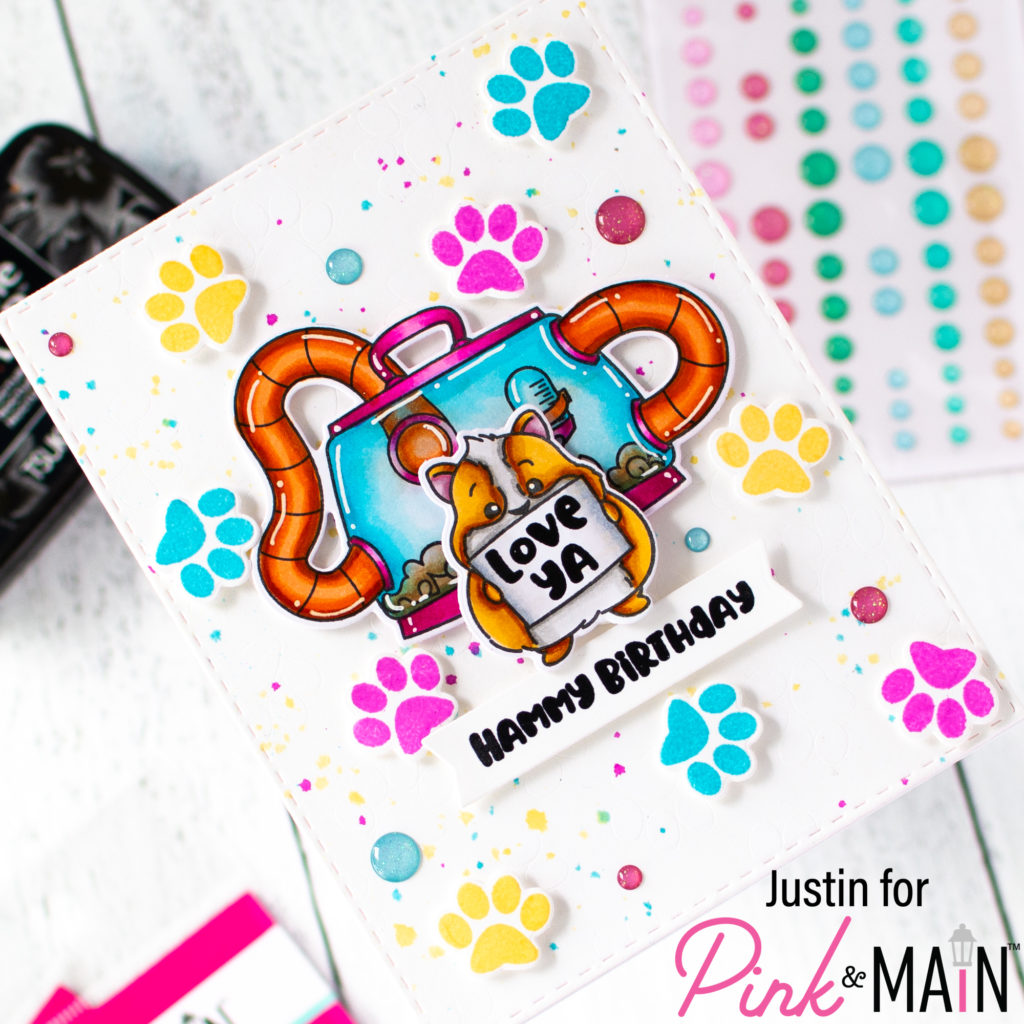
I started off this card by coloring up the sign-holding hamster and the hamster cage from Hammies with my Copic Markers, and then cutting them out with the coordinating die cuts. I also took the paw print stamp from the Pawsome Friend stamp set and stamped it out on Ice Rink Cardstock in Pucker Up, Catching Rays and Fiesta Blue Catherine Pooler Inks. I then was able to use the coordinating paw print dies from both the Pawsome Friend and Ruff Day coordinating dies to cut them out. By using both of the dies, I was able to get my die cutting done in half the time!
Next, I die cut Ice Rink cardstock with the largest die from the Stitched Rectangles Set 1 die set. I splattered the die cut with Pucker Up, Catching Rays and Fiesta Blue ink.
I then took Versafine Clair Nocturne ink and stamped the “love ya” sentiment on my hammie’s sign, and also stamped the “hammy birthday” sentiment. I heat embossed the sentiments with Clear Embossing Powder. I used one of the dies from the Large Sentiment Strip dies to cut out the “hammy birthday” sentiment.
I adhered my A2 panel to a card base and then used foam tape to adhere my hammie, sentiment strip, and all of the paw prints. I also added some Summer Fun Glitter Enamel Dots for additional glitz, and my card was complete!
Thank you so much for stopping by to check out my card today using the new Hammies set! I hope this card leaves you with some fun and colorful inspiration for your next Pink & Main project!
Thanks again for stopping by!
Happy Crafting!
Justin
Be sure to follow me on Instagram at @justanotebyjustin and subscribe to my YouTube Channel for even more crafting inspiration!
Note: This blog does use affiliate links when possible. Please know that I only recommend products that I love and think you’ll love too!
Did you know that I have written a special blog post that I rank all of the current Distress Oxide colors?
Check it out if you haven’t yet! I have had a lot of great response from people who have used this list to start their Distress Oxide Journey!
Leave a Reply