

Before we jump into today’s project, I wanted to let you know that I sometimes use affiliate links to share my favorite products. Don’t worry, these links won’t cost you a dime – they’re just little crafty helpers behind the scenes that help support me if you use them to make a purchase! Let’s dive into today’s creative journey together!
Hello friends! Justin here, and I’m flying by with some sweet inspiration the day using the brand new Sprinkles of Joy stamp set! This set will give you all those ice-cream-vibes and get you ready for summer!
Below is a list of products that I used to create this card:
Sprinkles of Joy Stamp Set
Sprinkles of Joy Coordinating Die Cuts
Concave Rectangle Dies
Stitched Rectangles Set 1 Dies
Big Hello Dies
Water Gems Sparkling Watercolors
Warm Basics 6×6 Paper Pack
Construction Cardstock
Princess Pink Embossing Powder
Frosting Embossing Powder
Embossing Watermark Ink Pad
Pretty Posies Glitter Enamel Dots
EZ Squeeze Craft Glue
Foam Tape
Other Key Products Used:
Copic Markers
Vellum
Watercolor Cardstock
Now let’s get into some details for how I put this card together!
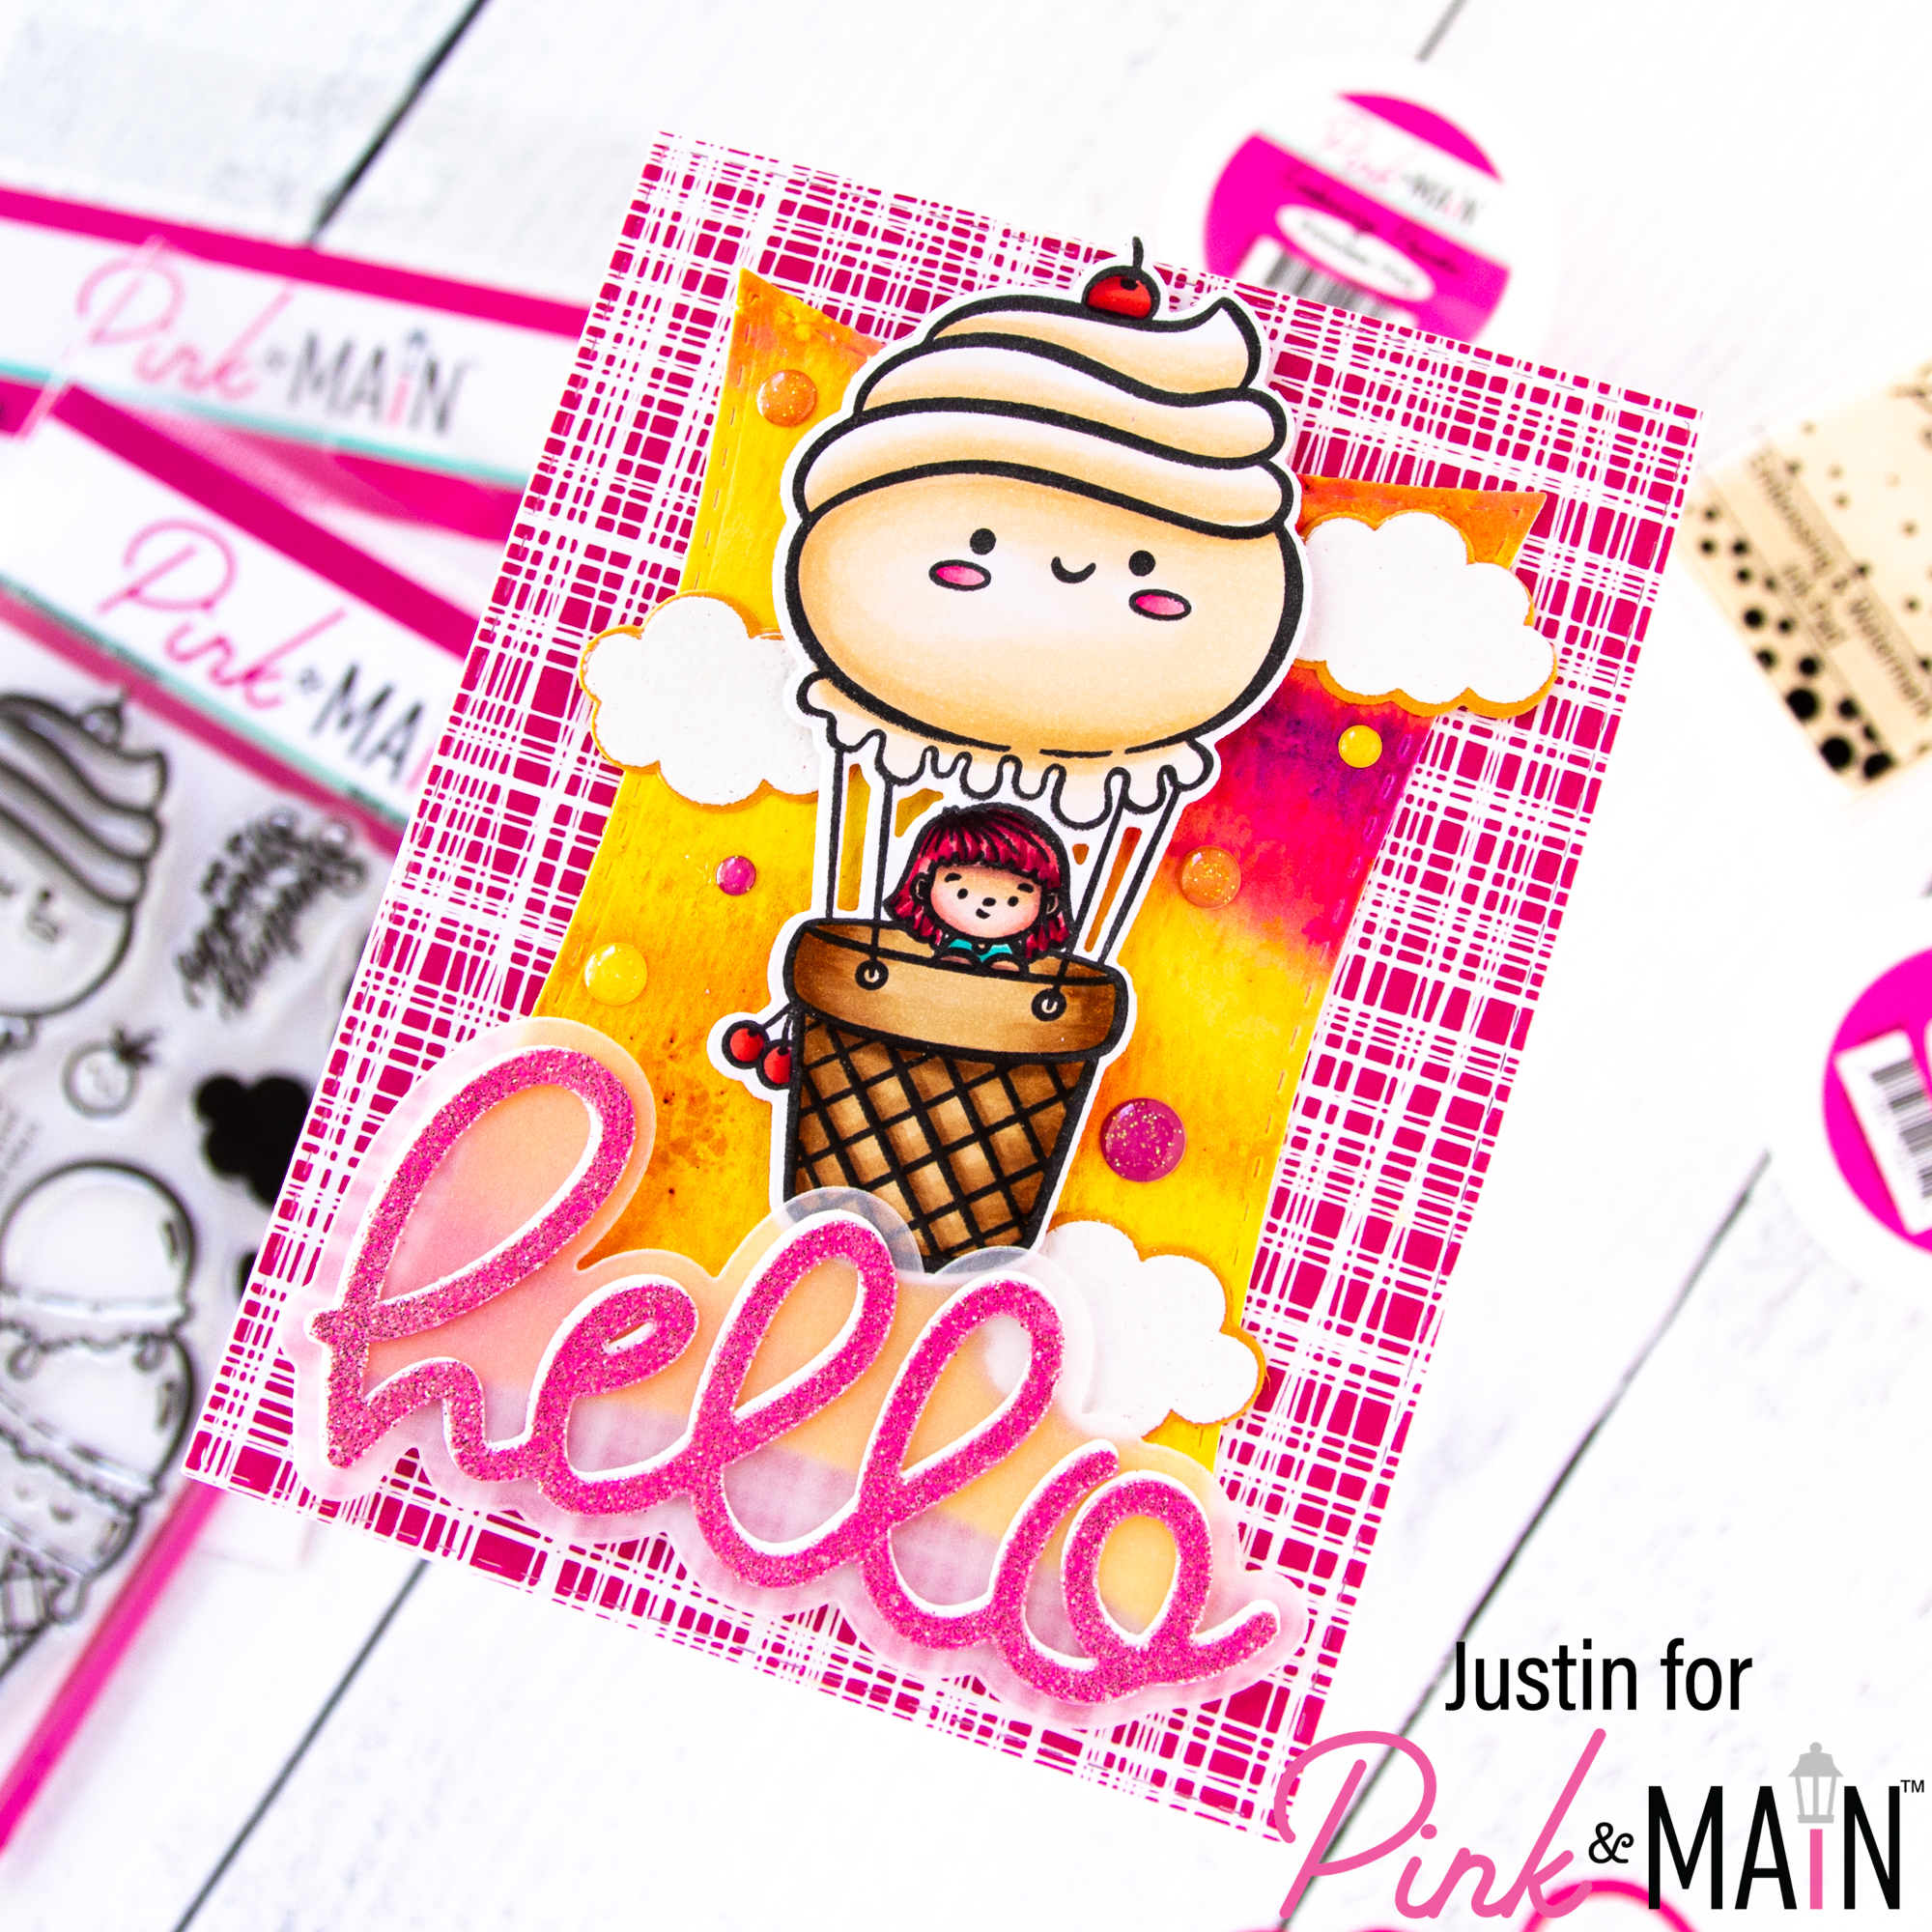
A good week or so before I even got ready to make this card, I had some fun with the Water Gems Sparkling Watercolors! I took Watercolor Cardstock, spritzed it with water, and then began flicking various watercolors on top to see how they would mix. One of the combinations I used created a warm sunset sort of vibe: Sunny, Citrine, Flamingo & Eggplant. I was so happy that, after I planned this card out, I had this panel already pre-made because it worked so well with my cards colors! I used the Concave Rectangles set to die cut out the panel and set it aside for later.
When I began actively planning this card, the very first thing that I did was color up my image from Sprinkles of Love. I used the coordinating dies to cut the image out and saved it for later.
I die cut (2) Big Hello Die Cuts from white cardstock from my stash. Taking one of the dies, I smushed it with the Embossing Watermark Ink pad, poured Princess Pink Embossing Powder over top and then set it with a heat cut. I adhered the embossed die cut on top of the white die cut, offsetting the die cuts slightly so there was a little white bit peeking out on the left-side of the Princess Pink Embossed Die Cut. I die cut the Big Hello outline die from vellum, and adhered my Princess Pink die cut on top with EZ Squeeze Craft Glue and set it aside.
I wanted to use the cloud images from Sprinkles with Joy, so I stamped the clouds onto Construction Cardstock with Embossing Watermark Ink and then heat embossed with Frosting Embossing Powder. I die cut my clouds out with coordinating dies and set them aside.
The last bit I had to prep was taking the Wonky Pink & White Plaid pattern from the Warm Basics Paper Pack and die cutting it with the largest die from the Stitched Rectangle Dies Set 1. I adhered this directly to an A2-sized card base.
I adhered my Concave Rectangle Die onto my Wonky Plaid layer. I then used a combination of foam tape and EZ Squeeze Craft Glue to adhere the rest of my elements to my card. I finished off my card by adhering a few Pretty Posies Glitter Enamel Dots and my card was complete!

Thank you so much for stopping by today! I hope this card leaves you ready to make some sweet summer creations with the new Pink & Main Release!
Happy Crafting!
Justin
Be sure to follow me on Instagram at @justanotebyjustin and subscribe to my YouTube Channel for even more crafting inspiration!
Note: This blog does use affiliate links when possible. Please know that I only recommend products that I love and think you’ll love too!
Did you know that I have written a special blog post that I rank all of the current Distress Oxide colors?
Check it out if you haven’t yet! I have had a lot of great response from people who have used this list to start their Distress Oxide Journey!
Leave a Reply