

This post uses affiliate links at no additional cost to you! By clicking the links in this post, I earn a small commission should you make a purchase. Thank you in advance!
Hello friends! I’m having so much fun with color when it comes to the new March Release items! For this birthday card, I was entirely inspired by the color palette used in the Good Times Glitter Enamel Dots!
Below is a list of products that I used to create this card:
Pink & Main Products Used:
It’s a Celebration Stamp Set
It’s a Celebration Coordinating Dies
Good Times Glitter Enamel Dots
Fireworks Embossing Folder
Premium Dye Inks: Dress Shop, Construction, The Park, Lakeside & Night Sky
Asphalt Cardstock
Frosting Embossing Powder
Embossing Watermark Ink Pad
Magic Anti-Static Brush
Foam Tape
Other Key Products Used:
Copic Markers
Distress Oxide Inks: Twisted Citron, Salty Ocean, Wilted Violet, Picked Raspberry & Crackling Campfire
White Linen Shimmer Spray
Alright, let’s get to the card making!
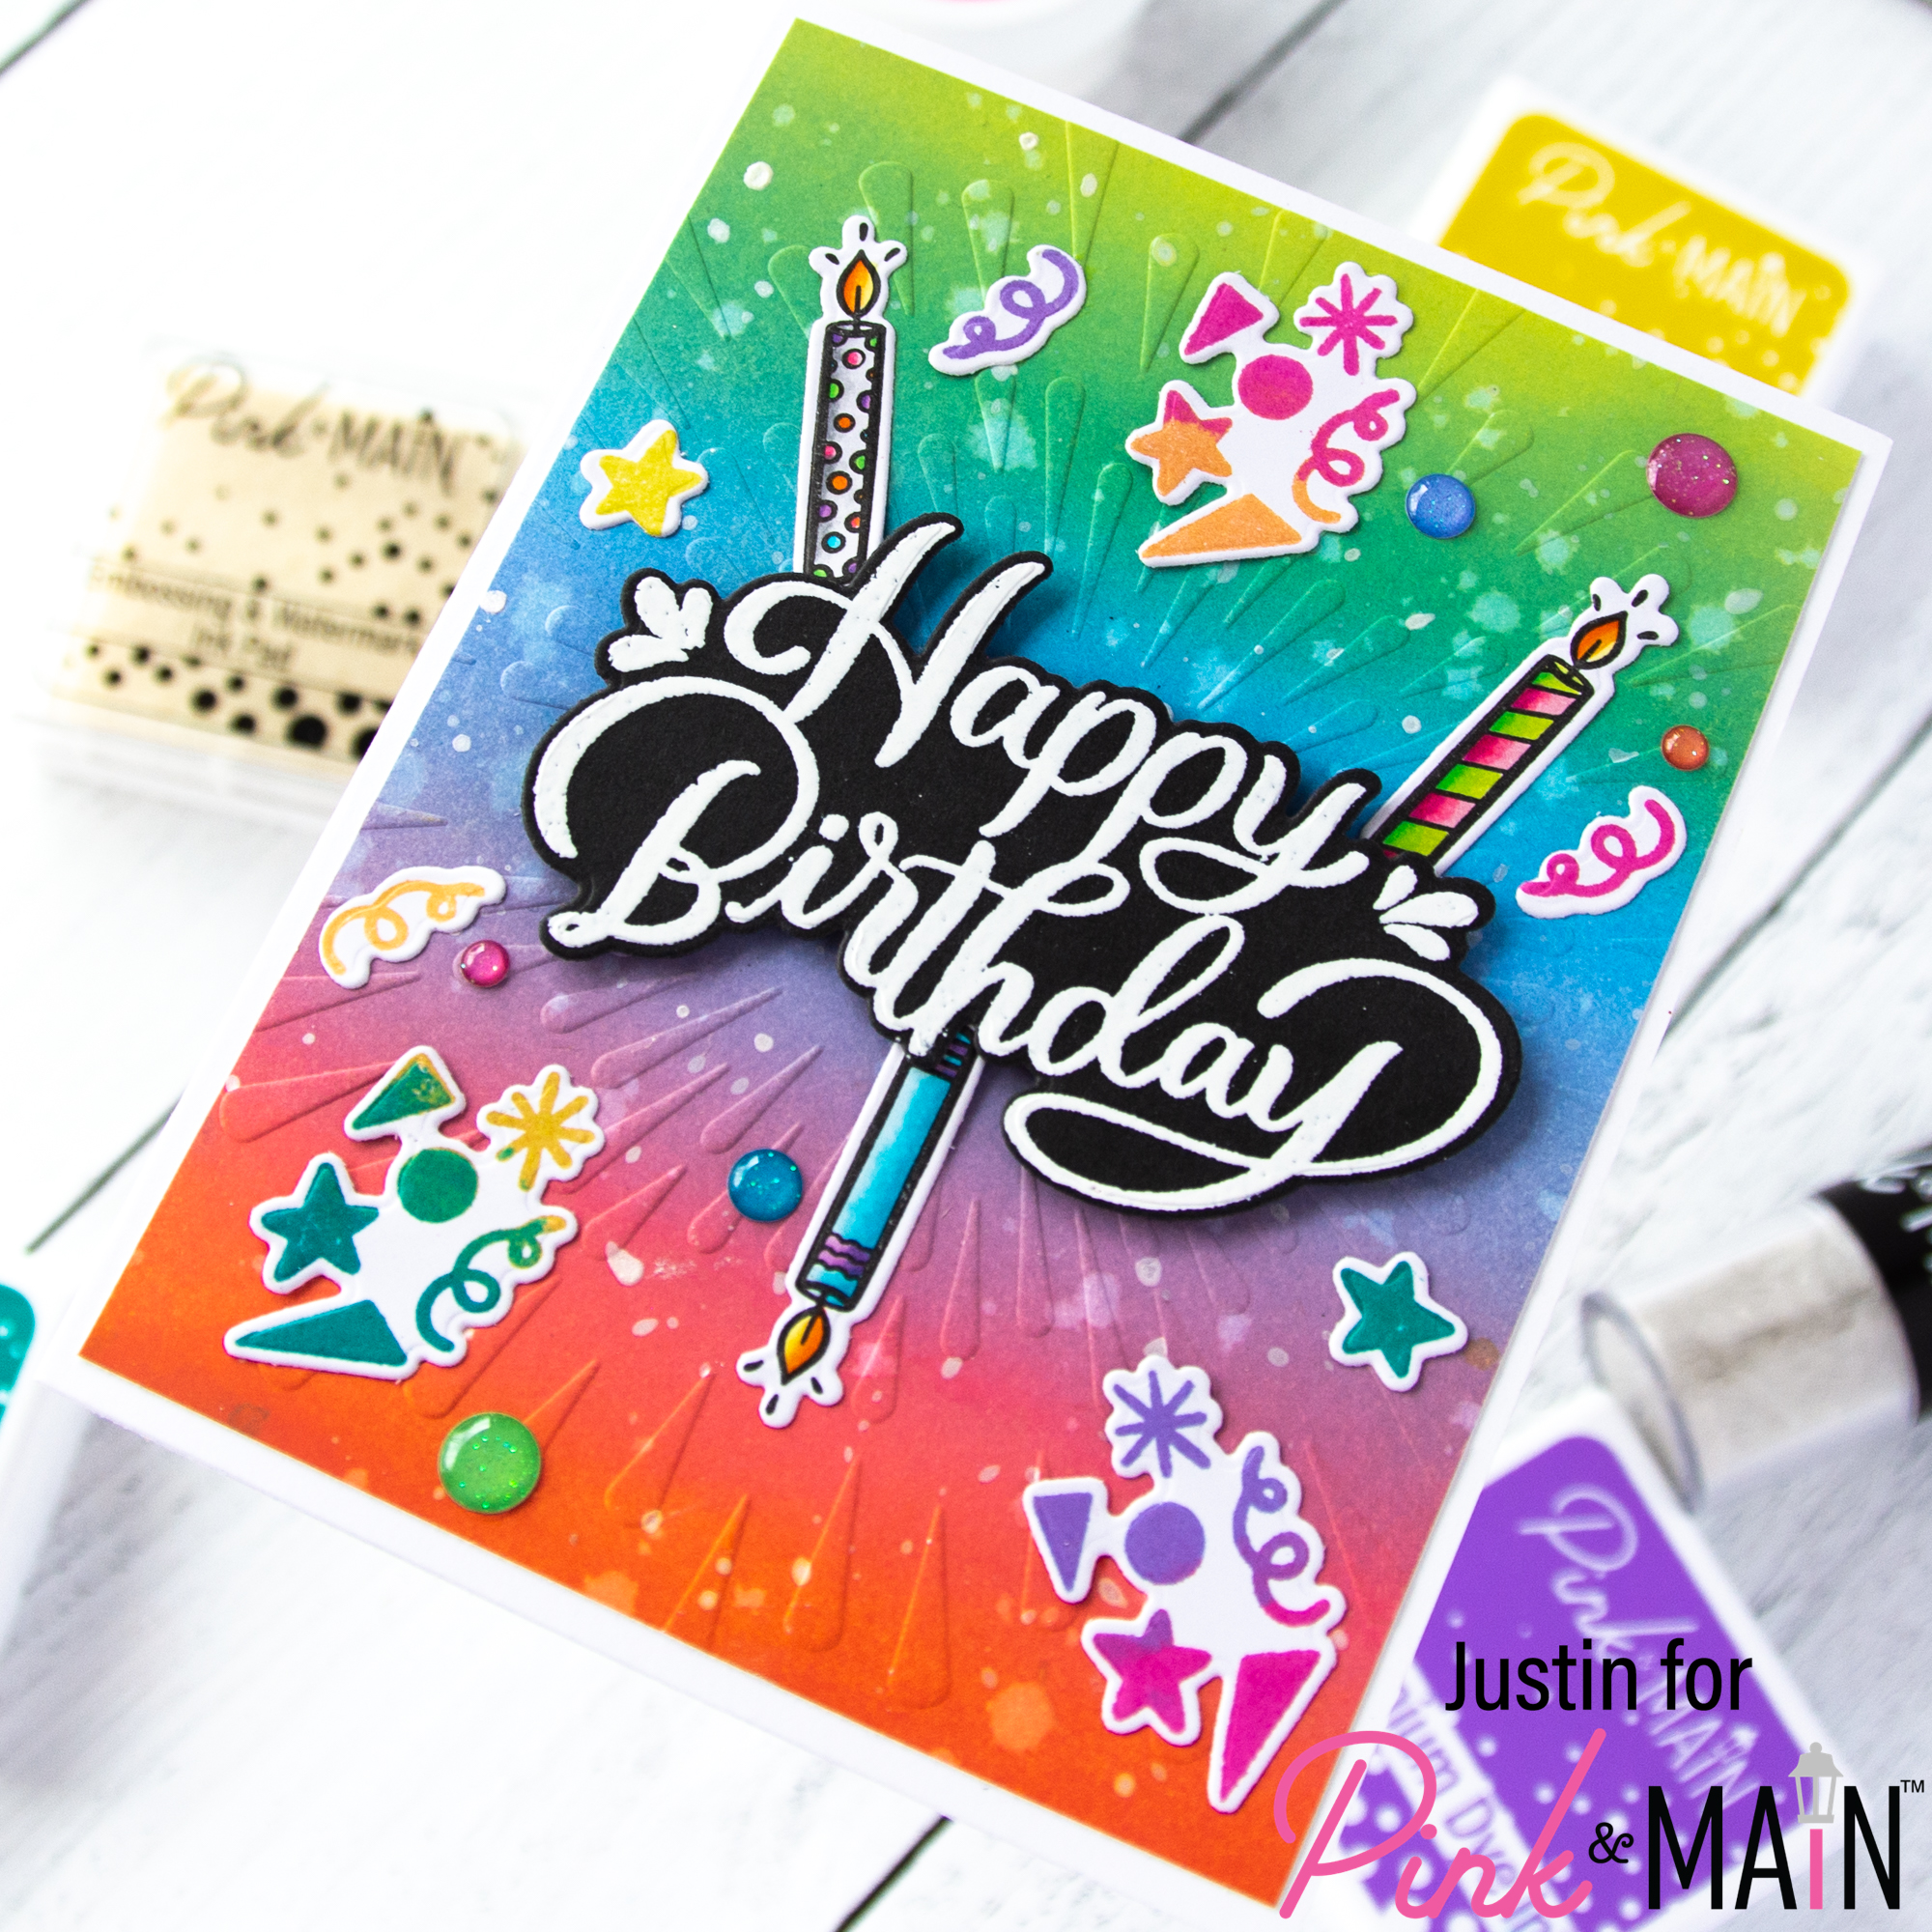
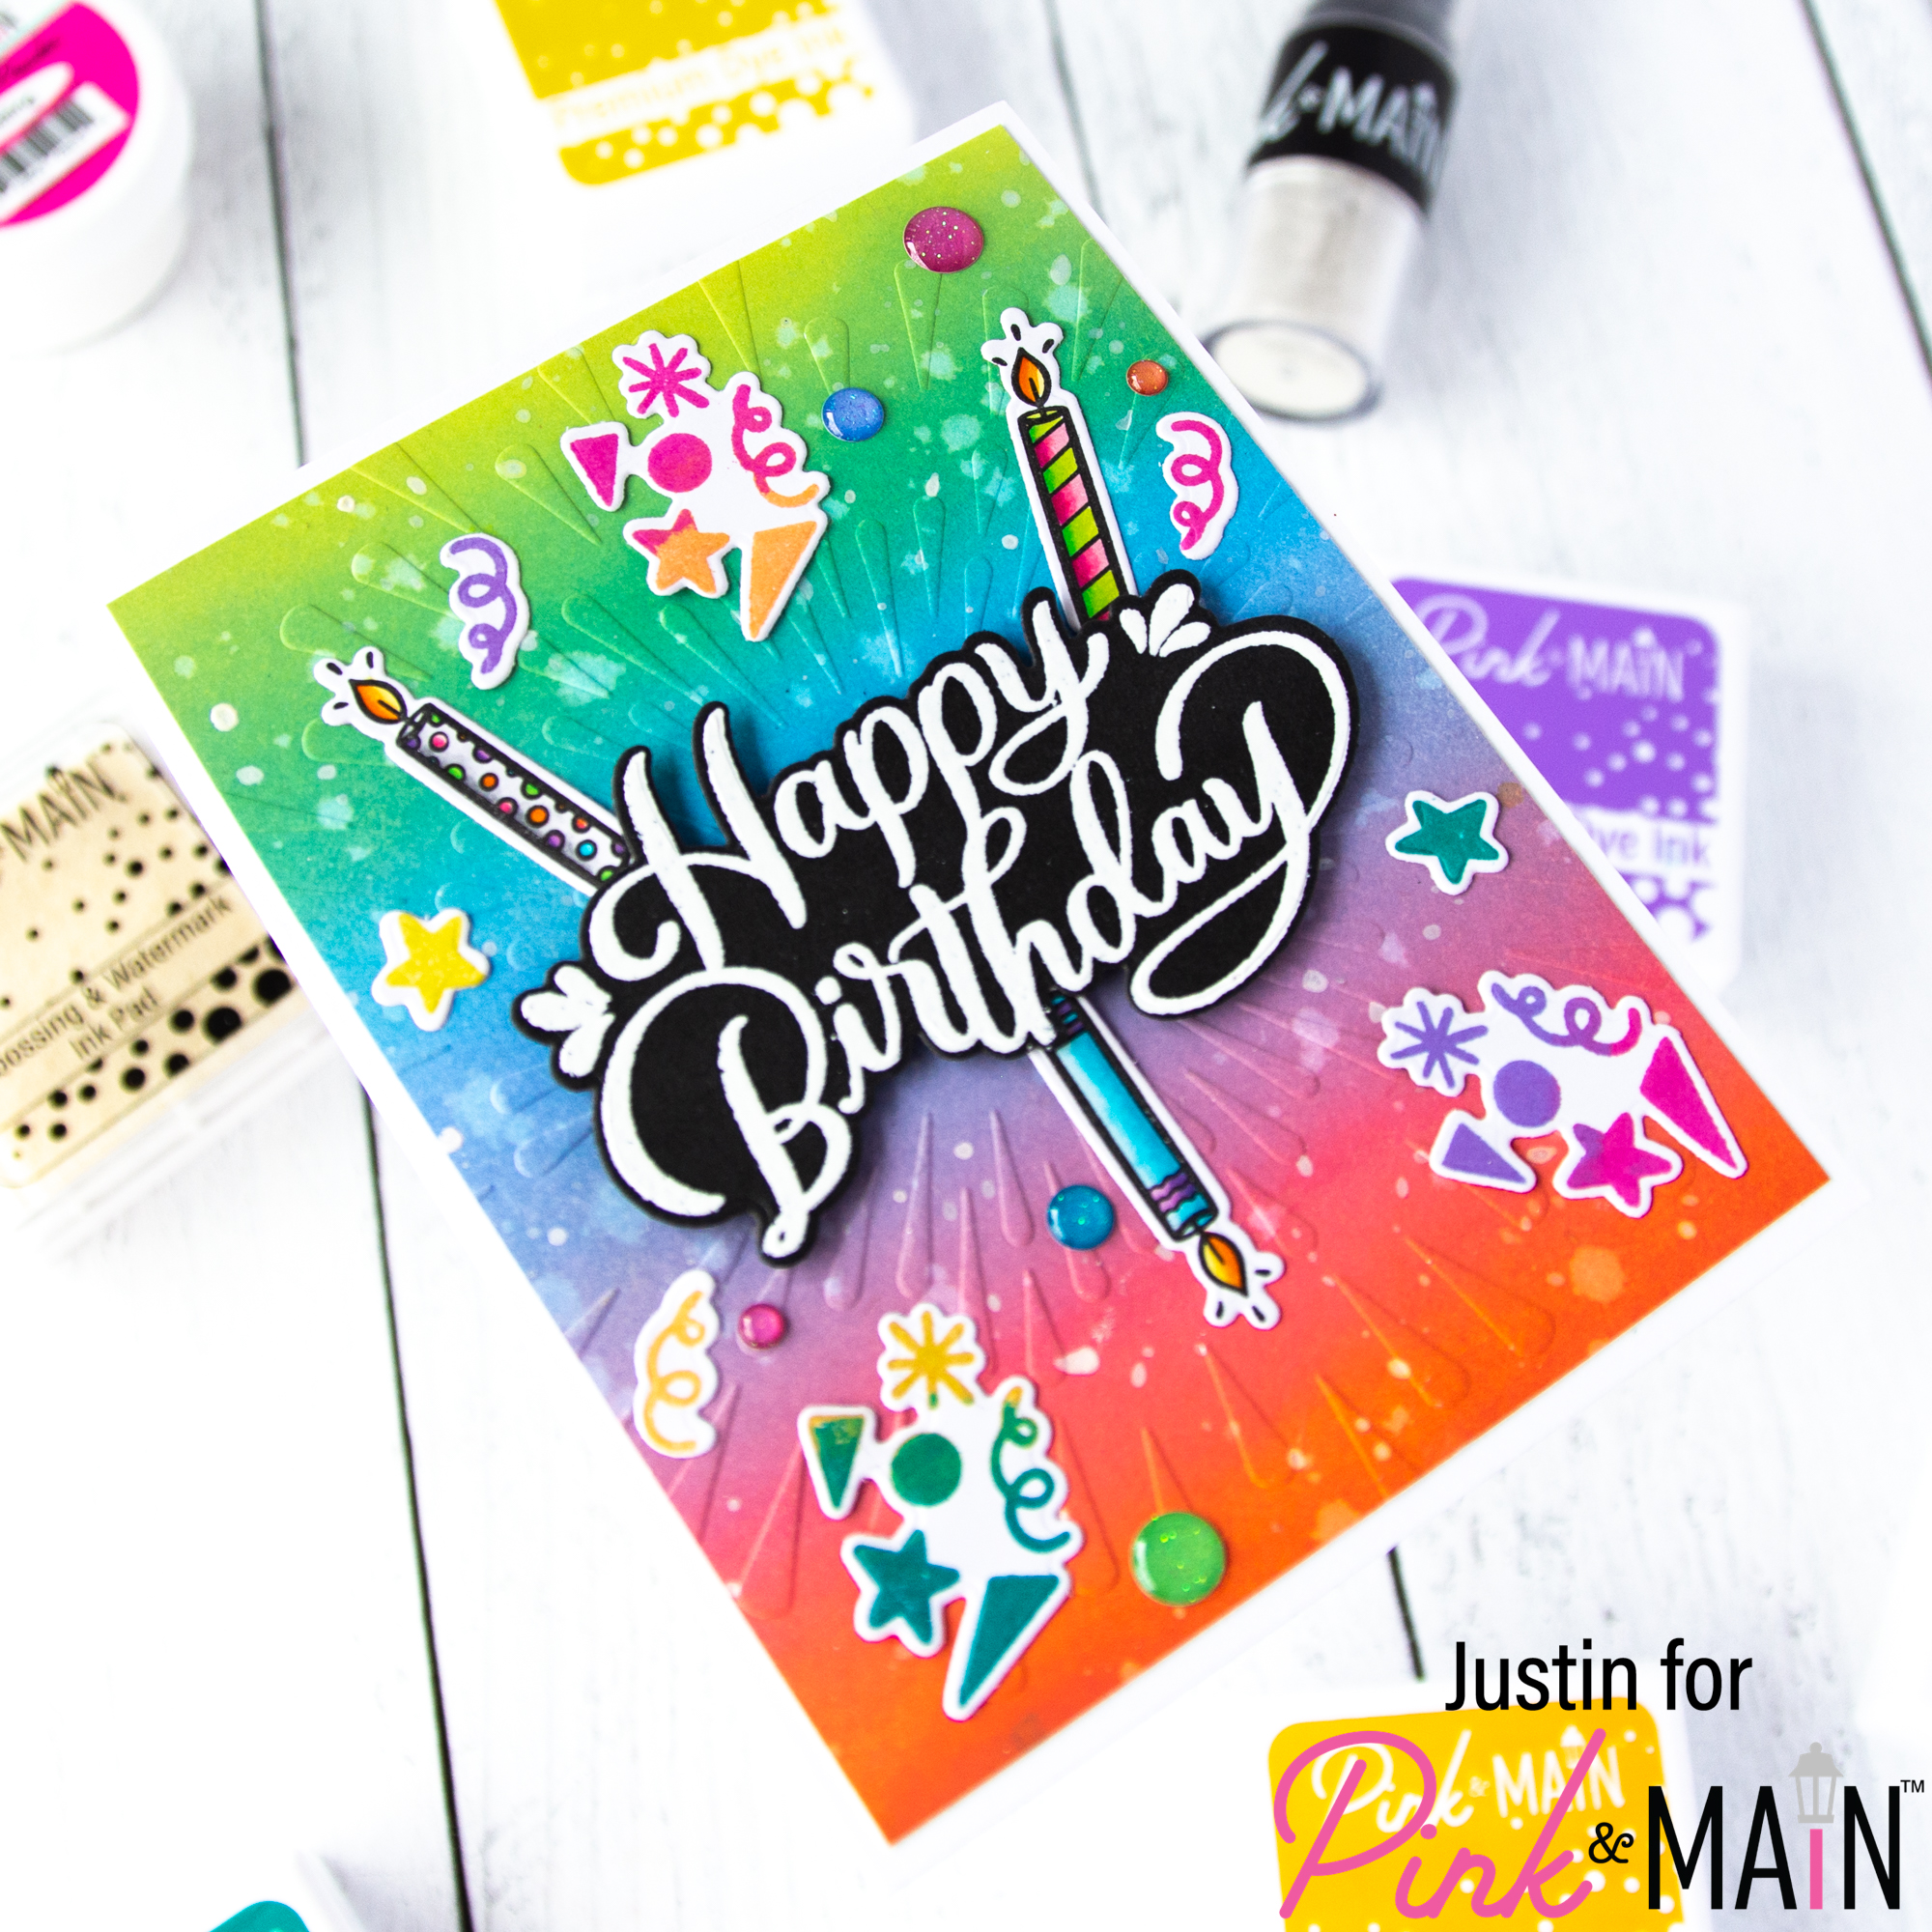
I started off my card by stamping the (3) candle images from It’s a Celebration and coloring them up with with my Copic markers. I also stamped out a series of the smaller images included in the stamp set by using the following Premium Dye Colors: Dress Shop, Construction, The Park, Lakeside & Night Sky. I used the It’s a Celebration Coordinating Dies to cut the images out and set them aside.
Next, on Asphalt Cardstock brushed with the Magic Anti-Static Brush, I stamped the Happy Birthday sentiment from the It’s a Celebration stamp set in Embossing Watermark Ink and then heat embossed the sentiment with Frosting Embossing Powder. I used the coordinating dies to cut this out as well.
For my background, I took an A2-sized piece of blending cardstock and blended an ombré of the following Distress Oxide Inks, from top to bottom: Twisted Citron, Salty Ocean, Wilted Violet, Picked Raspberry & Crackling Campfire. I spritzed the panel with water and then dabbed the panel with a microfiber cloth to pick up the water and create bleach spots. I misted the back of the panel, put it inside the Fireworks Embossing Folder, and processed it through my die cutting machine. Once my panel was embossed, I trimmed it down to 4″ x 5.25″ and splattered some White Linen Shimmer Spray. I set it aside to dry.
Once the panel was dry, I adhered it to an A2-sized card base. I then used foam tape to adhere my sentiment in the center of the card. Using liquid adhesive, I adhered all the smaller images to my card as well. I finished off my card by applying some Good Times Glitter Enamel Dots and was completed!
Thank you so much for stopping by my blog today! I hope you’re loving all of this colorful inspiration, and that it leaves you excited to create some birthday cards!
Thanks again for stopping by!
Happy Crafting!
Justin
Be sure to follow me on Instagram at @justanotebyjustin and subscribe to my YouTube Channel for even more crafting inspiration!
Note: This blog does use affiliate links when possible. Please know that I only recommend products that I love and think you’ll love too!
Did you know that I have written a special blog post that I rank all of the current Distress Oxide colors?
Check it out if you haven’t yet! I have had a lot of great response from people who have used this list to start their Distress Oxide Journey!
Leave a Reply