

This post uses affiliate links at no additional cost to you! By clicking the links in this post, I earn a small commission should you make a purchase. Thank you in advance!
Hello friends! Justin here, and I am having such a fun time creating with the new Pink & Main March Release! We have had so many goodies become available in the shop this month, and I wanted to use a bunch of them to create this birthday card!
Below is a list of products that I used to create this card:
Pink & Main Products Used:
All About You Stamp Set
All About You Coordinating Dies
Make A Wish Foilable Kit
Make A Wish Coordinating Dies
Celebrate Stencil
ROYGBIV CheerFoil
Cobalt CheerFoil
Dress Shop Premium Dye Ink
Night Sky Premium Dye Ink
Night Sky Cardstock
Ice Rink Cardstock
All Occasions Glitter Enamel Dots
Foam Tape
Liquid Adhesive
Other Key Products Used:
Copic Markers
Metallic Watercolor Accents
Ok let’s get into the details for how I put this card together!
The very first thing I did was turn on my laminator and let it heat up for about 30 minutes or so.
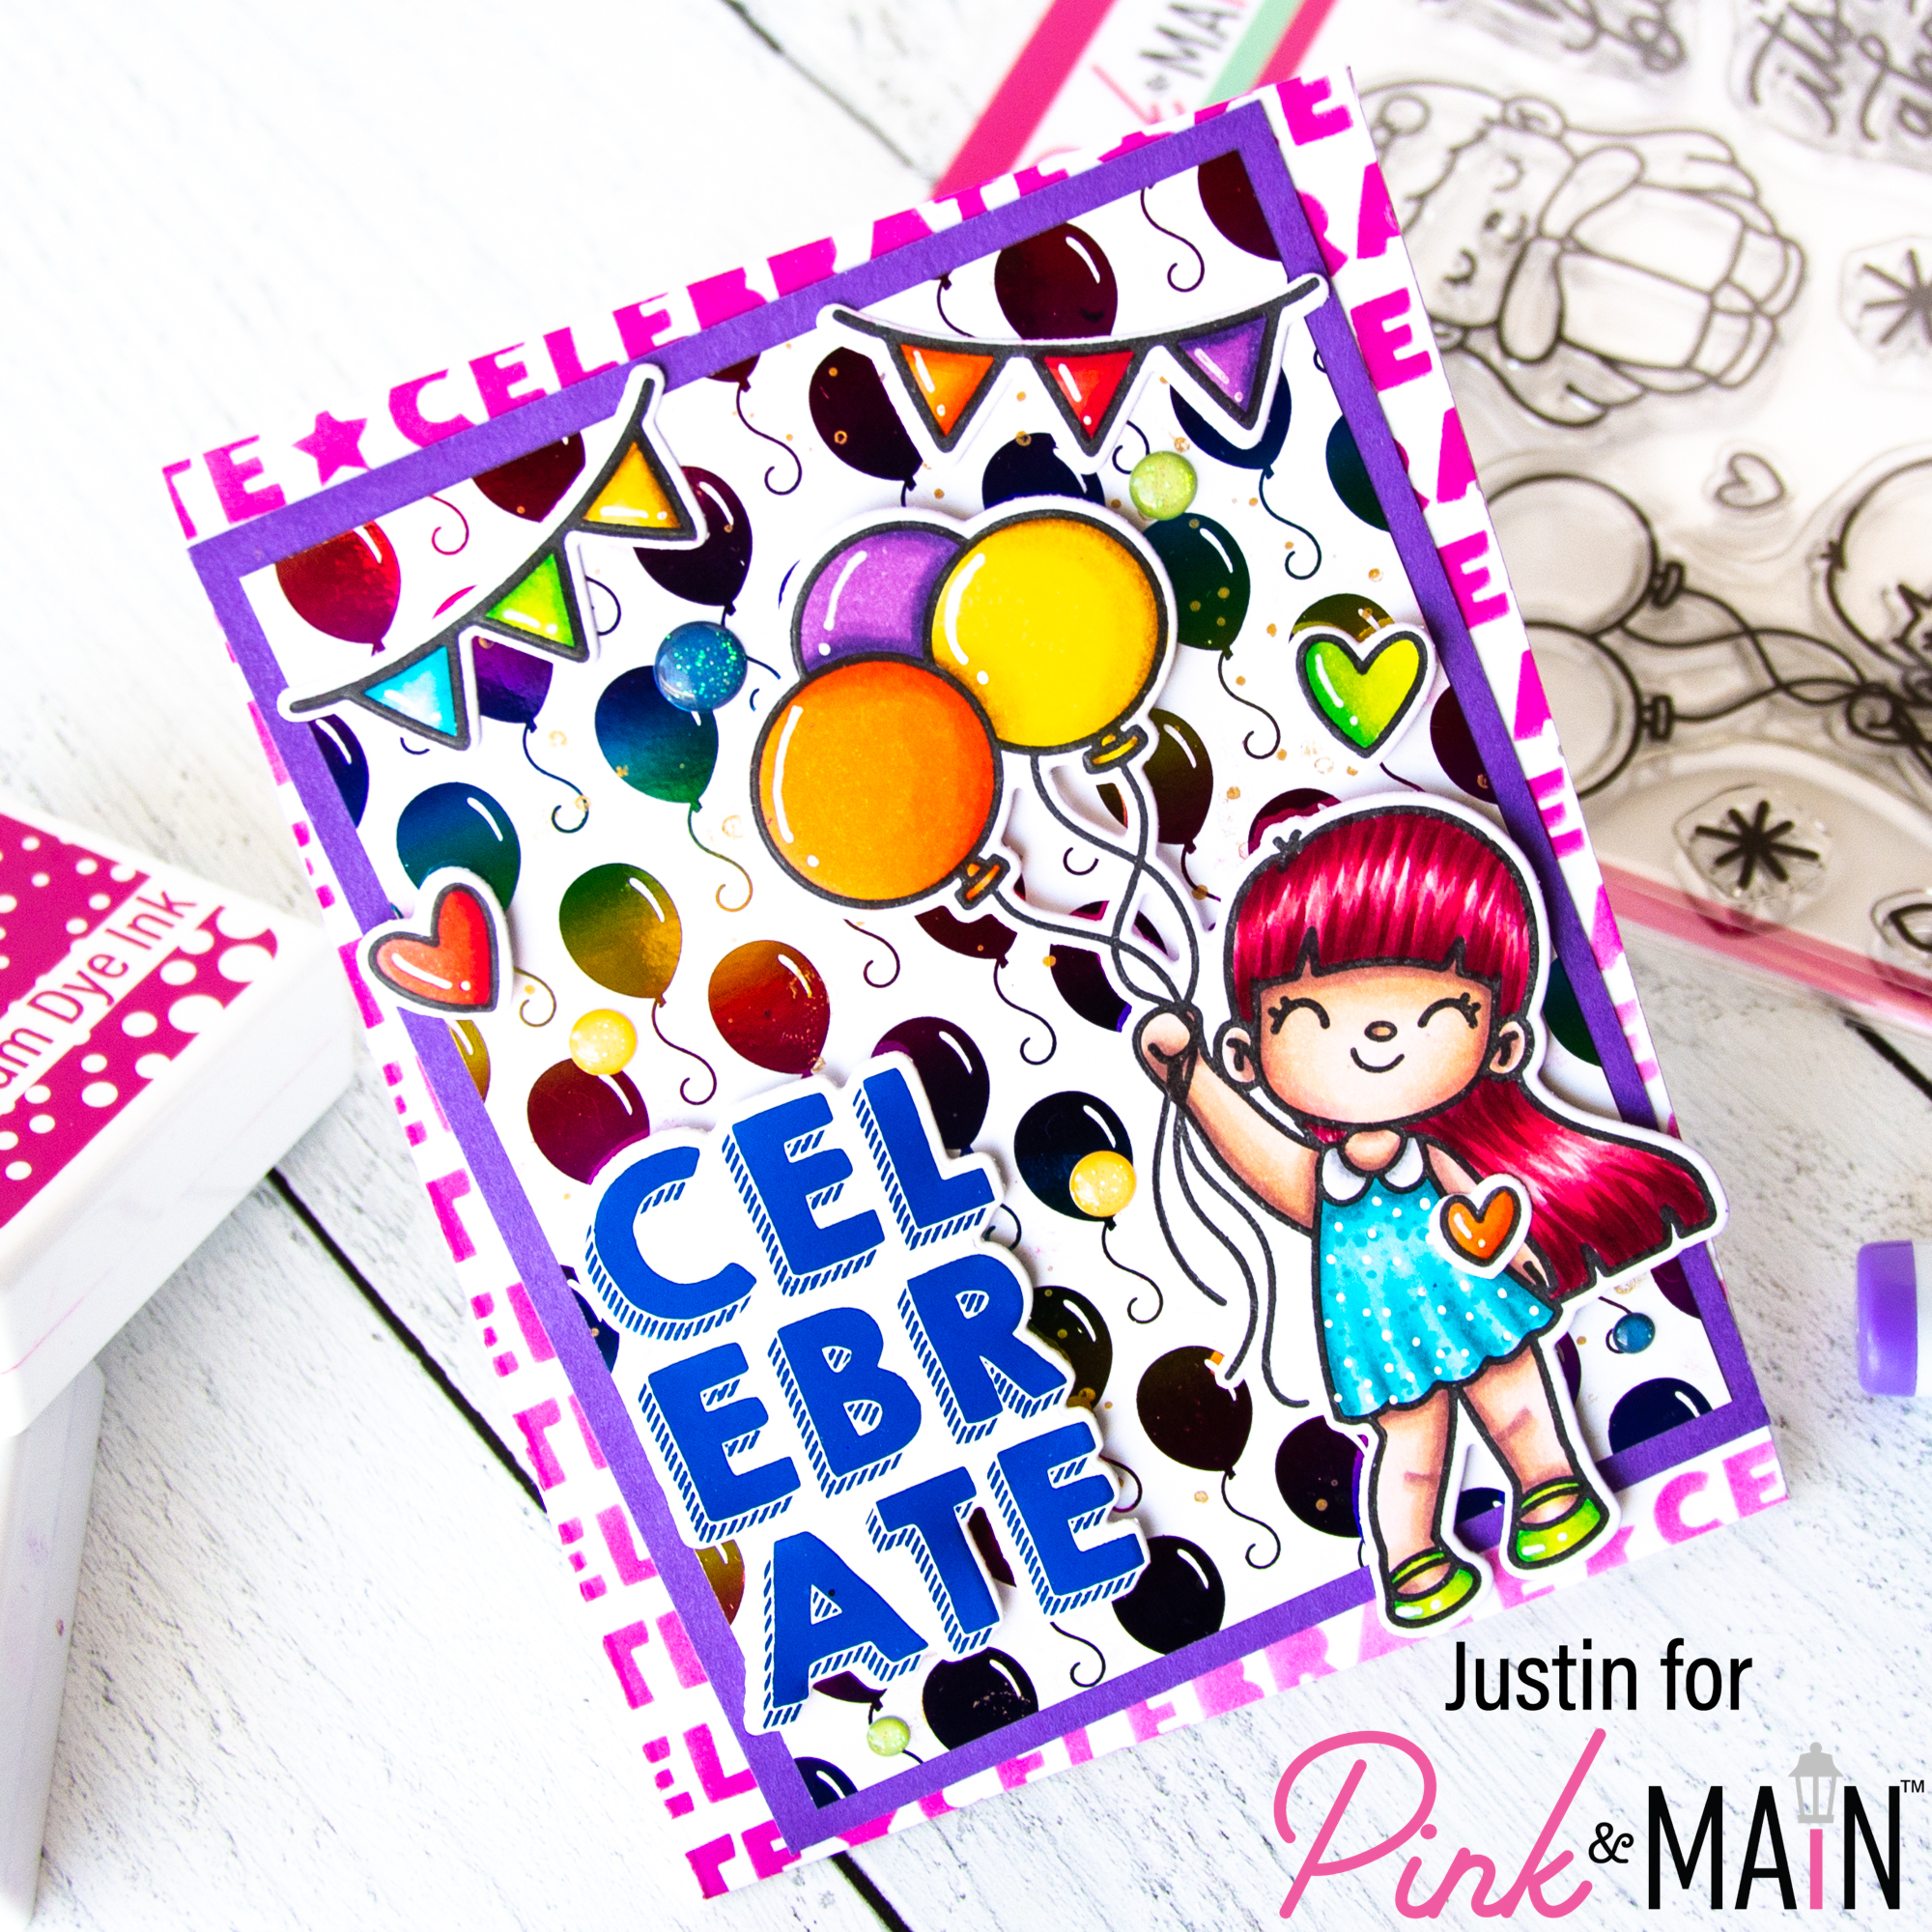
I colored up the little girl with balloons, along with the hearts and banner images, from the All About You set with my Copic Markers. I used the coordinating dies to cut them out and set them aside for later.
Taking an A2-sized piece of Ice Rink cardstock, I went ahead and placed the Celebrate stencil over it and blended a solid layer of Dress Shop Premium Dye Ink. I had to shift the stencil a tad, and then blended again to get coverage over the dull panel.
I took a panel of Night Sky cardstock, trimmed it to about 3.875″ x 5.125″ and then blended the edges with Night Sky Premium Dye Ink.
At this point, my laminator was good to go for foiling. I processed my balloon background print, trimmed to about 3.625″ x 4.875″ from the Make A Wish Foilable Kit with ROYGBIV CheerFoil. I then processed my Celebrate sentiment, also from the Make A Wish Foilable Kit, with Cobalt CheerFoil. I then used the Make a Wish Coordinating Dies set to cut out my sentiment perfectly. I just love that the coordinating dies from the Make a Wish stamp set also work with the foilable kit!
I splattered some gold watercolor onto my ballon background and let it dry.
I was now able to put everything together. Using liquid adhesive, I adhered my Night Sky Panel on my blended Ice Rink panel at an angle. I then adhered my balloon layer directly on top of the Night Sky Panel. I used more liquid adhesive to adhere my banner images, and then used foam tape to adhere the rest of my images and foiled sentiment! I finished my card by placing some All Occasions Glitter Enamel Dots and adhered the panel to an A2-sized cards base!

Thank you so much for stopping by my blog today! I hope this card leaves you with lots of colorful inspiration on how you can make your very own birthday cards with the March Release!
Don’t forget that for more crafty inspiration, you can follow me on Instagram, subscribe to my channel on YouTube, and check out my personal blog as well!
Thanks again for stopping by!
Happy Crafting!
Justin
Leave a Reply