

This post uses affiliate links at no additional cost to you! By clicking the links in this post, I earn a small commission should you make a purchase. Thank you in advance!
Hello friends! Today, I am tapping into some slimline vibes to share some fun easter creativity! The new Hippity Hoppity set is just the absolute epitome of an adorable Easter set, and I am so excited that I had a chance to sit down and create with it!
Below is a list of products that I used to create this card:
Pink & Main Products Used:
Hippity Hoppity Stamp Set
Hippity Hoppity Coordinating Dies
Stitched Mini Slim Rectangles Set 1 Dies
Mod Stitched Mini Slimline Rectangles
Large Sentiment Strip Dies
Bunny Tail Stencil
Year Round Dots & Stripes Paper Pack
Dress Shop Premium Dye Ink
Dress Shop Cardstock
Ice Rink Cardstock
Spring Glitter Paper Pack
All Occasions Glitter Enamel Dots
Other Key Products Used:
Copic Markers
Now lets hop into the details about how I put this card together!
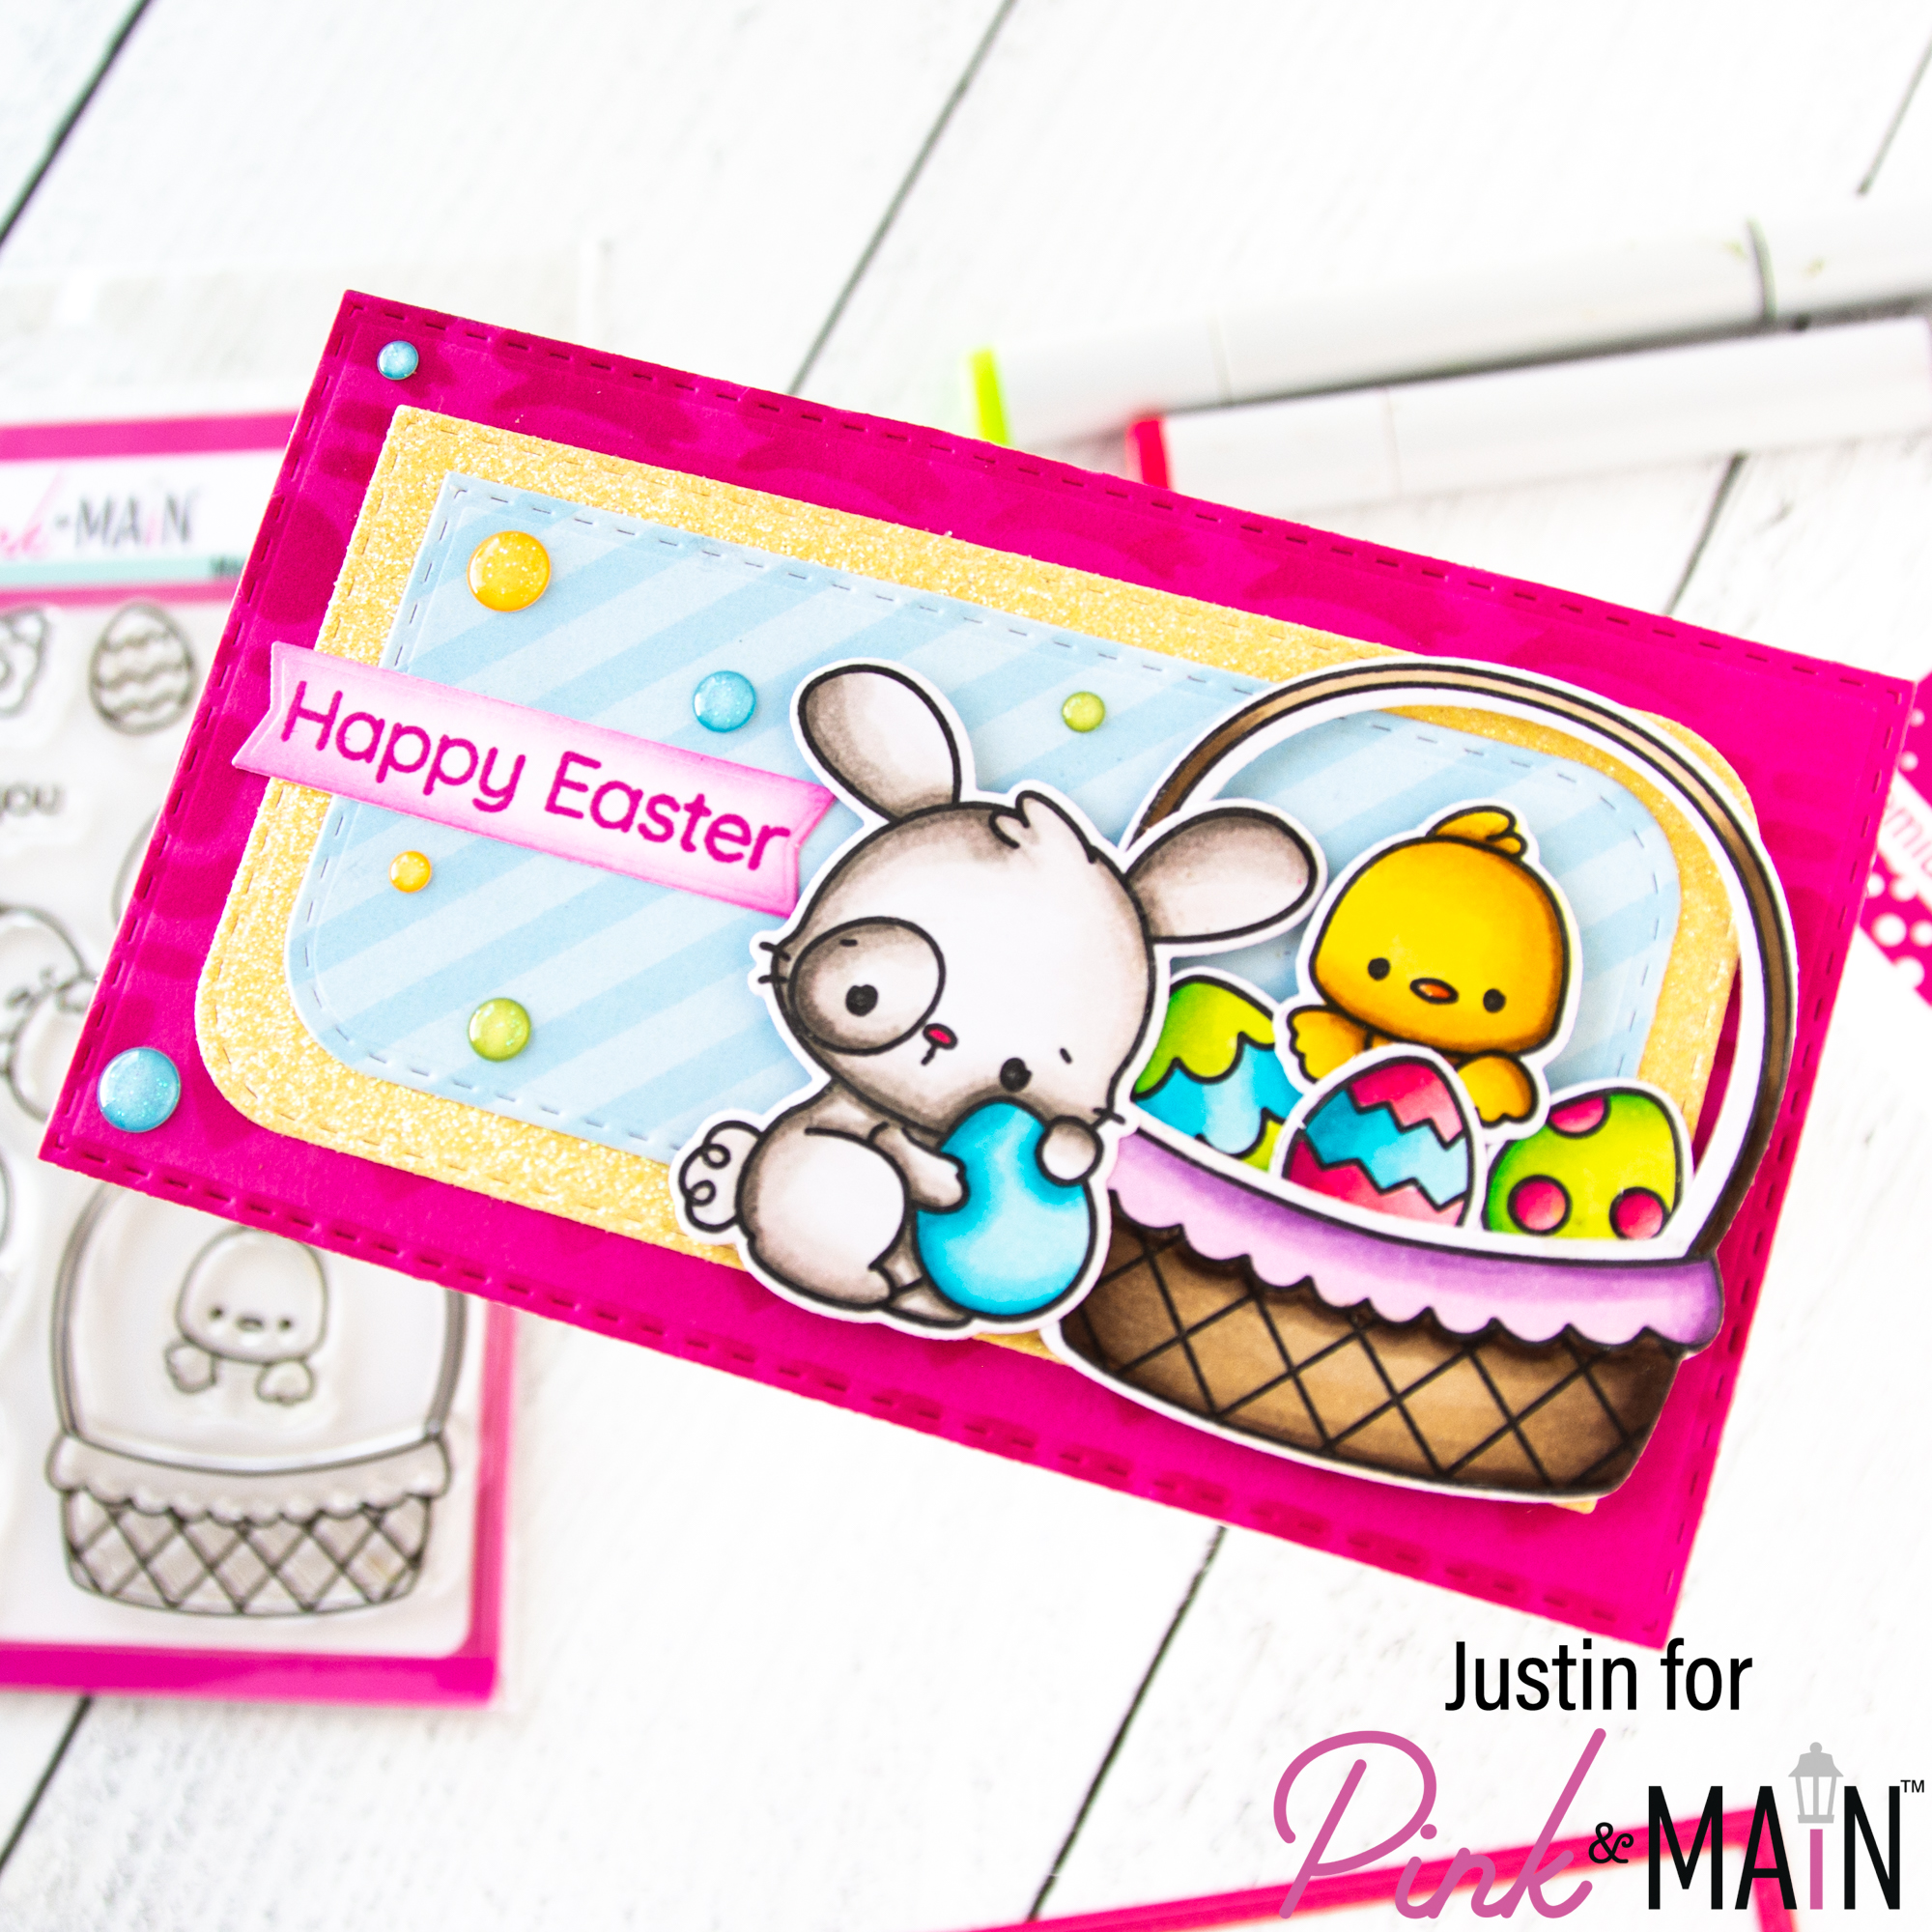
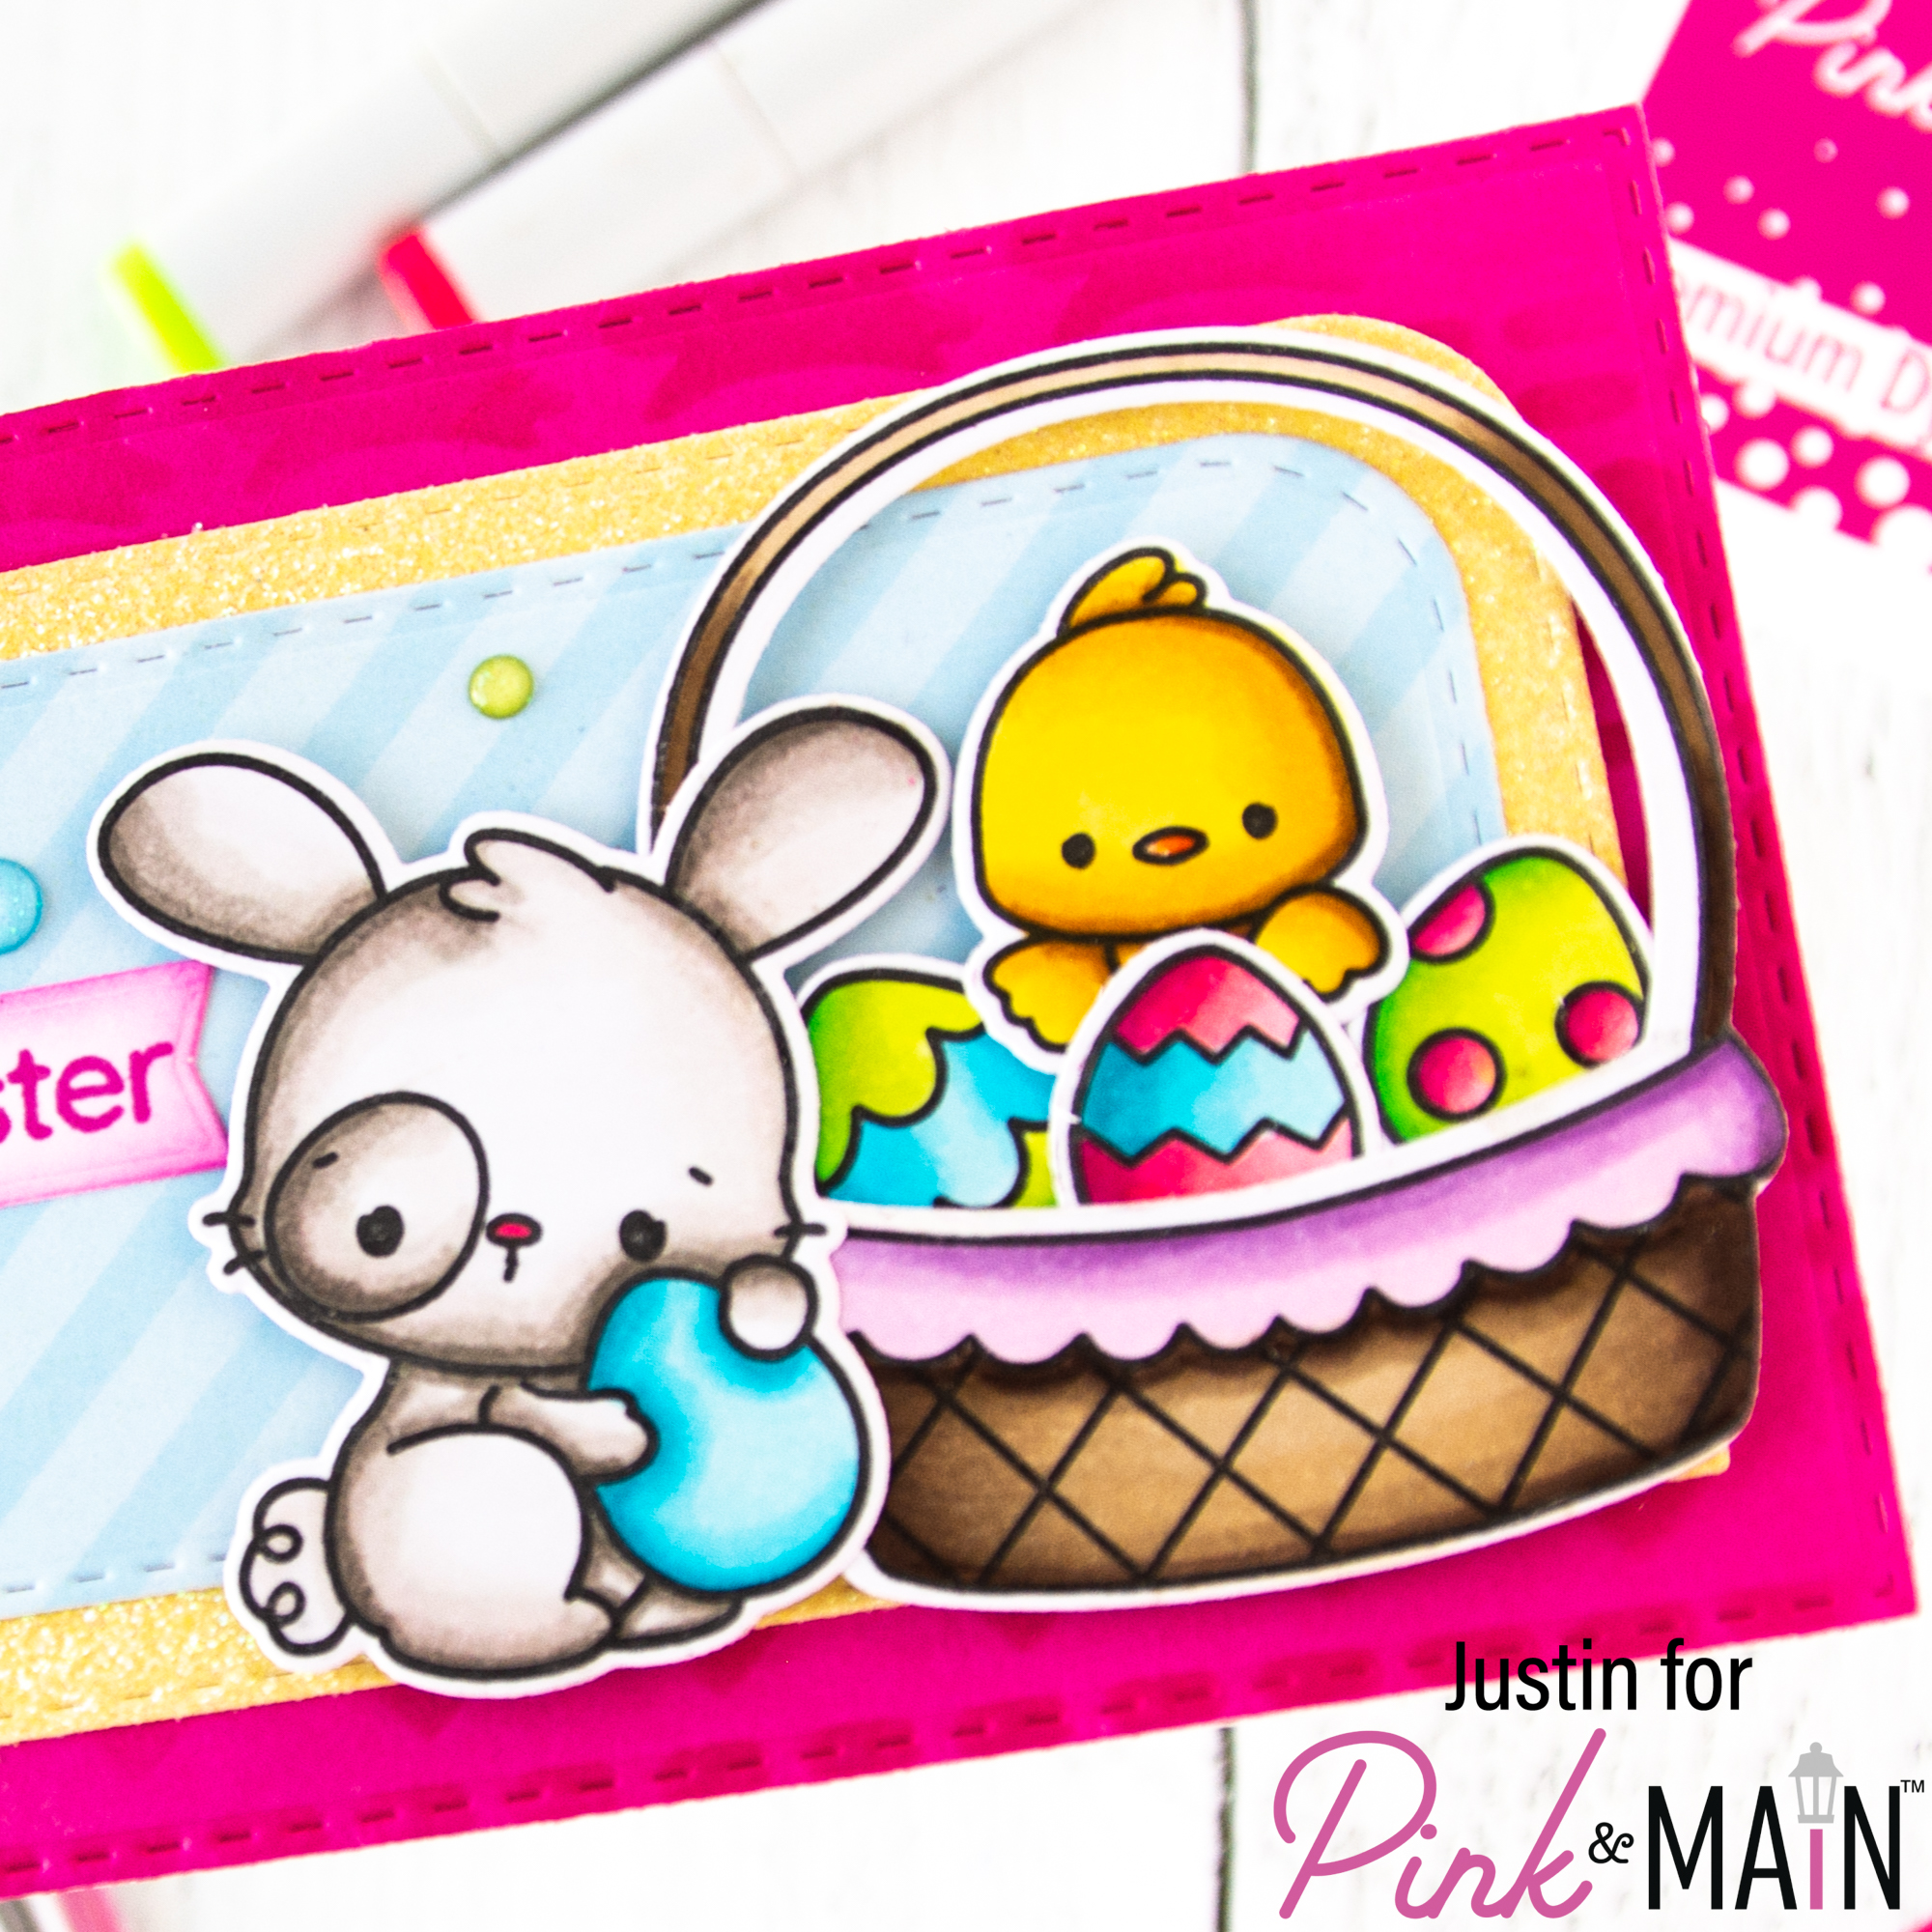
I started my creation by coloring up all my images from the Hippity Hoppity Stamp Set in Copic Markers, and then using the coordinating dies to cut them out. I set them aside for later.
Next, I used the largest die from the Stitched Mini Slim Rectangles Set 1 Dies to die cut a panel from Dress Shop Cardstock. I placed the Bunny Tail stencil over it and blended with Dress Shop Premium Dye Ink to get a fun tone-on-tone effect.
I did a little more die cutting by taking the 2nd largest die from the Mod Stitched Mini Slimline Rectangles and die cutting the yellow paper from the Spring Glitter Paper Pack. Using the 3rd largest die from the Mod Stitched Mini Slimline Rectangles, I die cut the light blue striped paper from the Year Round Stripes and Polka Dots Paper Pack. I adhered the glitter yellow panel to my stenciled Dress Shop panel, and then adhered the striped panel on top of the glitter yellow panel.
Using Ice Rink Cardstock, I stamped the sentiment “Happy Easter” in Dress Shop Premium Dye Ink, and then die cut the sentiment out using the Large Sentiment Banner Dies. I blended the edges of the die cut with some excess Dress Shop Premium Dye Ink that was left on my blending brush from when I blended my stenciled background (this kept the color rather light, as I wanted).
I adhered my background panel to a slimline card base. I then used a combination of liquid adhesive and foam tape to adhere my images to my panel. I used liquid adhesive to adhere my sentiment strip to my card as well. I finished the card off by applying a few All Occasions Glitter Enamel dots, and was complete!
Thank you so much for stopping by my blog today! I am “hopping” this card leaves you some adorable Easter inspiration, and how you can use the Hippity Hoppity Stamp Set for your very own slimline creations!
Thank you again for stopping by! Happy Crafting!
Justin
Be sure to follow me on Instagram at @justanotebyjustin and subscribe to my YouTube Channel for all my crafting projects!
Note: This blog does use affiliate links when possible. Please know that I only recommend products that I love and think you’ll love too!
Leave a Reply