

This post uses affiliate links at no additional cost to you! By clicking the links in this post, I earn a small commission should you make a purchase. Thank you in advance!
Hello friends! Justin here, and today I am getting inky again and showing a fun way to use the newly released Welcome Spring stamps, part of the Pink & Main February Release! I love these silhouette bunny stamps, and that they also come with coordinating dies that will make it so quick to put really cute cards together for Easter!
Below is a list of products that I used to create this card:
Pink & Main Products Used:
Welcome Spring Stamp Set
Welcome Spring Coordinating Dies
Happy Easter Word Dies
Stitched Rectangles Set 1 Dies
Concave Rectangle Dies
Premium Dye Inks: The Park, Lakeside, & Barbershop
Floral Hearts Glitter Enamel Dots
Floral Pumpkin 6″ x 6″ Paper Pad
Now, let’s get into how I put this card together!
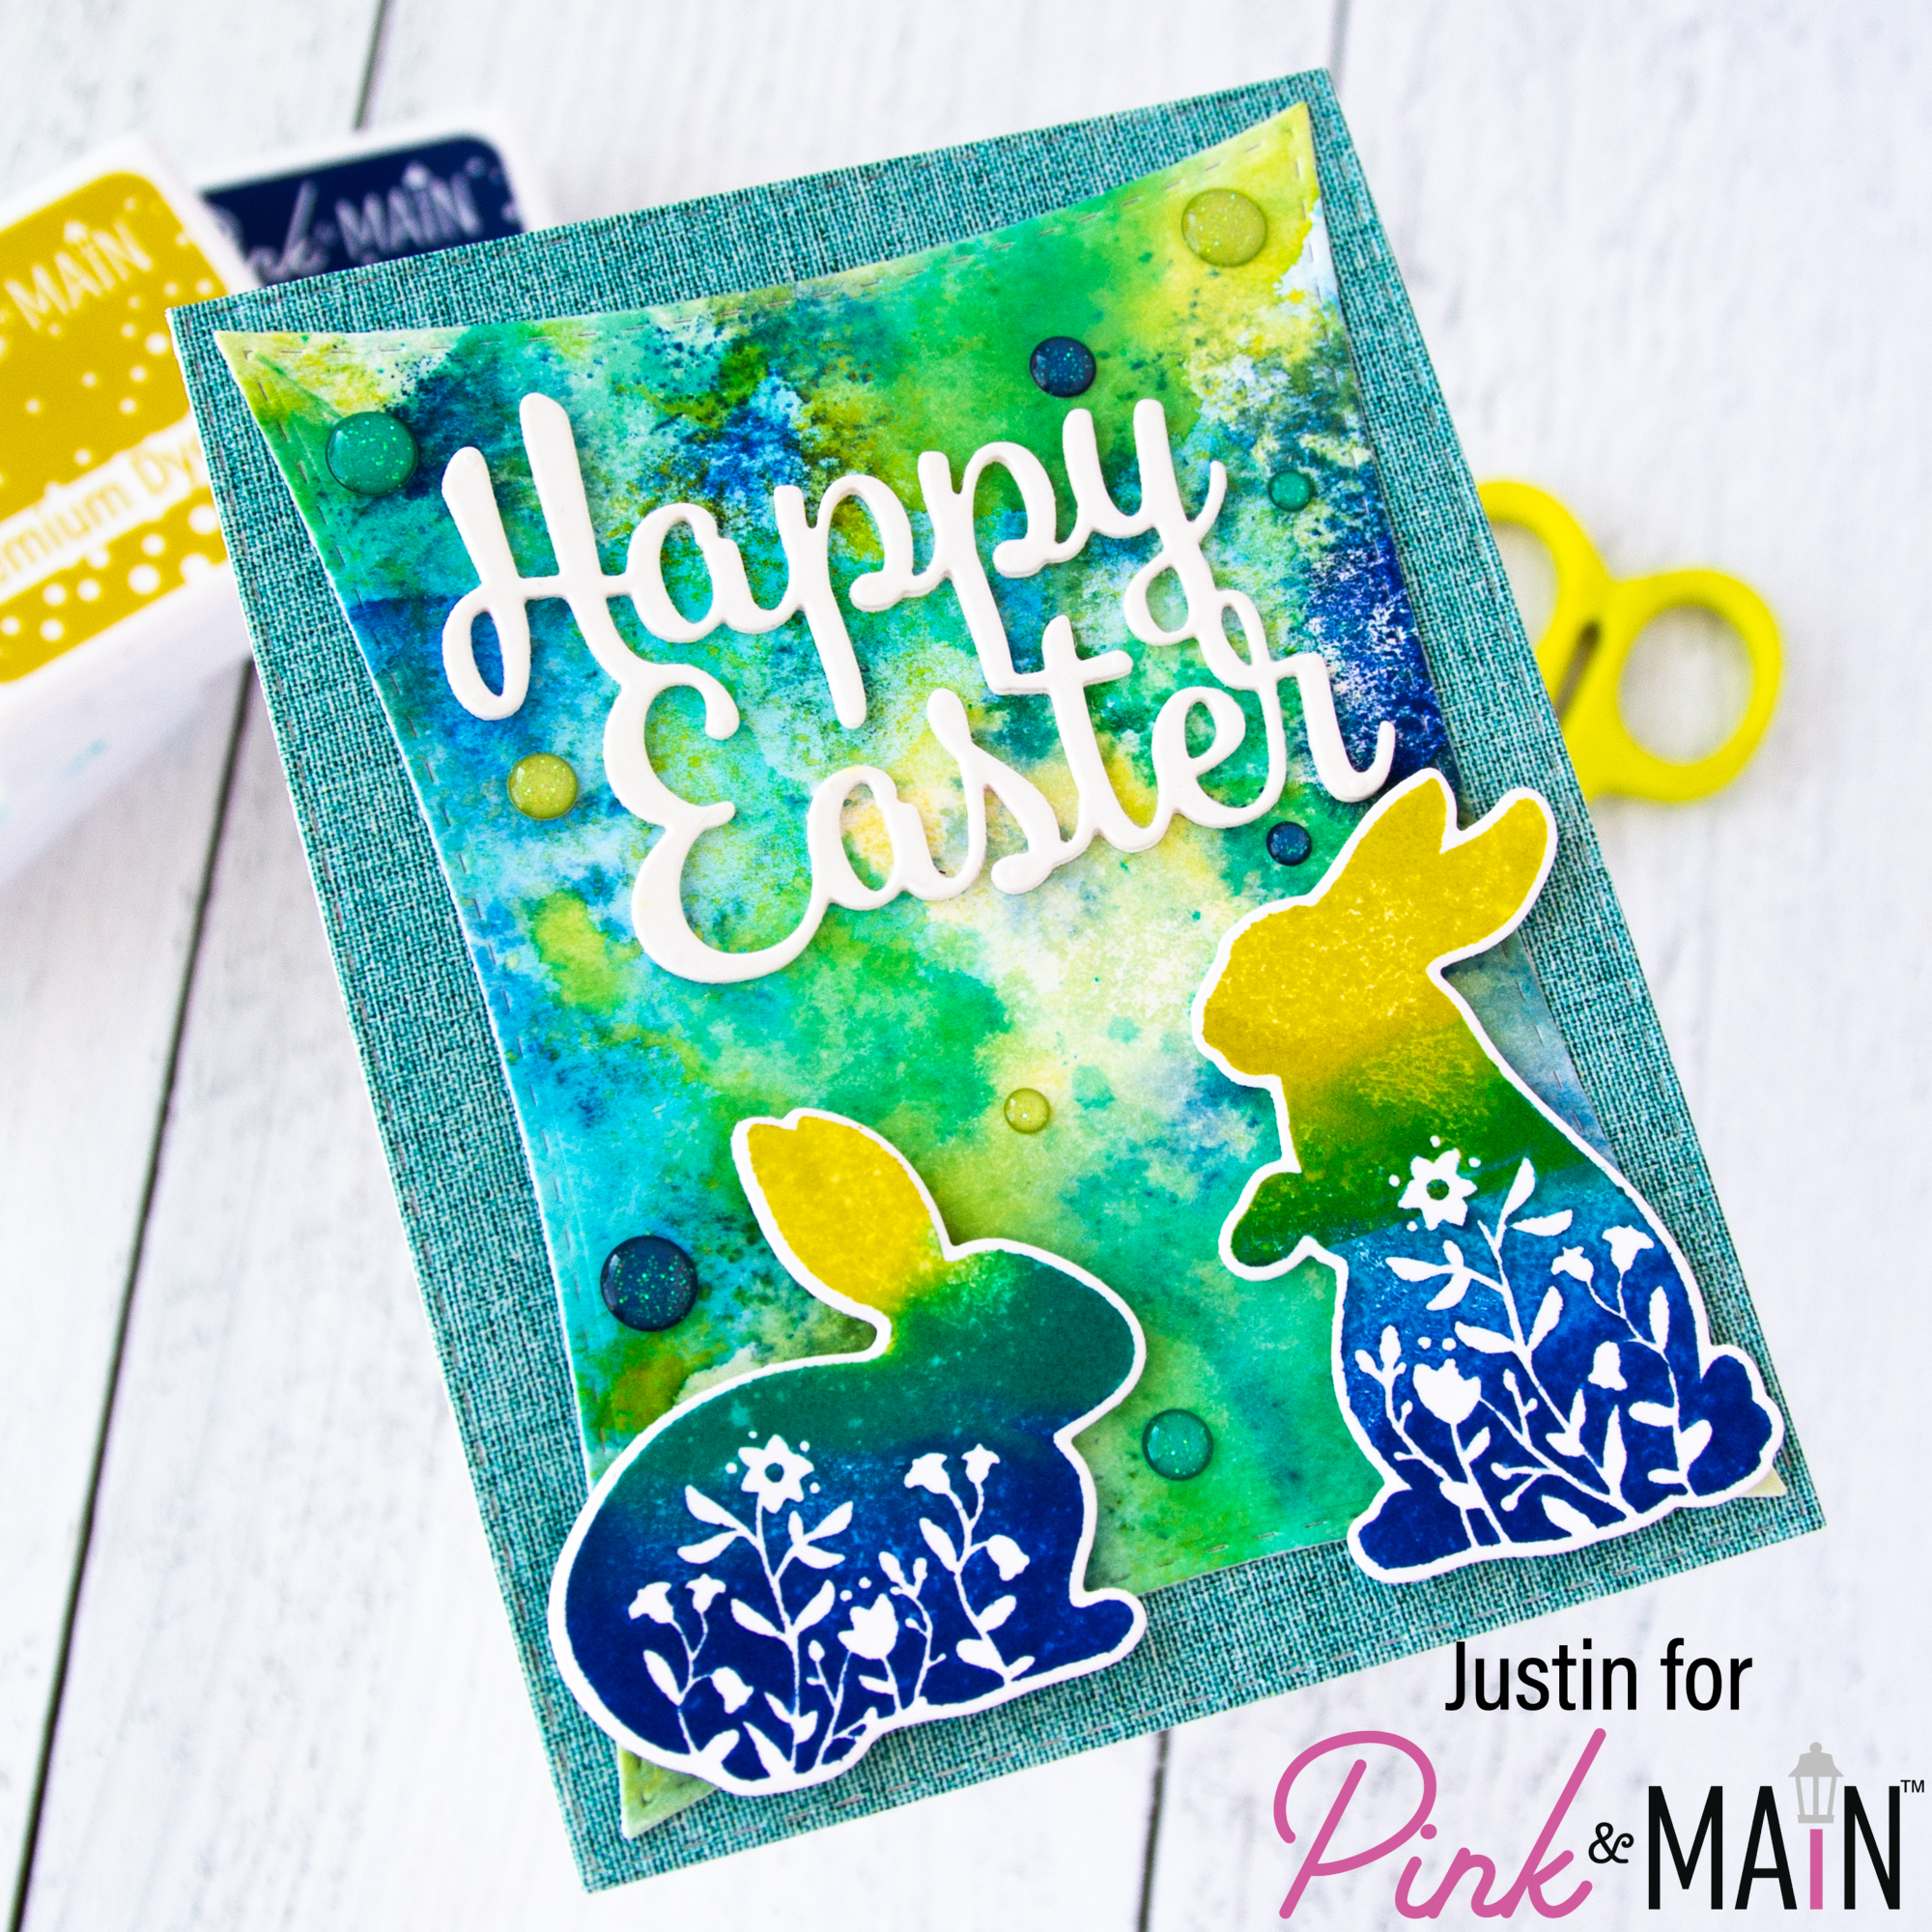
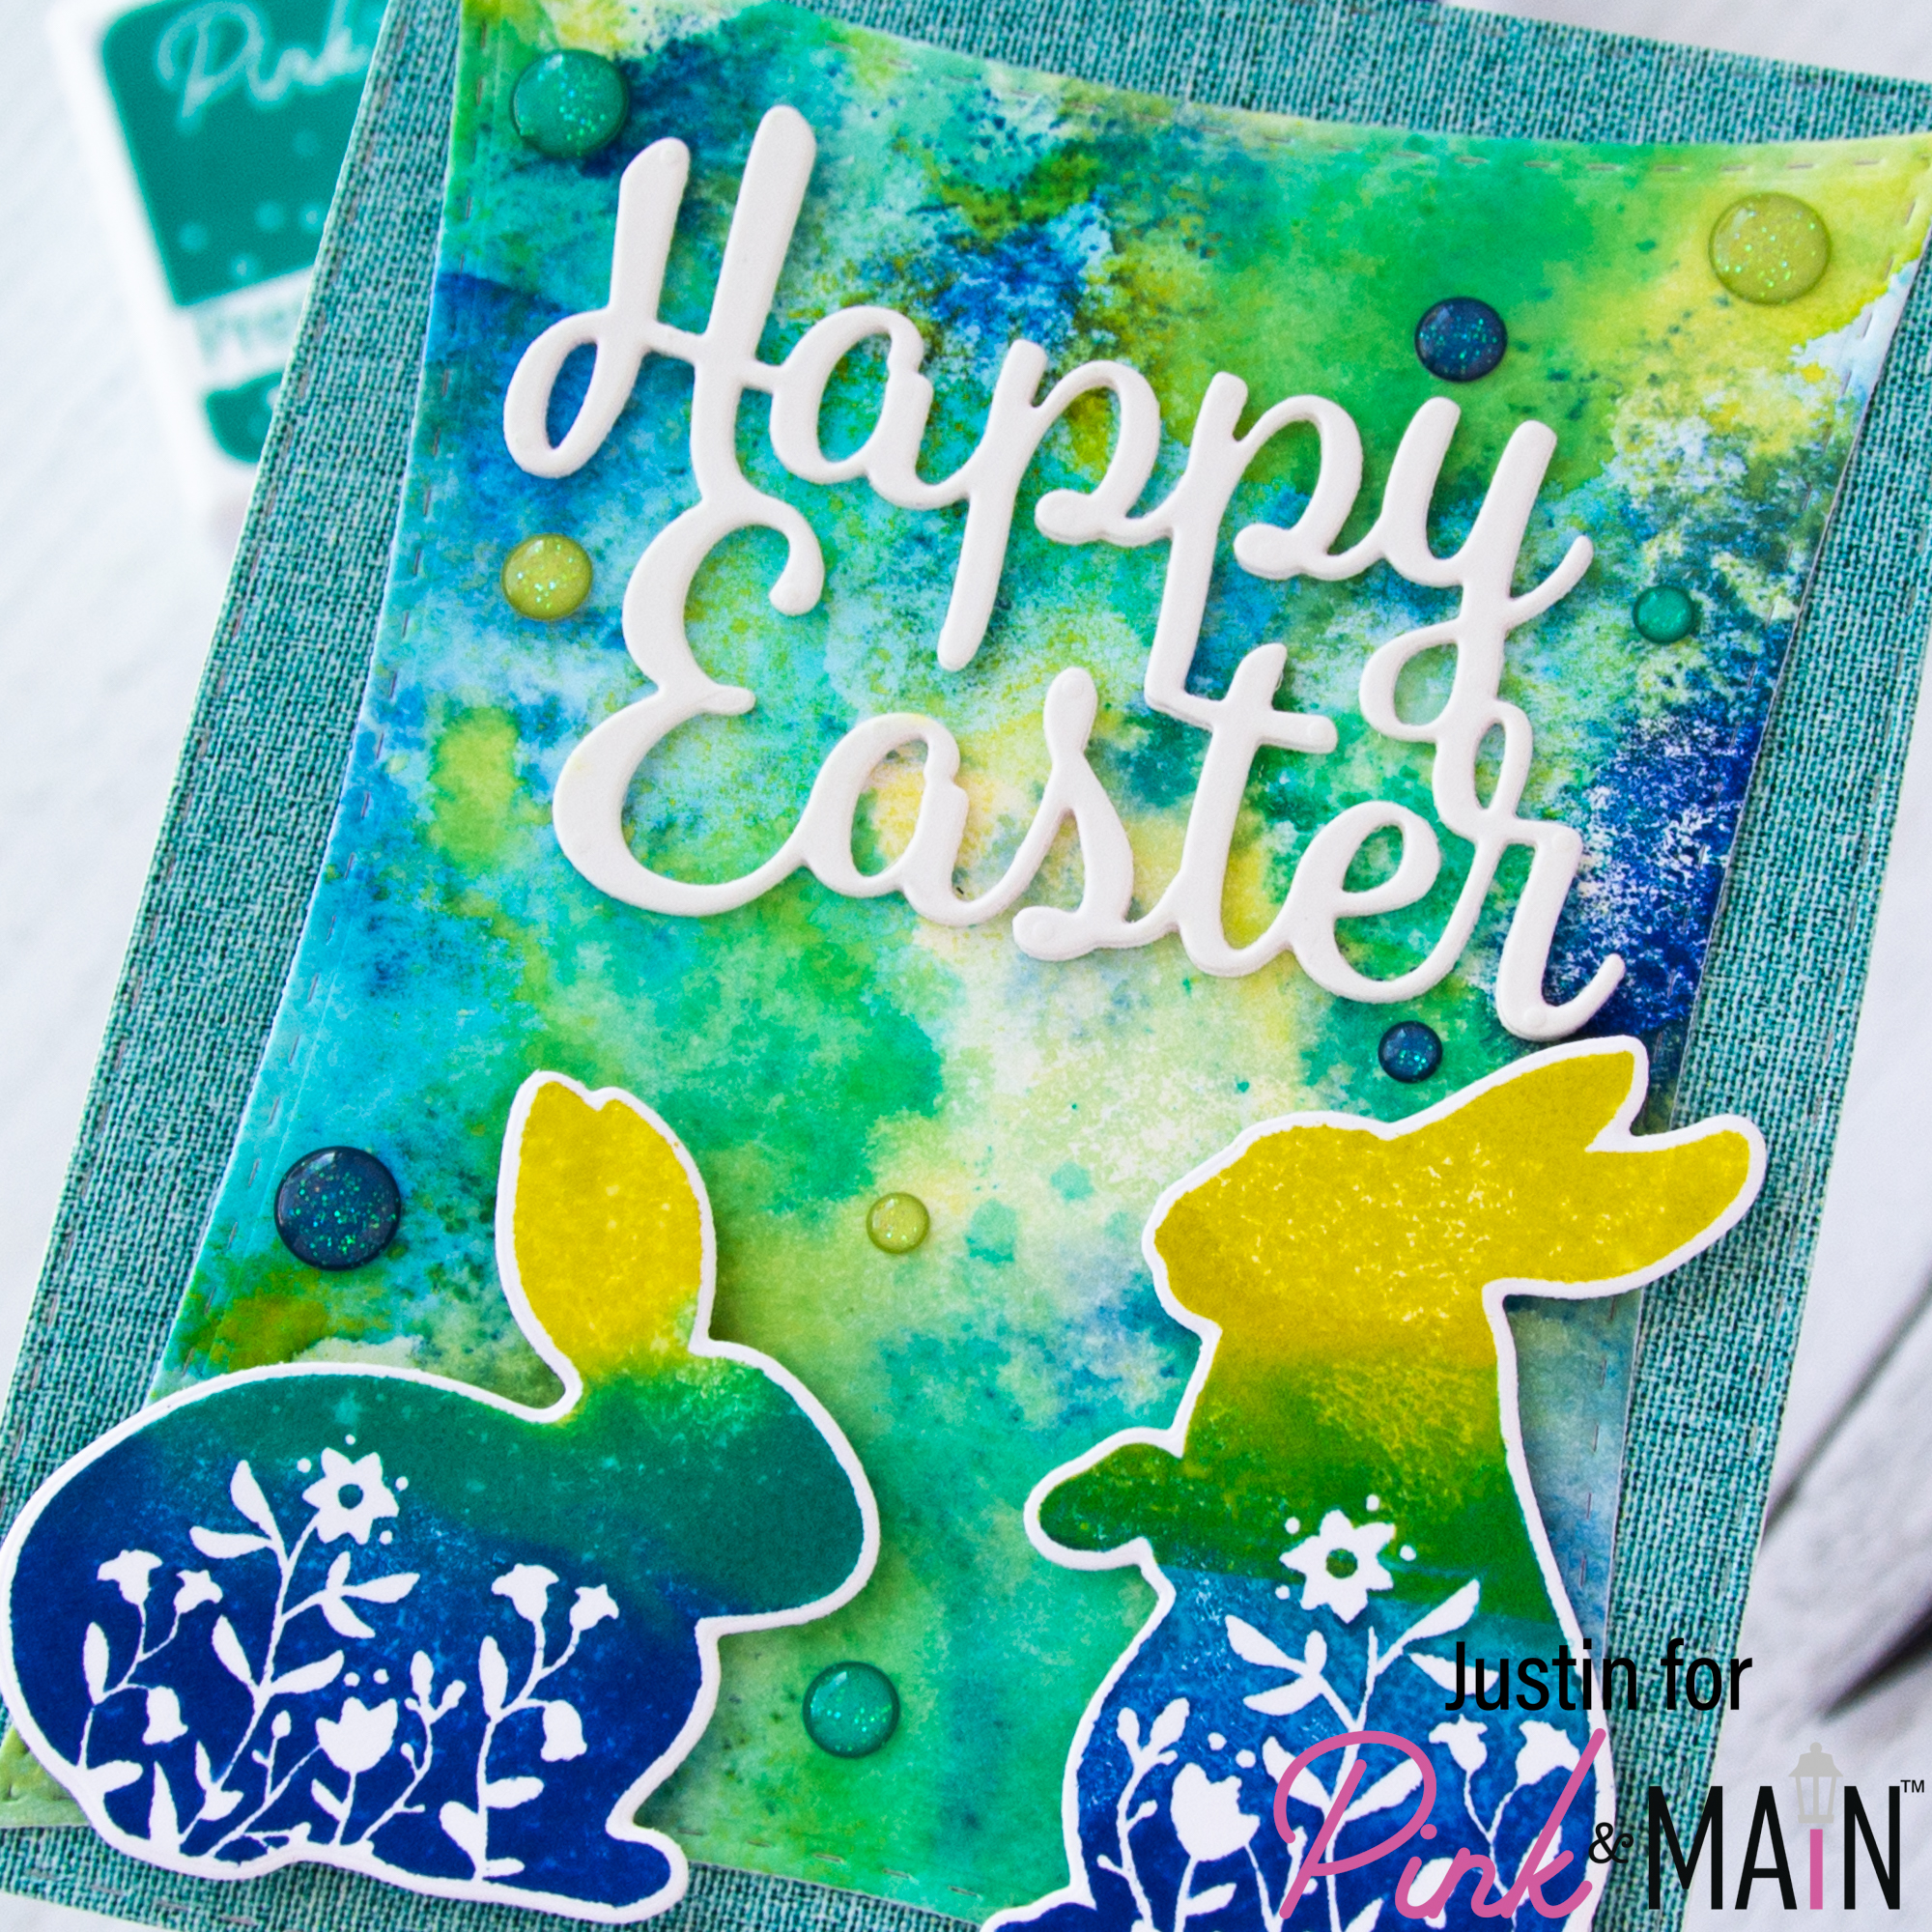
Taking the 2 bunny stamps from Welcome Spring, I positioned them on my MISTI, and carefully layered the 3 Premium Dye Ink colors of The Park, Lakeside and Barbershop. I used a small blending brush to help blend each color into each other, to assist in getting the ombré effect. I then lightly spritzed the ink with water, and stamped onto white paper. Once dry, I used the coordinating dies to cut out the bunnies, setting them aside for later.
Using the same white cardstock, I went ahead and die cut “Happy Easter” with the Happy Easter Word Dies 3 times, and used liquid adhesive to adhere them together, stacking them on top of one another so I had a nice dimension.
Next, on my glass mat, I smooshed some Barbershop Premium Dye Ink, spritzed it with water, smooshed down a piece of white cardstock on top of it a couple times, and then used my heat gun to dry the paper. I repeated this process again with the Lakeside Premium Dye Ink, and then finished with The Park Premium Dye Ink. Using the Concave Rectangles Die Set, I die cut the panel and set aside for later.
Note: When ink-smooshing, I like to work from darkest ink to lightest ink. This is because it helps me visualize what areas I still need to smoosh the paper to get inky, and if I layer the lighter ink on top of a darker ink, I know my paper will have less of a chance to be overwhelmed by the darkest ink color.
Taking a piece of a blue-green fabric patterned paper from the Floral Pumpkin Paper Pad, I used the largest die in the Stitched Rectangles Set 1 Dies and die cut the paper. I adhered my Concave Rectangle Panel directly on top using liquid adhesive, then adhered my word dies with liquid adhesive on the upper half of the panel, adhered my bunnies using foam tape, and then finally adhered a handful of Floral Heart Glitter Enamel Dots. I finished my card off by using liquid adhesive to adhere my panel to an A2-sized card front, and my project was completed!
Thank you so much for stopping by my blog today! I hope this card leaves you some ink-smooshing inspiration for your next Easter Project using the Pink & Main February Release!
For more crafty inspiration, please follow me on Instagram and check out my personal blog as well!
Thank you again for stopping by! Happy Crafting!
Justin
Be sure to follow me on Instagram at @justanotebyjustin and subscribe to my YouTube Channel for all my crafting projects!
Note: This blog does use affiliate links when possible. Please know that I only recommend products that I love and think you’ll love too!
Leave a Reply