

This post uses affiliate links at no additional cost to you! By clicking the links in this post, I earn a small commission should you make a purchase. Thank you in advance!
Hello friends! Justin here, and today I am so egg-cited to be sharing a sneak peek of TWO brand new products hopping onto the Pink & Main website this upcoming Friday, February 17th, 2023! I am going to show you a closer look at the new Easter Joy stamp set and the Layered Egg Stencil (2-Pack)! I think these two products pair together so nicely to create your very own Easter cards!
Below is a list of products used to create this card:
Pink & Main Products Used:
Easter Joy Stamp Set
Easter Joy Coordinating Dies
Layered Egg Stencil Set (2-Pack)
Detail Clear Embossing Powder
All Occasions Glitter Enamel Dots
Other Key Products Used:
Copic Markers
Distress Oxide Inks: Kitsch Flamingo, Picked Raspberry, Shaded Lilac, Wilted Violet, Salvaged Patina, Peacock Feathers, Squeezed Lemonade & Mustard Seed
Liquid Adhesive
Verasfine Clair Nocturne Ink
Here are some more details about the card I created!
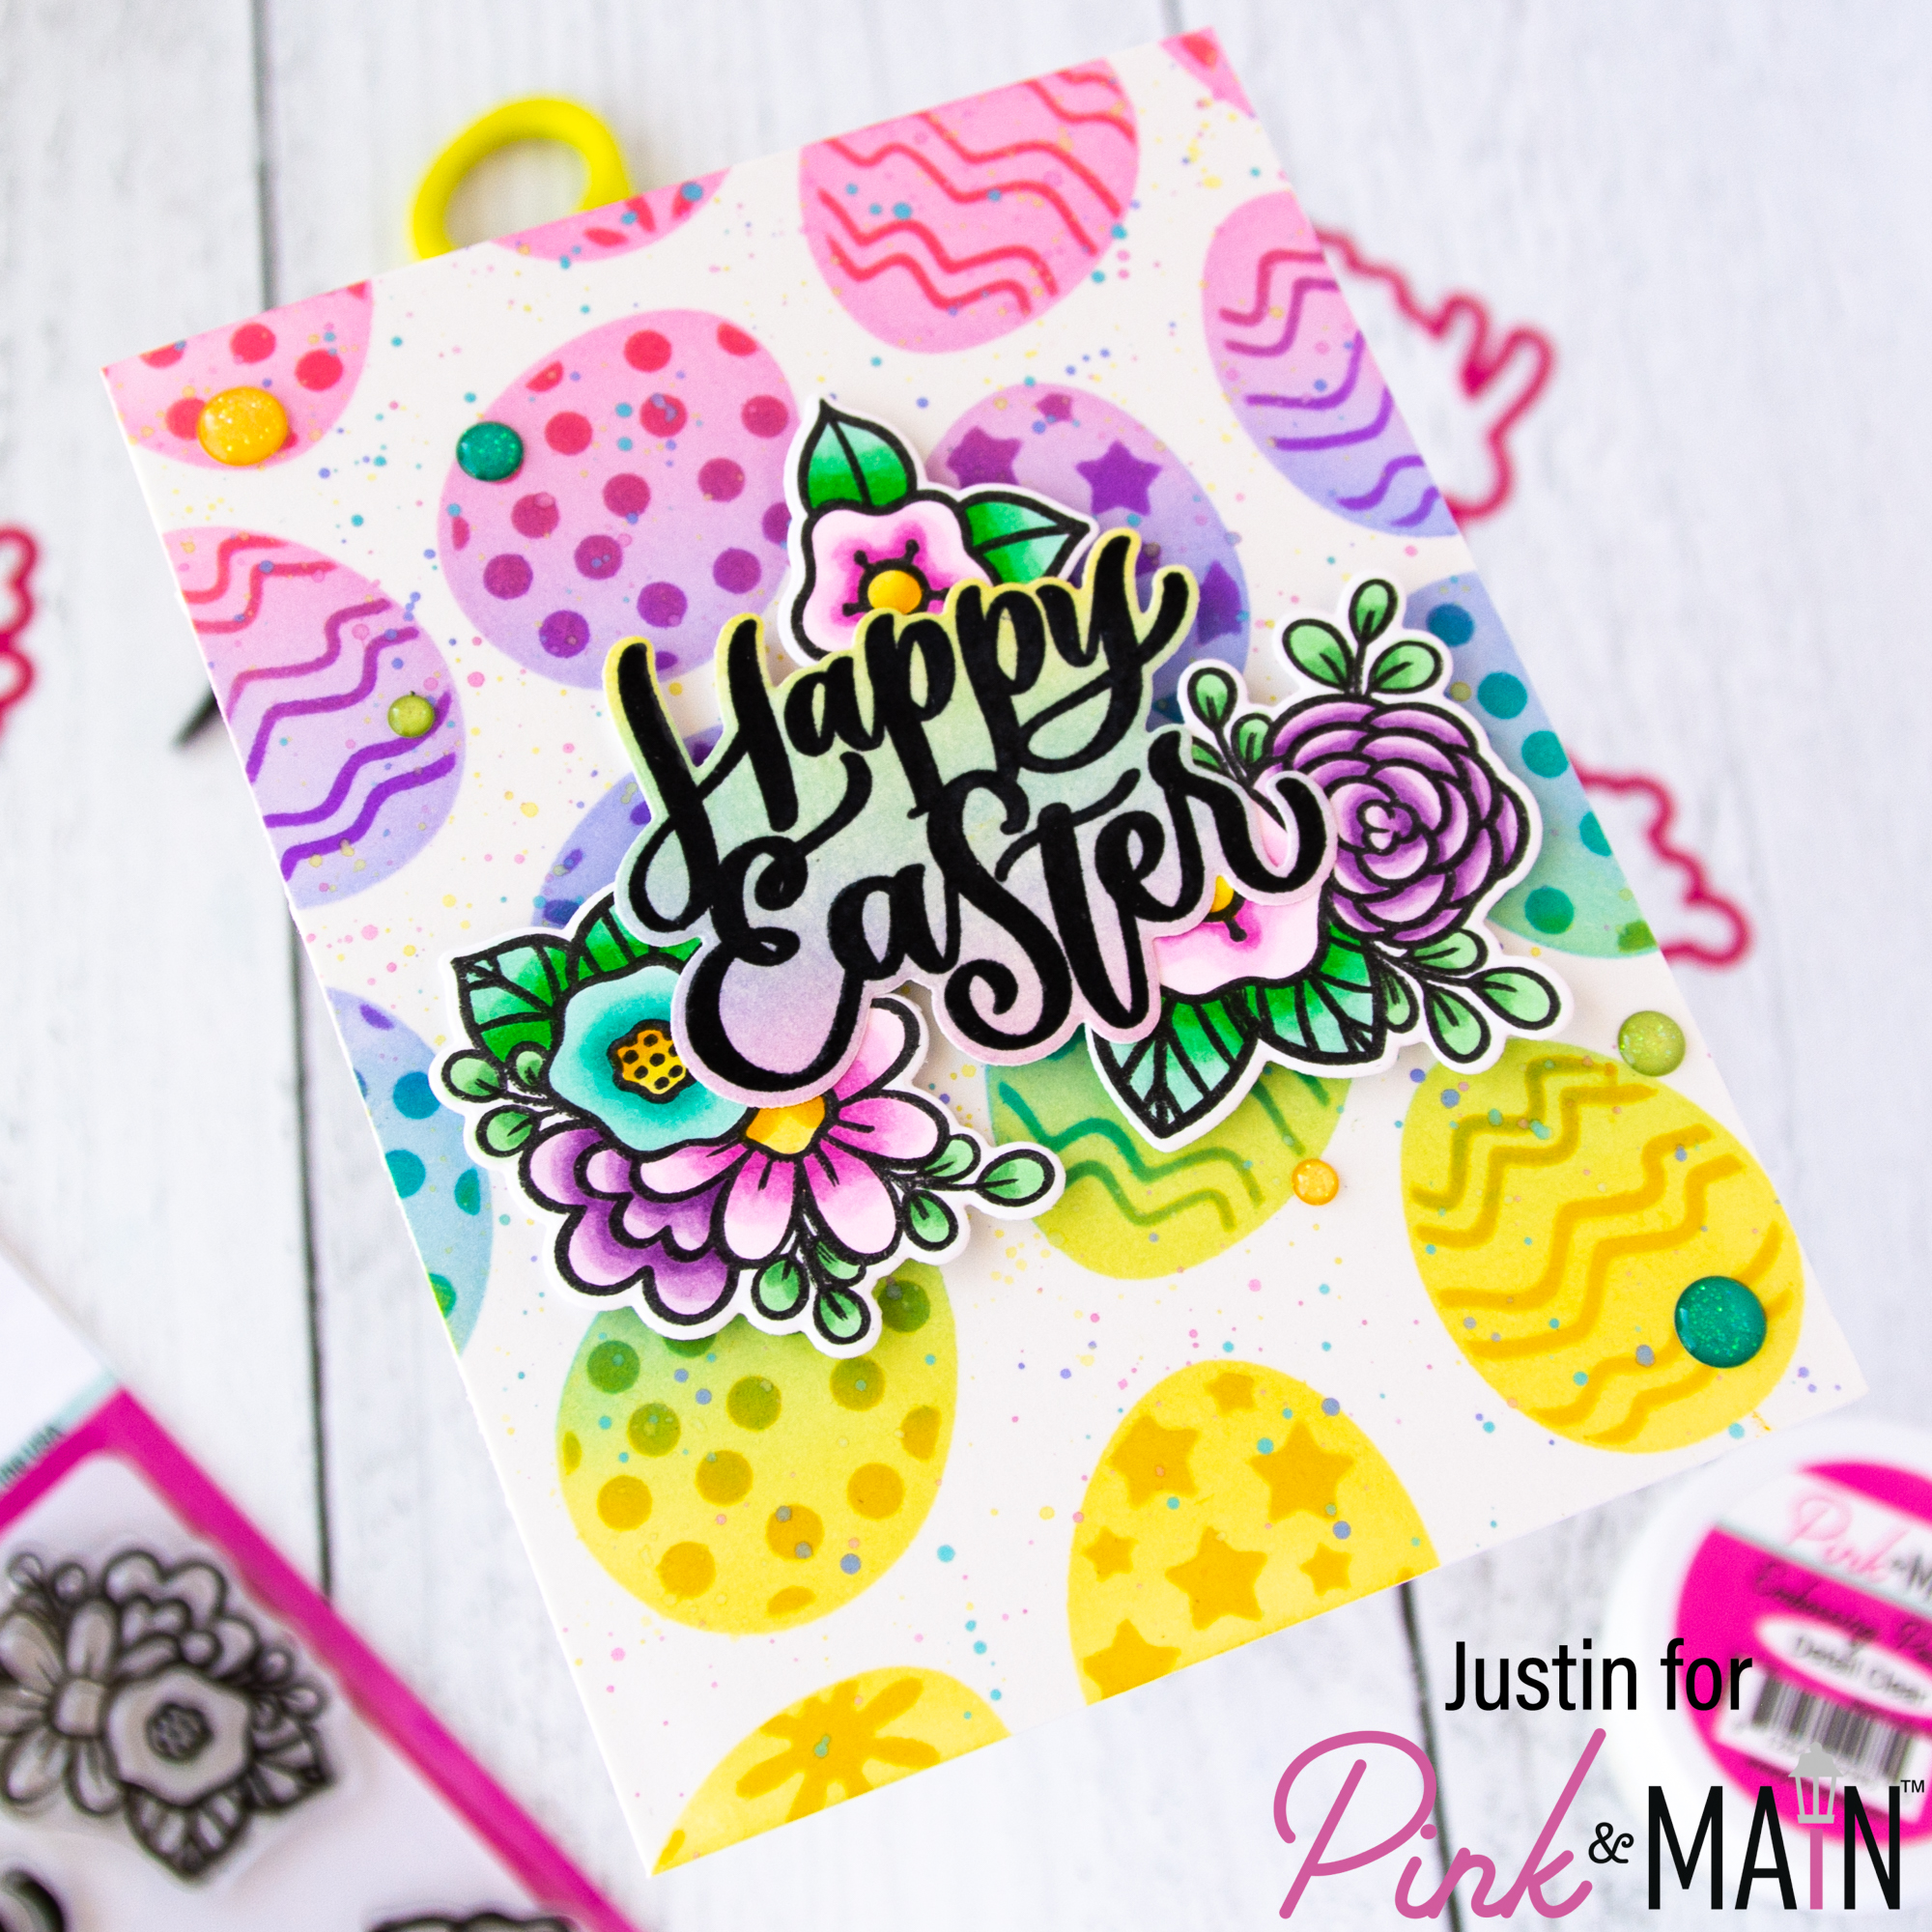
I colored up the flower images from Easter Joy using Copic Markers, and then used the coordinating dies to cut them out, setting them aside for later.
On a piece of blending cardstock, I stamped my Happy Easter sentiment using Versafine Clair Nocturne Ink, and the embossing it with Detail Clear Embossing Powder. Once dry, I then blended over it using Squeezed Lemonade, Salvaged Patina, Shaded Lilac and Kitsch Flamingo Distress Oxide Inks. I cut out the sentiment using the Easter Joy Coordinating Die Set. I then adhered the flowers behind my sentiment to create a single unit. I put some foam tape on the back of the unit and set it aside for later.
For my background, I placed the eggs portion of the Layered Eggs stencil over blending cardstock. I then ink-blended, from top to bottom, the following Distress Oxide Inks: Kitsch Flamingo, Shaded Lilac, Salvaged Patina & Squeezed Lemonade. I removed the eggs portion of the stencil pack and then placed the egg design portion, and ink-blended the following Distress Oxide Inks from top to bottom: Picked Raspberry, Wilted Violet, Peacock Feathers & Mustard Seed. After I removed the stencil, I then splattered some excess Distress Oxide Ink onto the card panel and set it aside to dry.
Once it was finished drying, I removed the backing of the foam tape of my sentiment unit, put it into place on my stenciled panel, and adhered some All Occasions Glitter Enamel Dots. My card was completed!

Thank you so much for stopping by my blog today! I hope this card leaves you some Easter inspiration, along with excitement for what’s to come with our February Release!
For more crafty inspiration, please follow me on Instagram and check out my personal blog as well!
Thank you again for stopping by! Happy Crafting!
Justin
Be sure to follow me on Instagram at @justanotebyjustin and subscribe to my YouTube Channel for all my crafting projects!
Note: This blog does use affiliate links when possible. Please know that I only recommend products that I love and think you’ll love too!
Leave a Reply