

This post uses affiliate links at no additional cost to you! By clicking the links in this post, I earn a small commission should you make a purchase. Thank you in advance!
Hello everyone! Today I decided to share a card that re-ignites an old love of alcohol inks for me! Earlier this past week, I saw someone (my apologies for not recalling who exactly) share on Instagram that you can use embossing folders on your alcohol ink designs! Since Pink & Main has my favorite embossing folders, I KNEW I wanted to incorporate this into my next design using the new Pretty Butterflies Embossing Folder!
For this card, I am combining 2 of our new January Release Stamp Sets, along with a handful of other amazing Pink & Main products to create this inky Valentine’s Day card!
Below is a list of supplies used to create the card:
Pink & Main Products Used
Love Language Stamp Set
Love Language Coordinating Dies
Bear Hugs Stamp Set
Bear Hugs Coordinating Dies
Pretty Butterflies Embossing Folder
Floral Hearts Glitter Enamel Dots
Icicle Embossing Powder
Dress Shop Premium Dye Ink
Dress Shop Cardstock
Other Key Products Used:
Copic Markers
Alcohol Inks: Flamingo, Gumball & Crimson
Alcohol Ink Blending Solution
Photo Paper
Liquid Adhesive
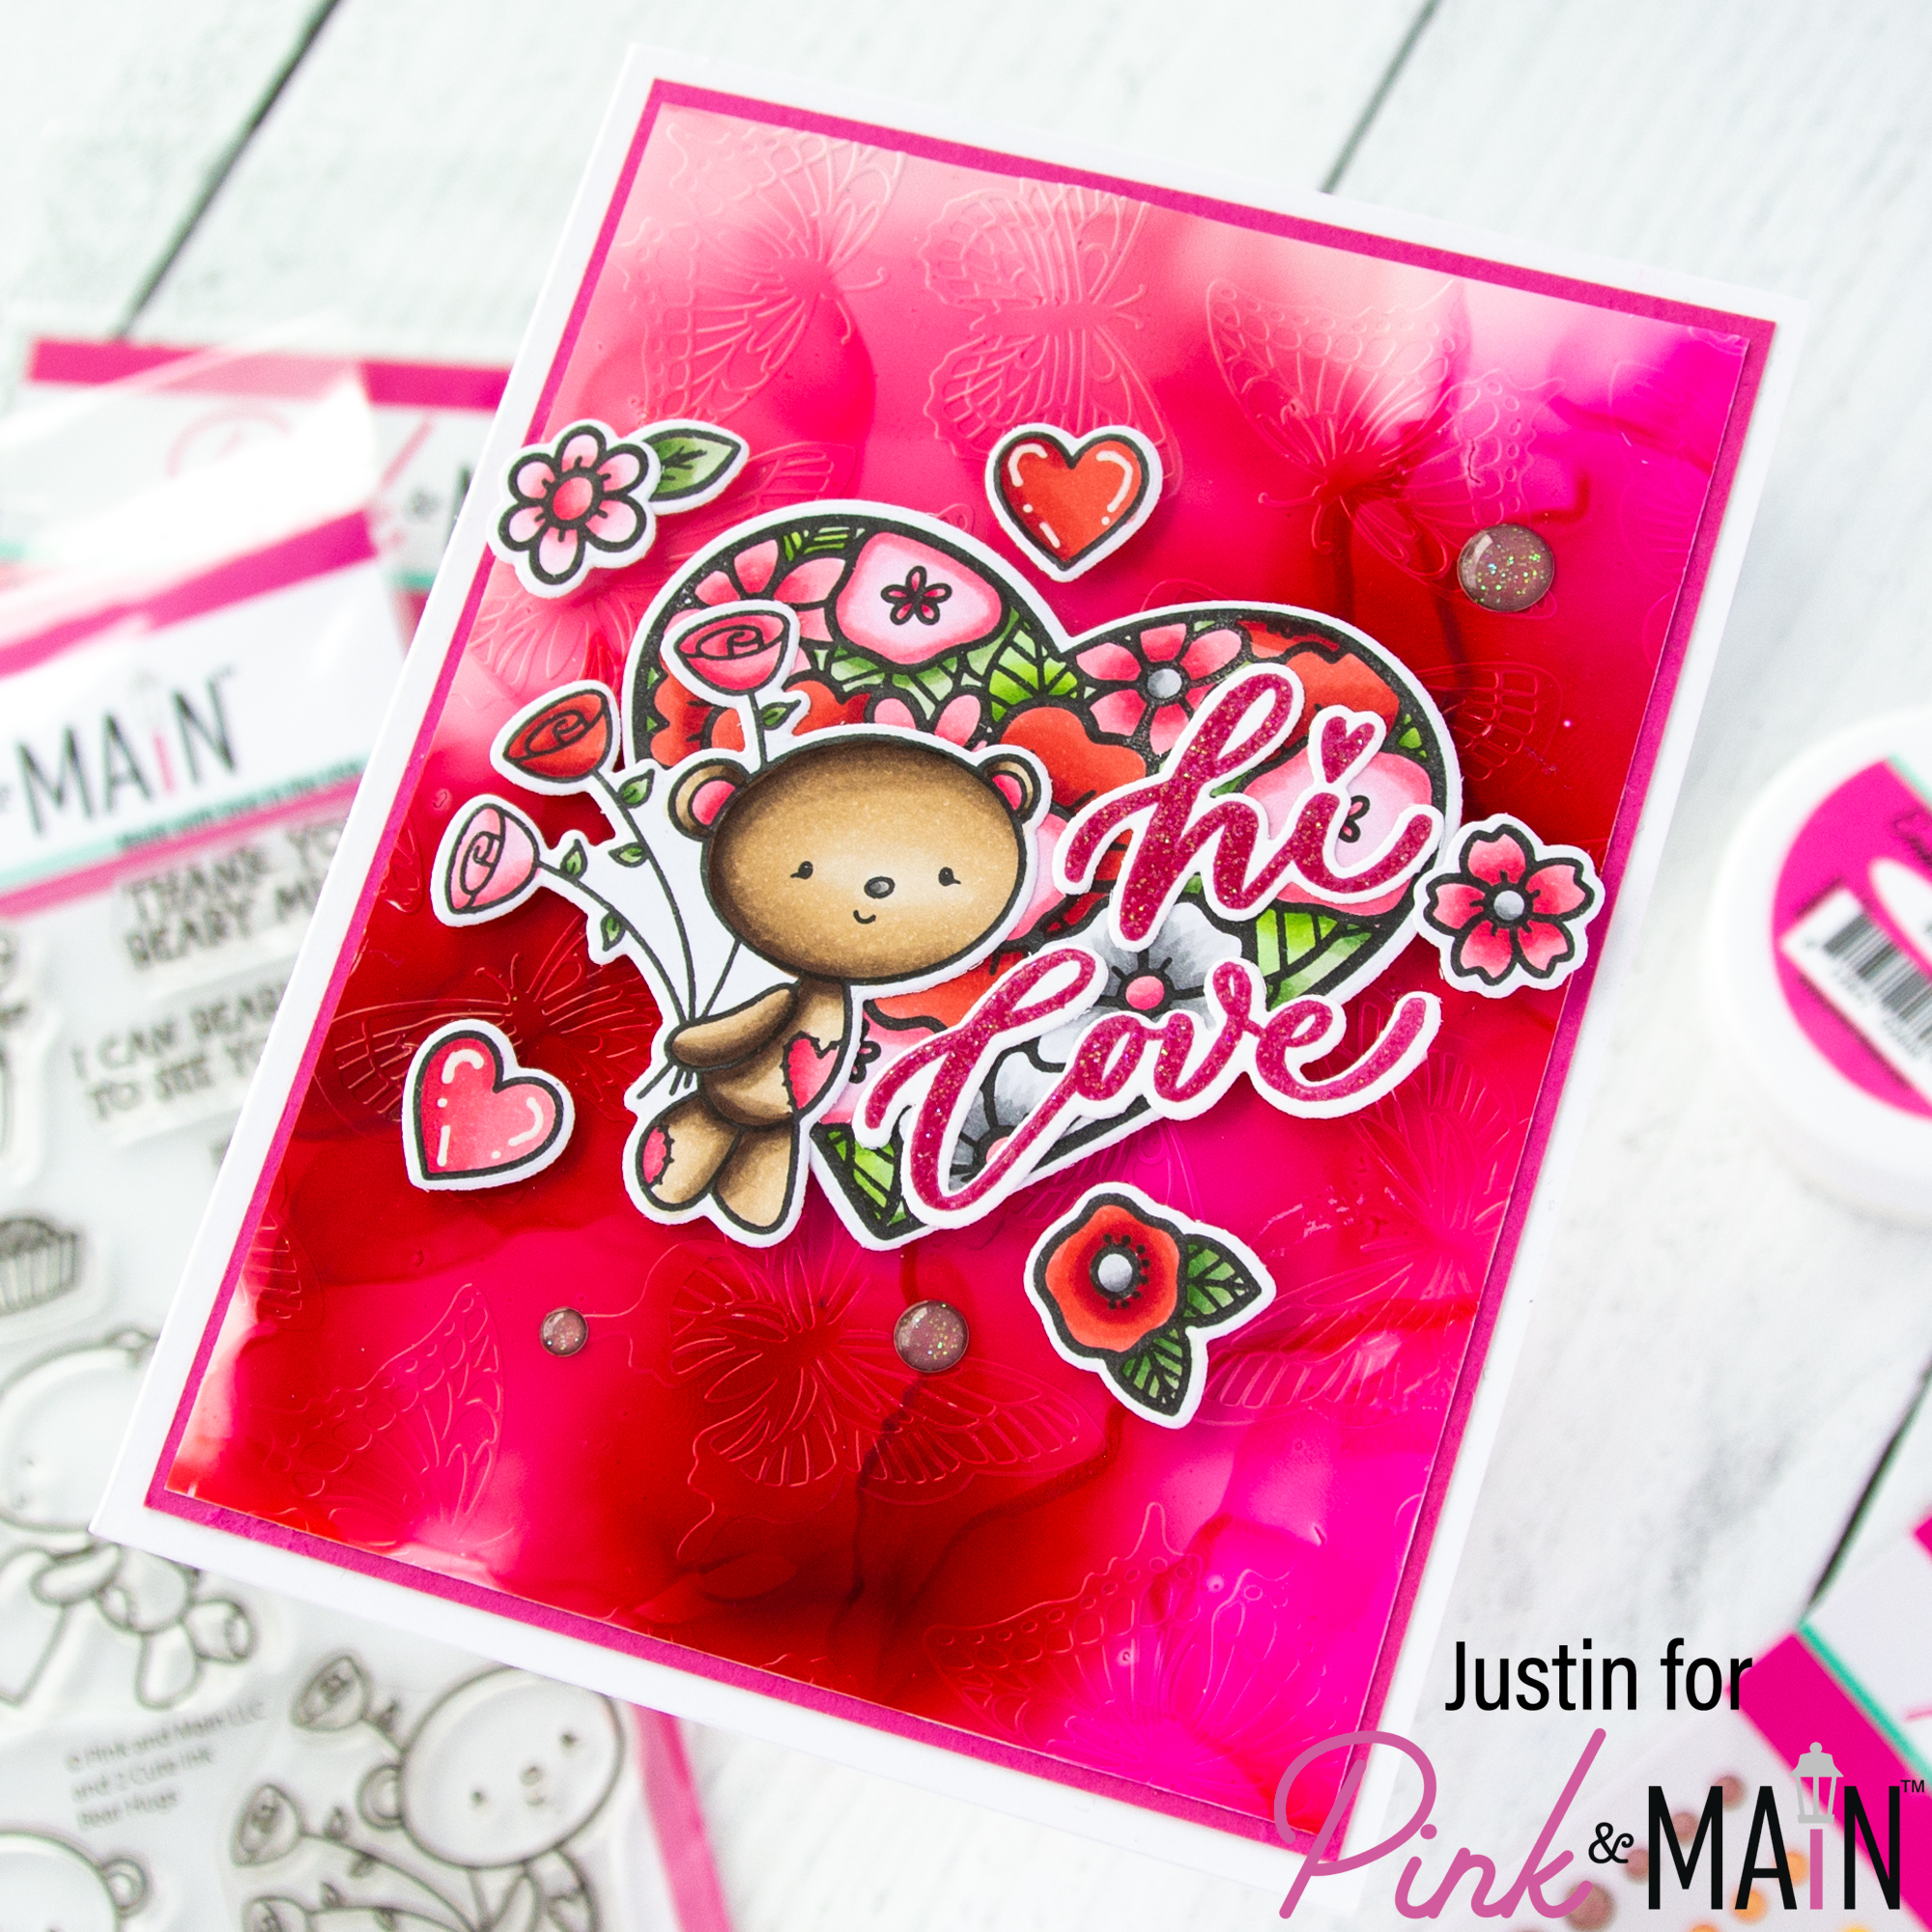
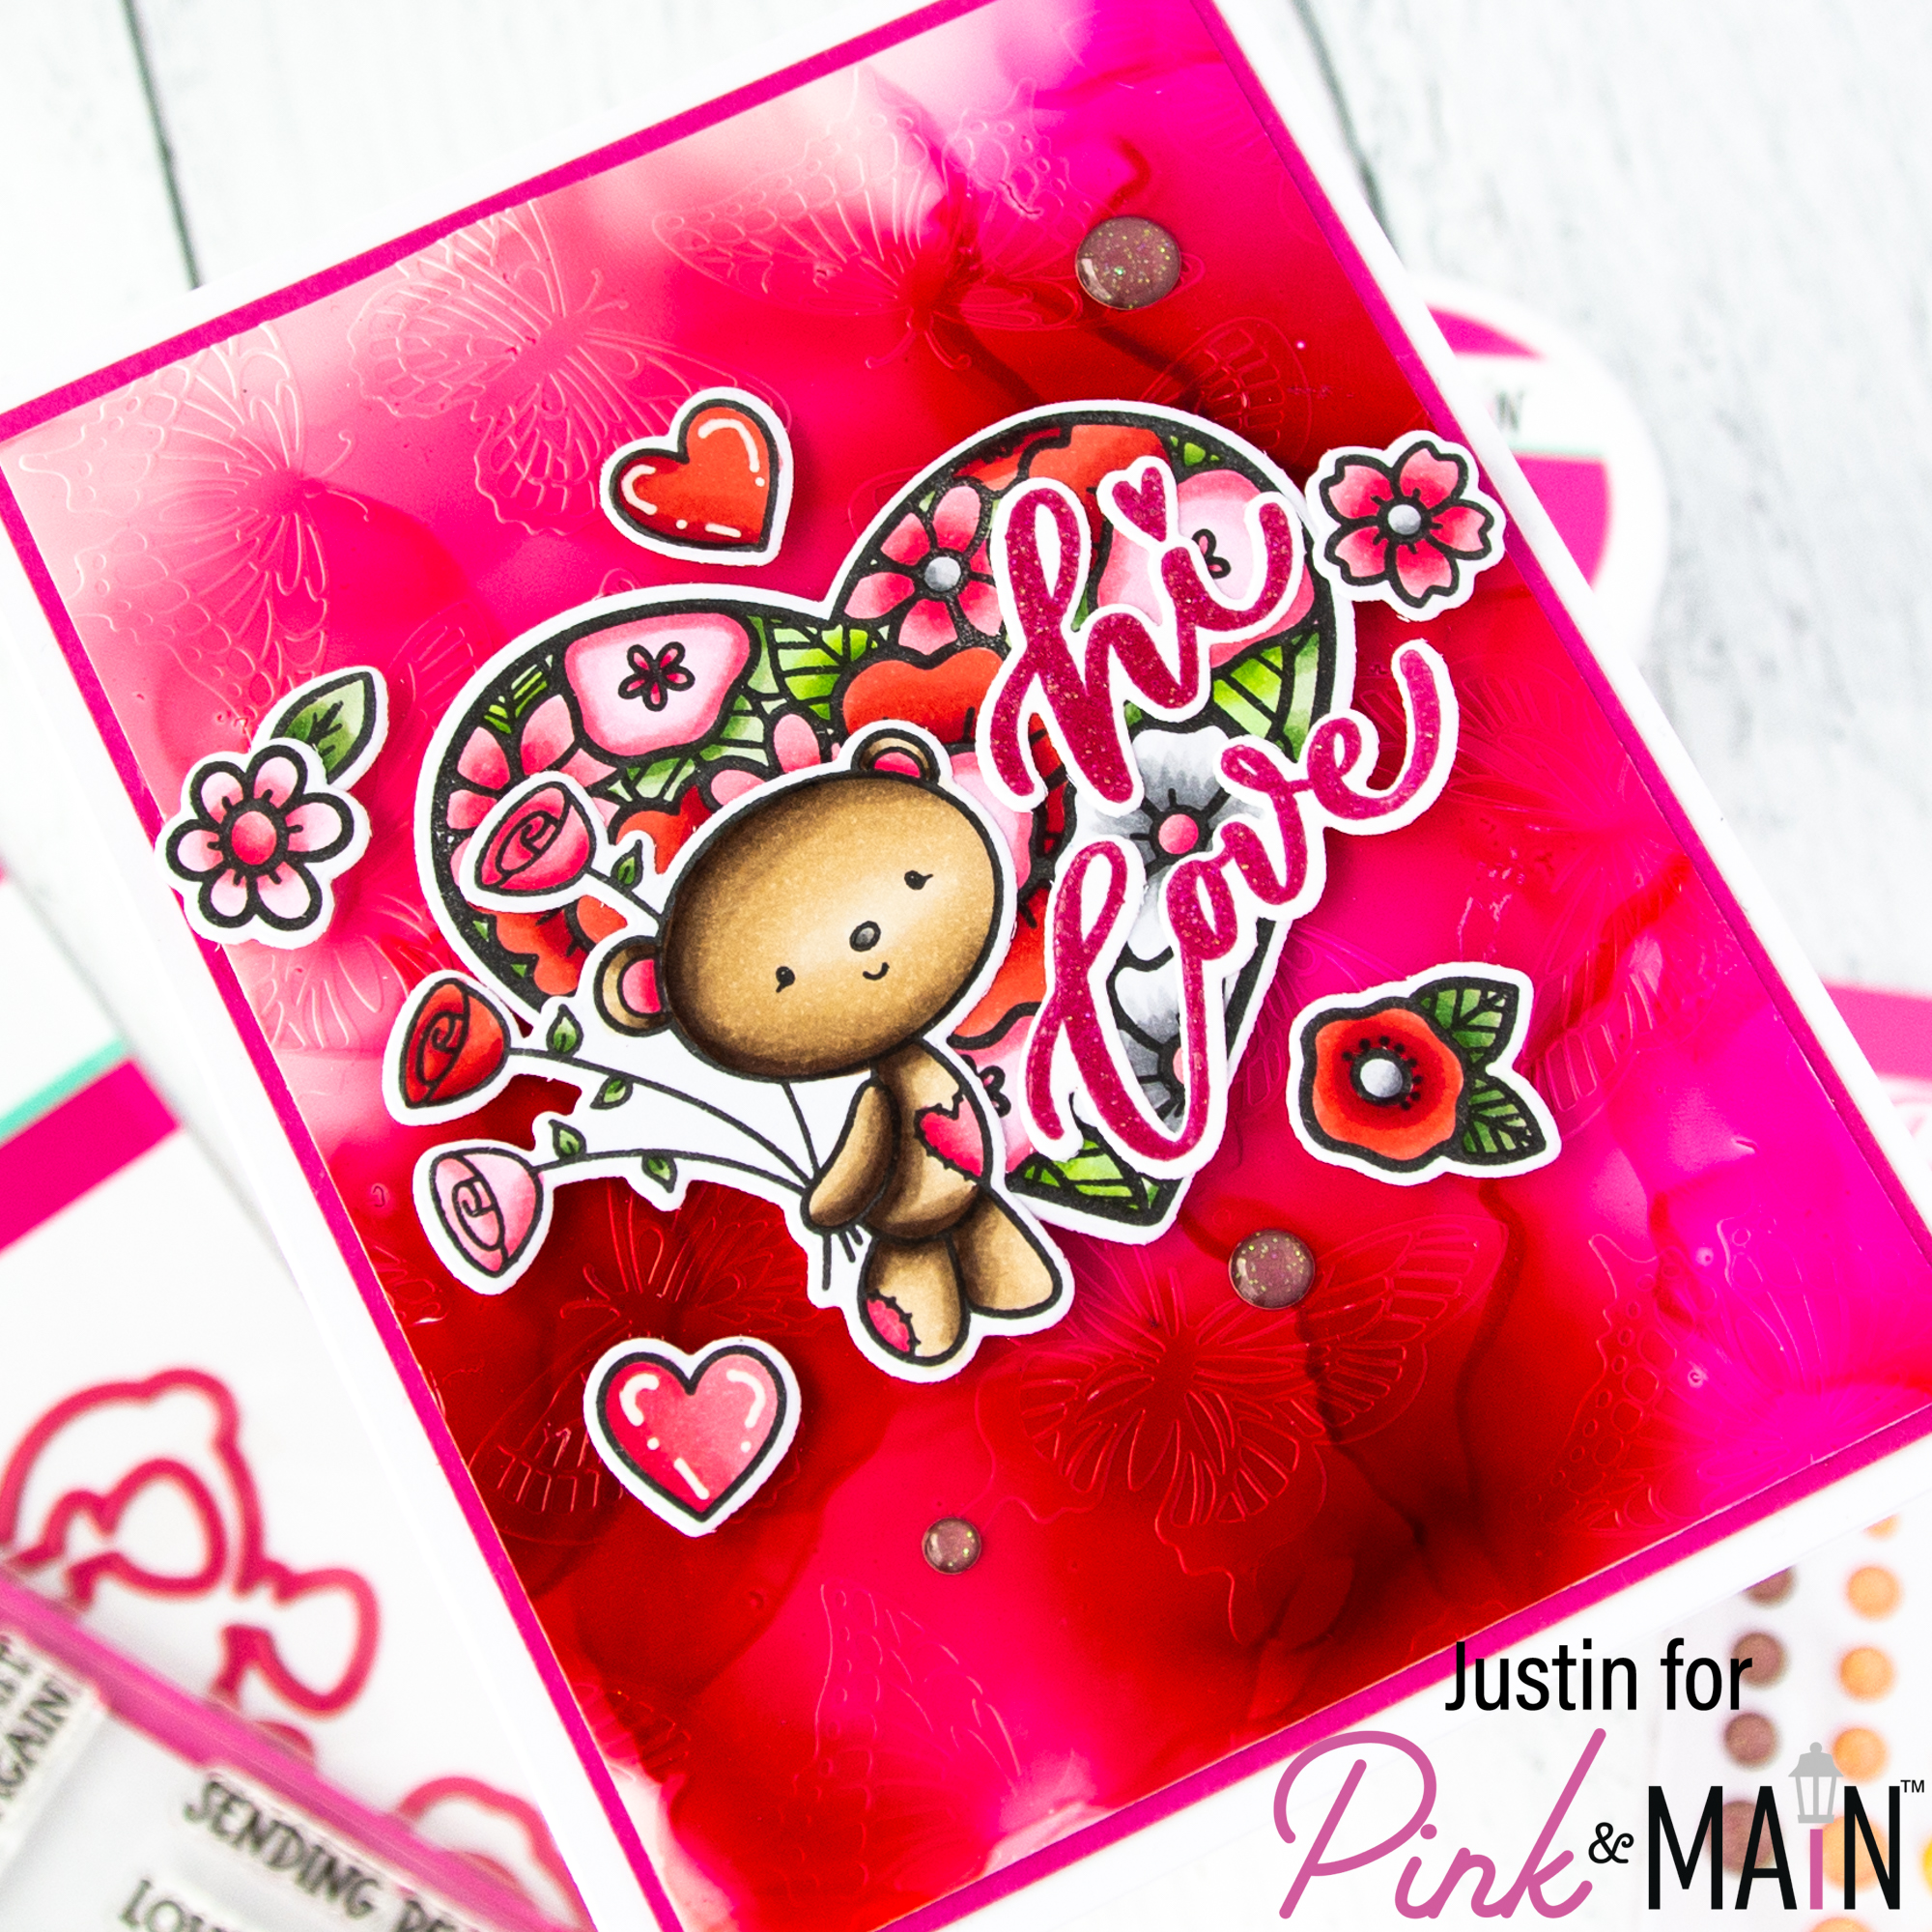
I colored up my images from the Bear Hugs and Love Language stamp sets using Copic Markers, and cut them out using the coordinating dies. I really wanted to keep to a red and pink color palette, but I really loved how the little pops of green inside the large floral heart added a fun mix of colors.
My background was really easy to create. I used the Flamingo, Gumball and Crimson Alcohol inks on Photo Paper, that I had generously applied Alcohol Ink Blending solution to. I was told once before that if you want those lighter and wispy designs, you don’t actually need to use that much of the Alcohol Ink itself. That being said, I ended up using about 3 drops of each color, and then used the air tool to blow it around. I always like to set my panels aside to dry for a good chunk of time (at least an hour here). Once I knew it was dry, I embossed it with the Pretty Butterflies Embossing Folder. I trimmed my panel down to about 3.75″ x 5.125″, adhering it to a 4″ x 5.25″ panel of Dress Shop Cardstock, and then finally adhering it to a white A2-sized card base, which gave a nice white frame around my inky panel.
Using the “Hi” and “Love” sentiments from Love Language, I stamped them in Dress Shop Premium Dye Ink, and, while the ink was still wet, heat embossed the sentiment with Icicle Embossing Powder for that embossed glittery effect. I used the Love Language Coordinating Dies to cut them out.
To finish my card, I used a combination of liquid adhesive and foam tape to adhere all of my images. I then applied a few Floral Hearts Glitter Enamel Dots and my card was completed!
Thank you so much for stopping by the Pink & Main Blog today! I hope this card leaves you with some alcohol ink-spriation for an additional way to use your favorite Pink & Main Embossing Folders!
For more crafty inspiration, please follow me on Instagram and check out my personal blog as well!
Thank you again for stopping by! Happy Crafting!
Justin
Leave a Reply