

This post uses affiliate links at no additional cost to you! By clicking the links in this post, I earn a small commission should you make a purchase. Thank you in advance!
Hello friends! Justin here, and today I am sharing some more holiday inspiration using some of the products from the latest Pink & Main release! I wanted to use the new Holly and Berries Cut and Emboss Folder as a focal image for this card, and then use a sentiment from the Pine Boughs Stamp Set to pull everything together!
Below is a list of products used to create this card:
Pink & Main Products Used:
Holly and Berries Cut & Emboss Folder
Pine Boughs Stamp Set
Holly Super Fine Glitter
1/4″ EZ Tear Tape
1/8″ EZ Tear Tape
Frosting Embossing Powder
Embossing Watermark Ink Pad
Magic Anti-Static Brush
Stop Sign Cardstock
Asphalt Cardstock
Clean-Up Brush
Other Key Products Used:
Distress Heavystock
Distress Spray Stains: Candied Apple, Twisted Citron, & Tarnished Brass
Ok, let’s get to our card tutorial!
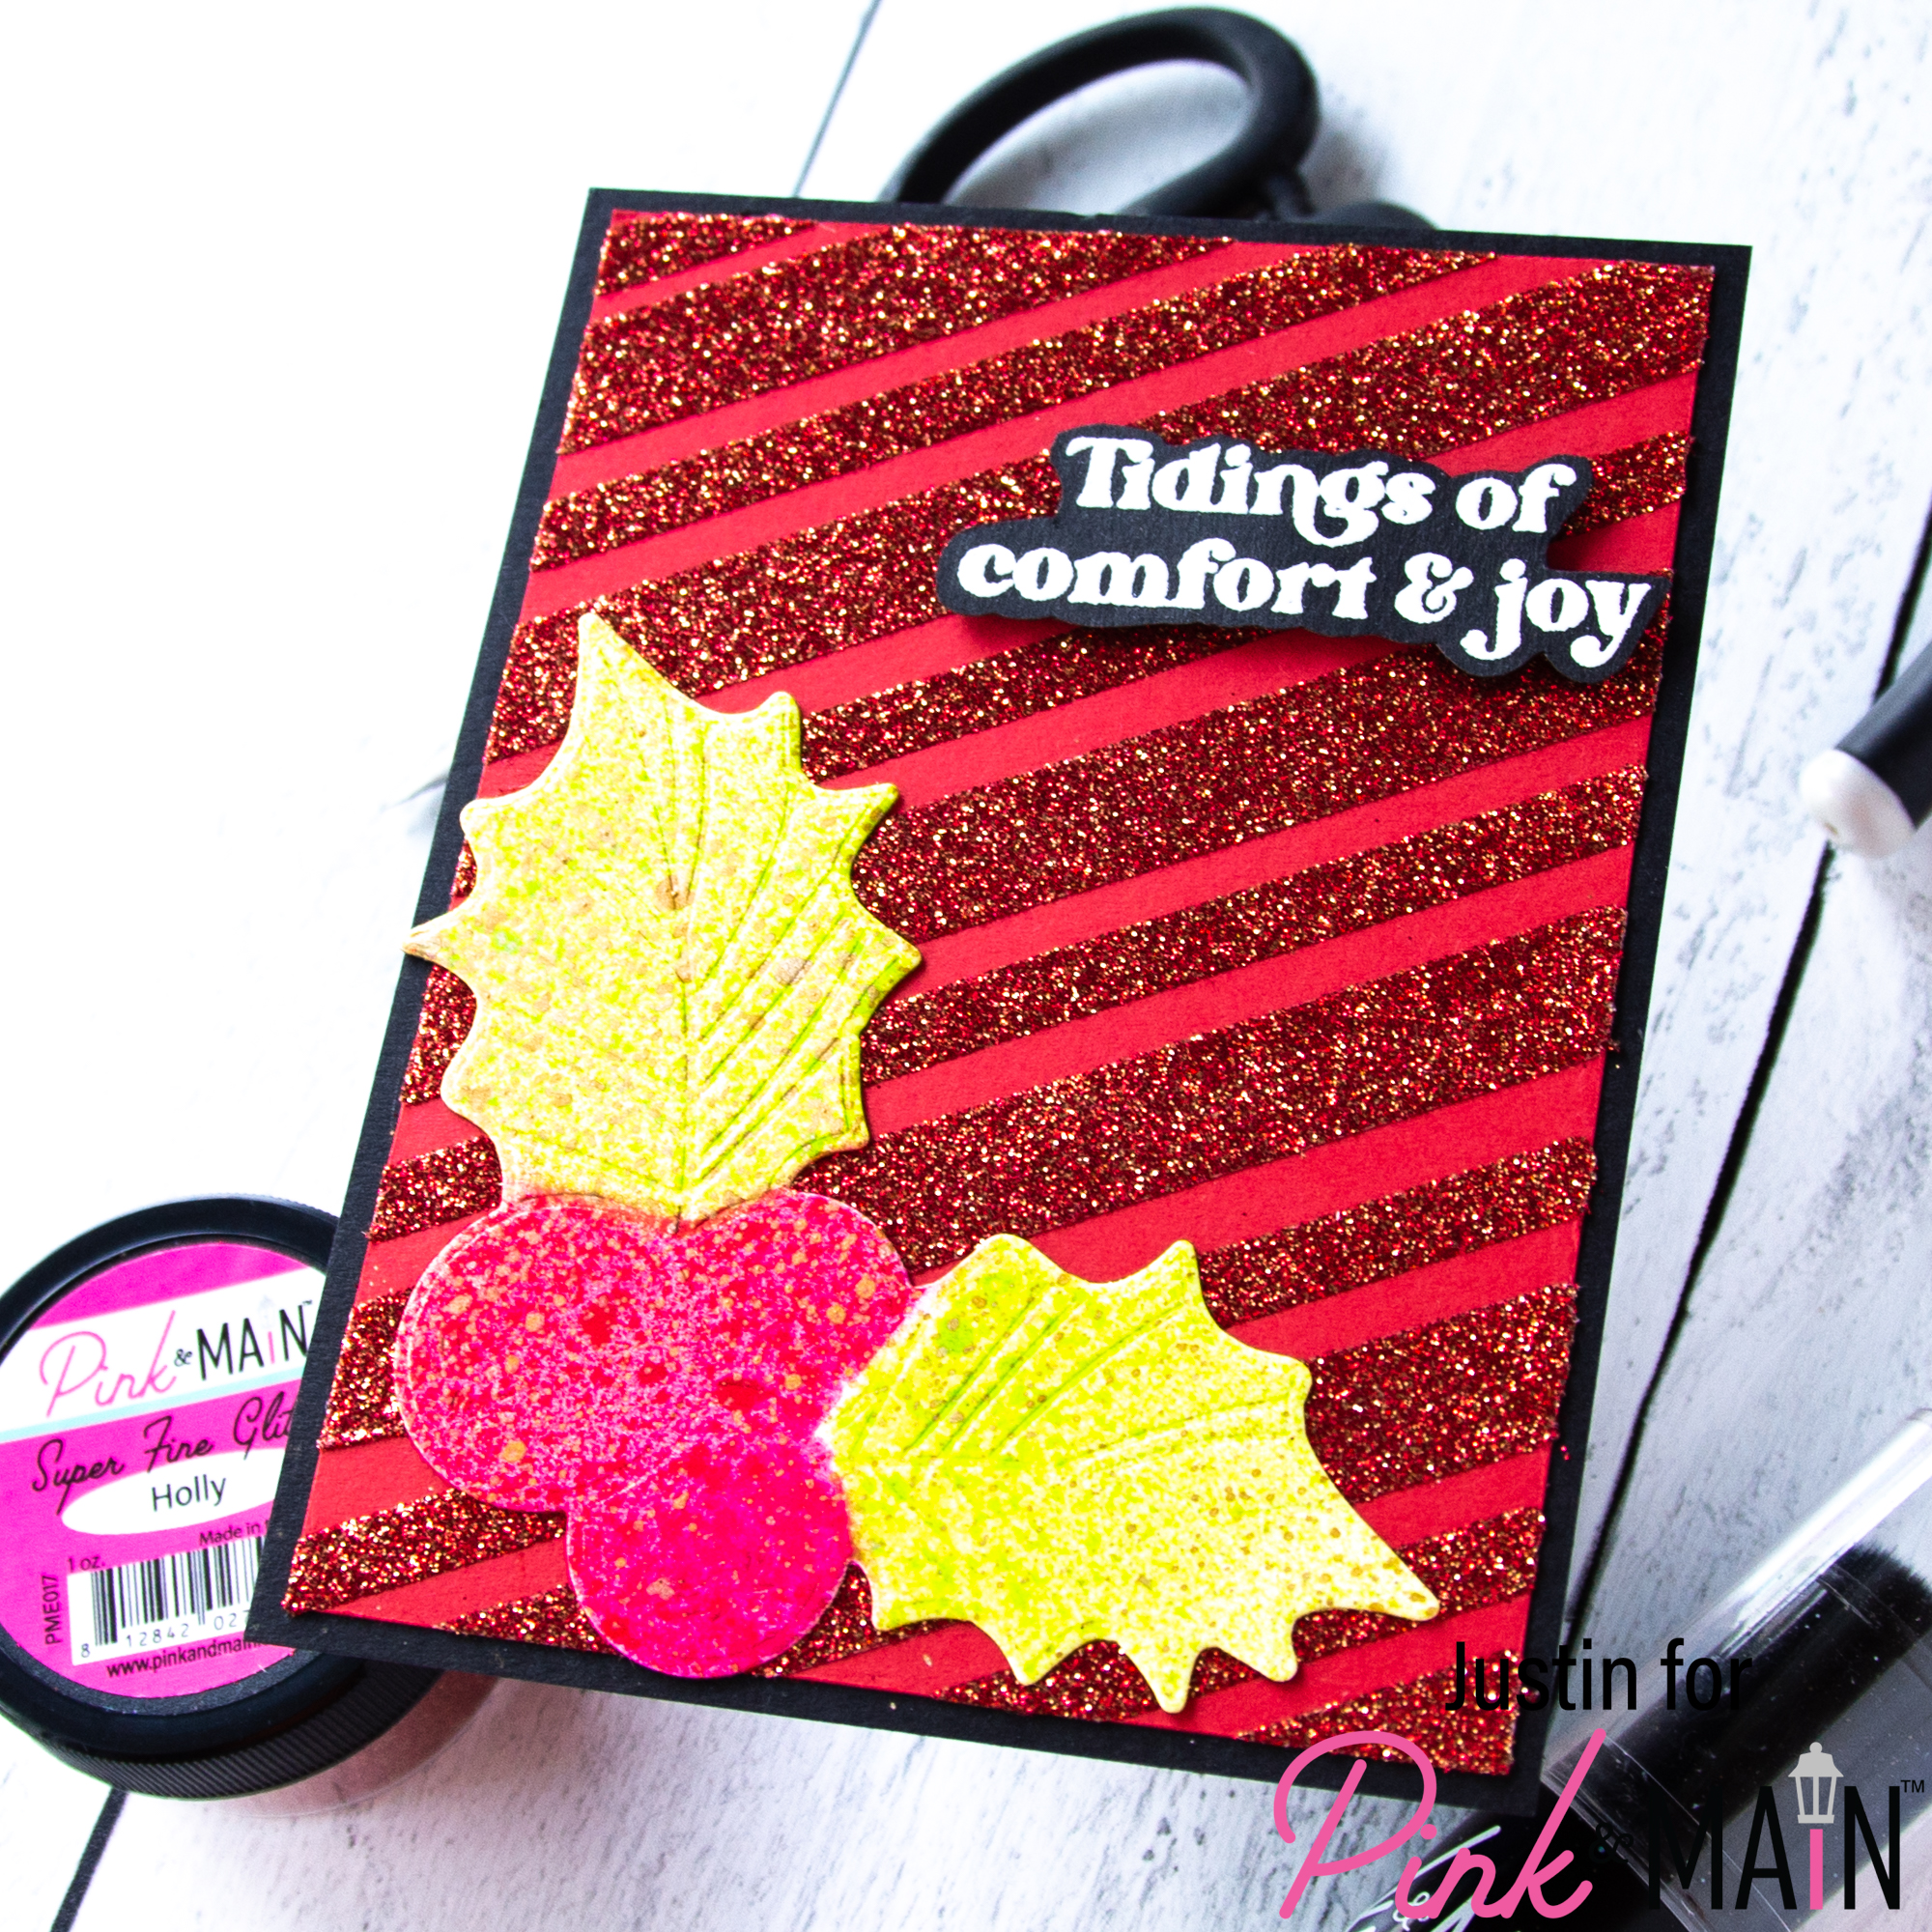
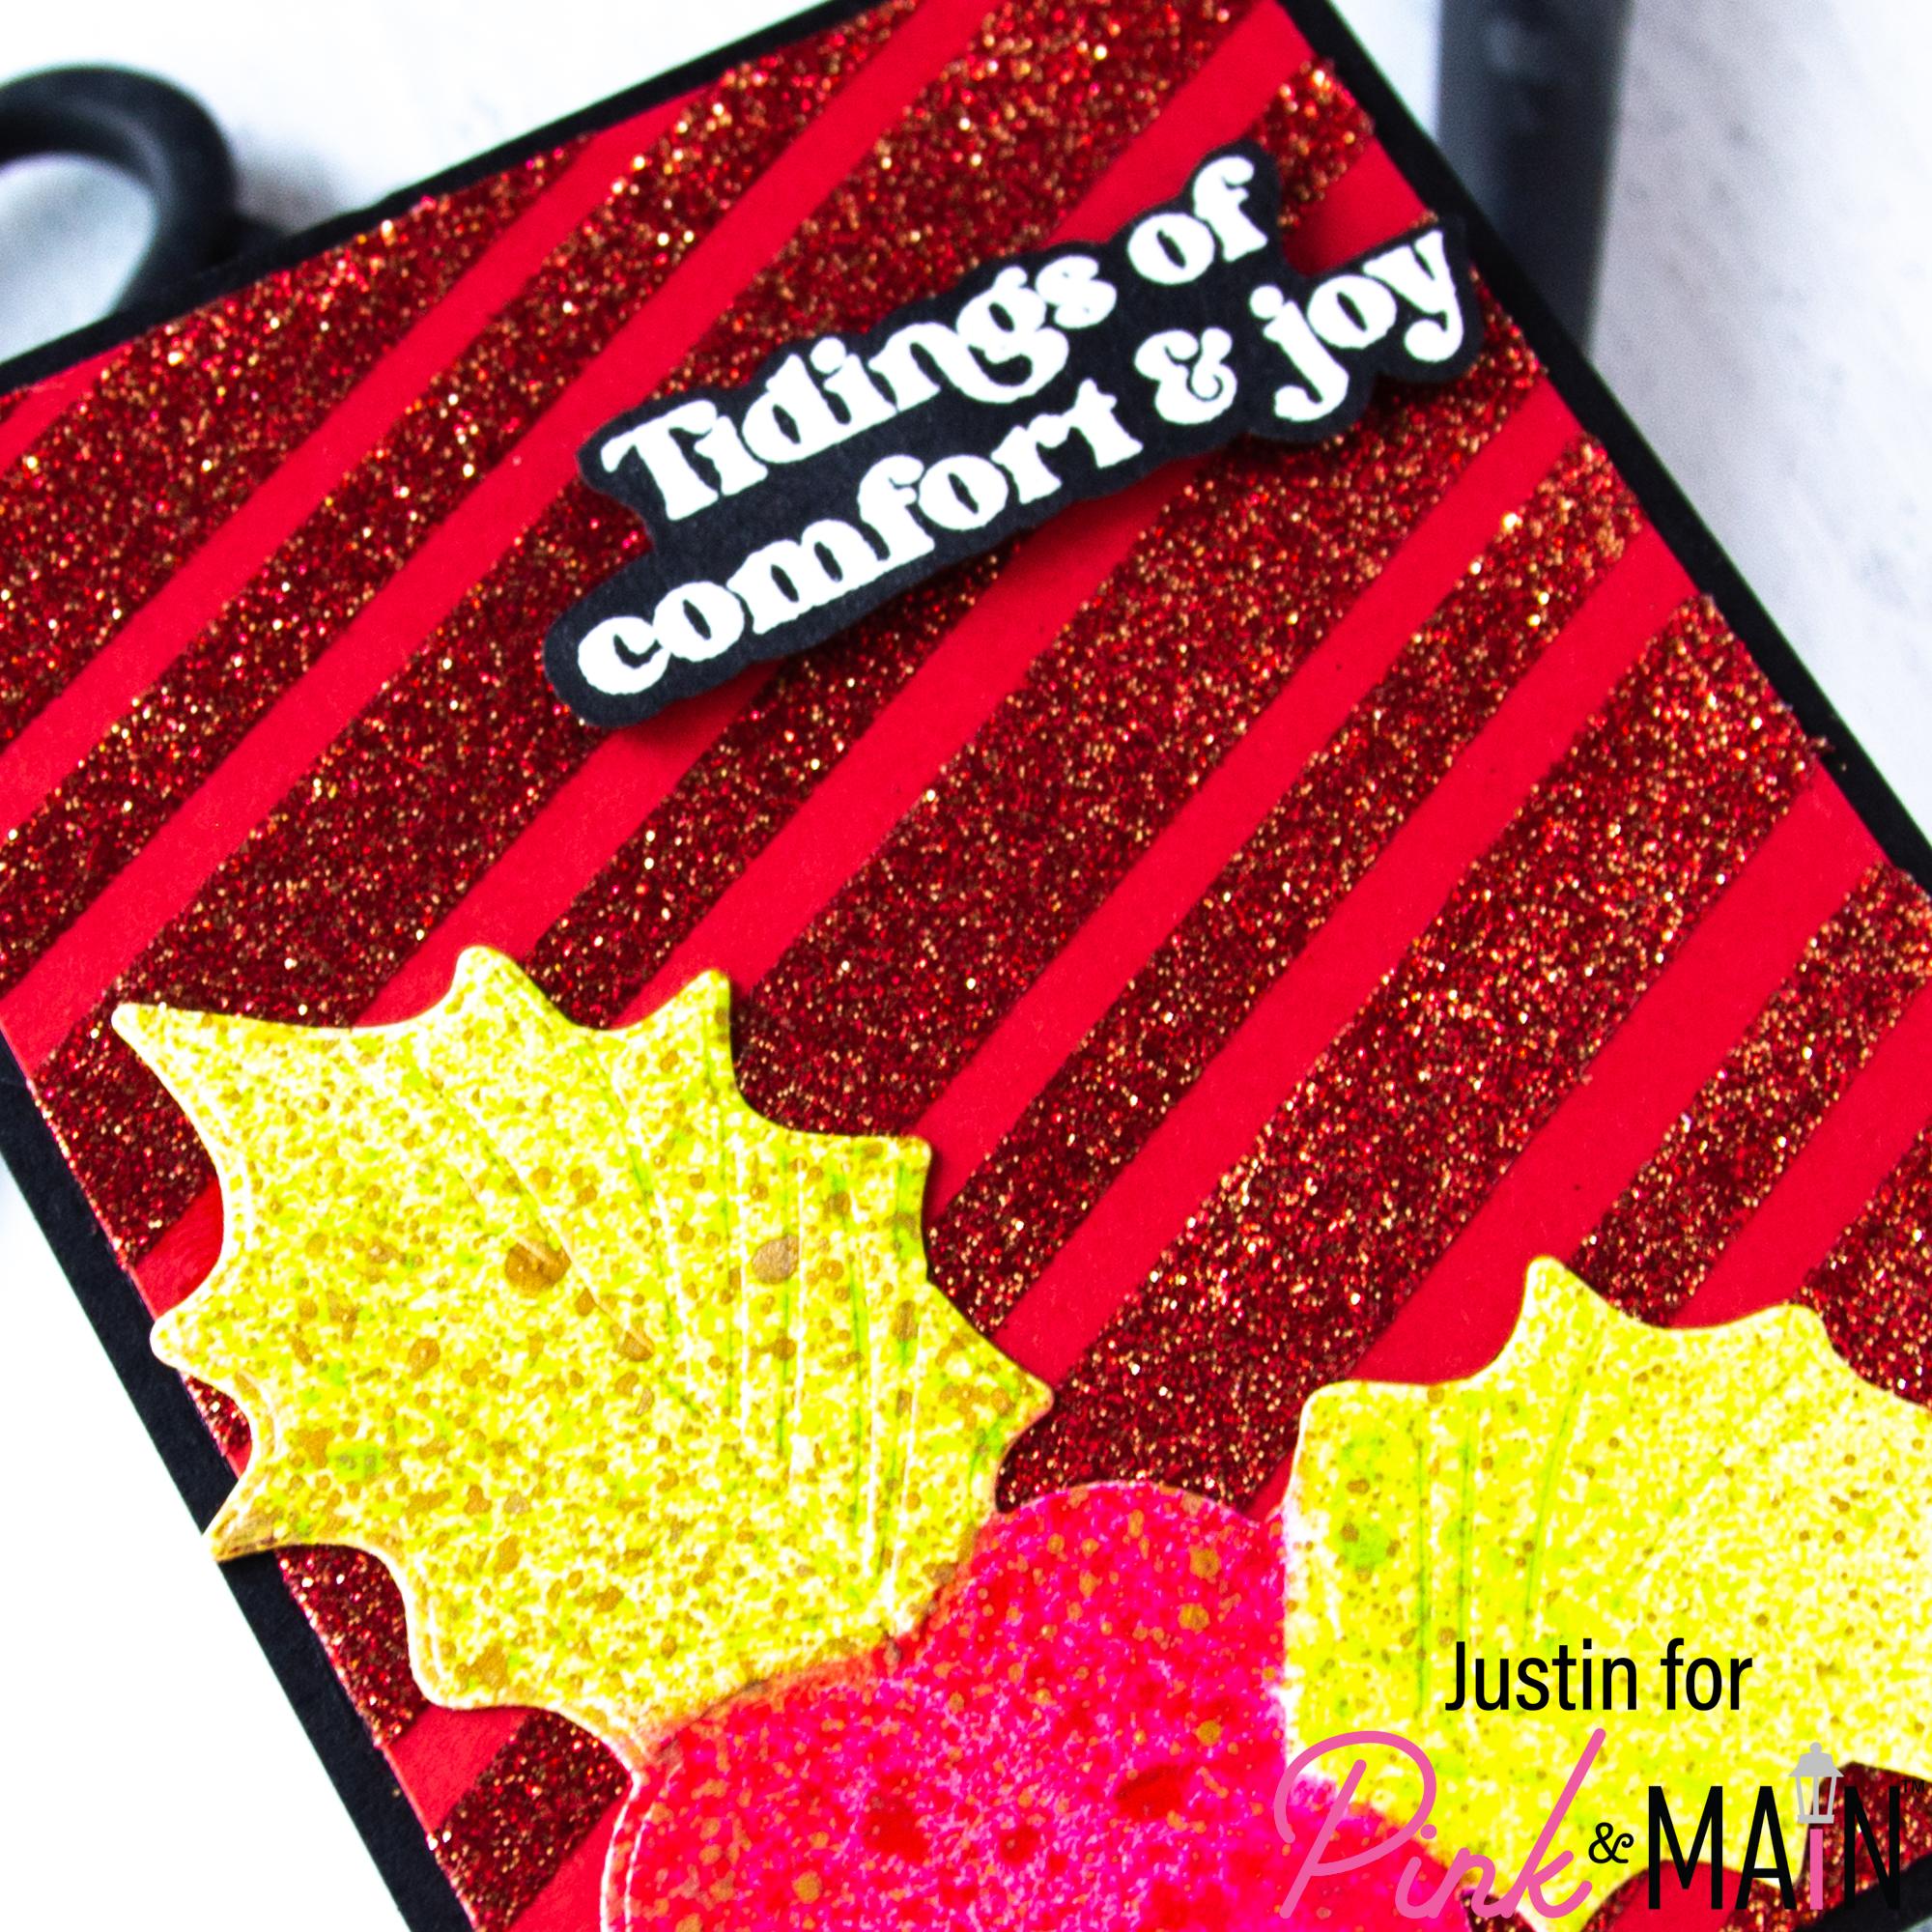
To start this card, I used the Holly and Berries Cut and Emboss Folder to cut out my die cut from Distress Heavy Stock. I masked off the leaves and used Candied Apple Distress Spray Stain on the berries. Once dry, I masked off the berries and used Twisted Citron Distress Spray Stain on the leaves. Once entirely dry, I then sprayed the whole die cut with Tarnished Brass Distress Spray Stain and set it aside for later.
Using the Pine Boughs Stamp Set, I heat embossed the sentiment “Tidings of comfort & joy” in Frosting Embossing Powder onto Asphalt Cardstock. I then fussy cut the sentiment out and set it aside.
Next, for my background, I took an A2-sized piece of Stop Sign Cardstock and placed an alternating pattern of 1/4″ and 1/8″ EZ Tear Tape. I removed the backing to the tape and then poured some Holly Super Fine Glitter over the tape, and then burnished the glitter into the tape. I used my Clean-Up Brush to brush off the excess glitter. I trimmed down the panel to 4″ x 5.25″ to clean up the edges. I adhered this panel to an A2-sized panel of Asphalt Cardstock.
I used foam tape to adhere the sentiment to the panel, and then used liquid glue to adhere the entire panel to a card base! I was completed!
Thank you so very much for stopping by the Pink & Main Blog today! I hope this card inspires you to use the new Holly and Berries Cut and Emboss Folder for some amazing textured holiday projects!
For more crafty inspiration, please follow me on Instagram and check out my personal blog as well!
Thank you again for stopping by! Happy Crafting!
Justin
Leave a Reply