

This post uses affiliate links at no additional cost to you! By clicking the links in this post, I earn a small commission should you make a purchase. Thank you in advance!
Hello everyone! I hope you’ve been loving the new Pink & Main August Release goodies just as much as I am! I may be about a month early, but today I am sharing a card that celebrates my favorite month of the year: fall! I have used the new Leafy Dies 1 set with the Happy Fall Word Die to show off all those fall colors!
Below is a list of products used to create this card!
Pink & Main Products Used:
Leafy Dies 1
Happy Fall Word Dies
Stitched Rectangles Set 1 Dies
Coffee Shop Cardstock
Pebble Cardstock
Musical Enamel Dots
Other Key Items Used:
Blending Cardstock
Distress Oxide Inks: Squeezed Lemonade, Wild Honey, Ripe Persimmon, & Barn Door
Vellum
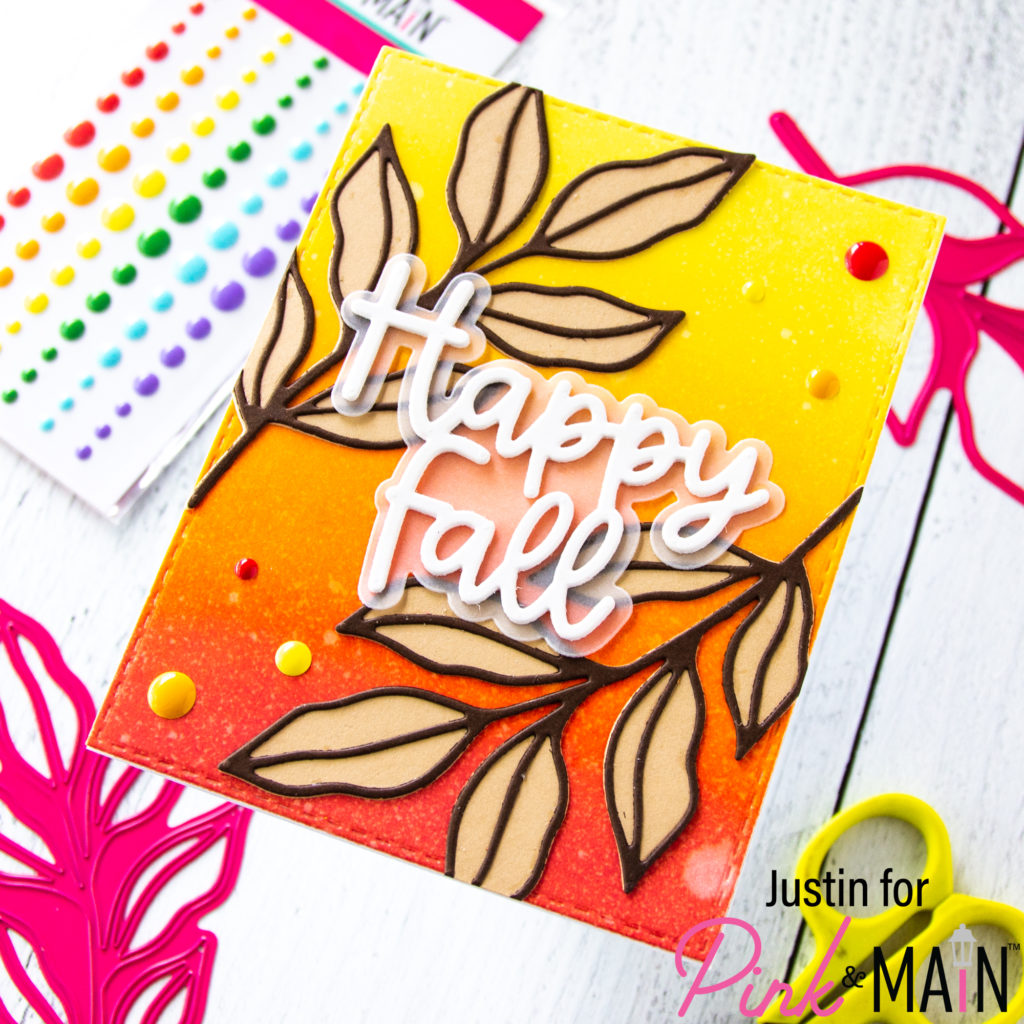
I love how easy this card was to put together! I started by die cutting a piece of blending cardstock with the A2-sized die from the Stitched Rectangles Set 1 Dies. I blended up the panel with the following Distress Oxide Inks (top to bottom: Squeezed Lemonade, Wild Honey, Ripe Persimmon & Barn Door. I spritzed the panel with water, dried it with a craft towel, and set the panel aside.
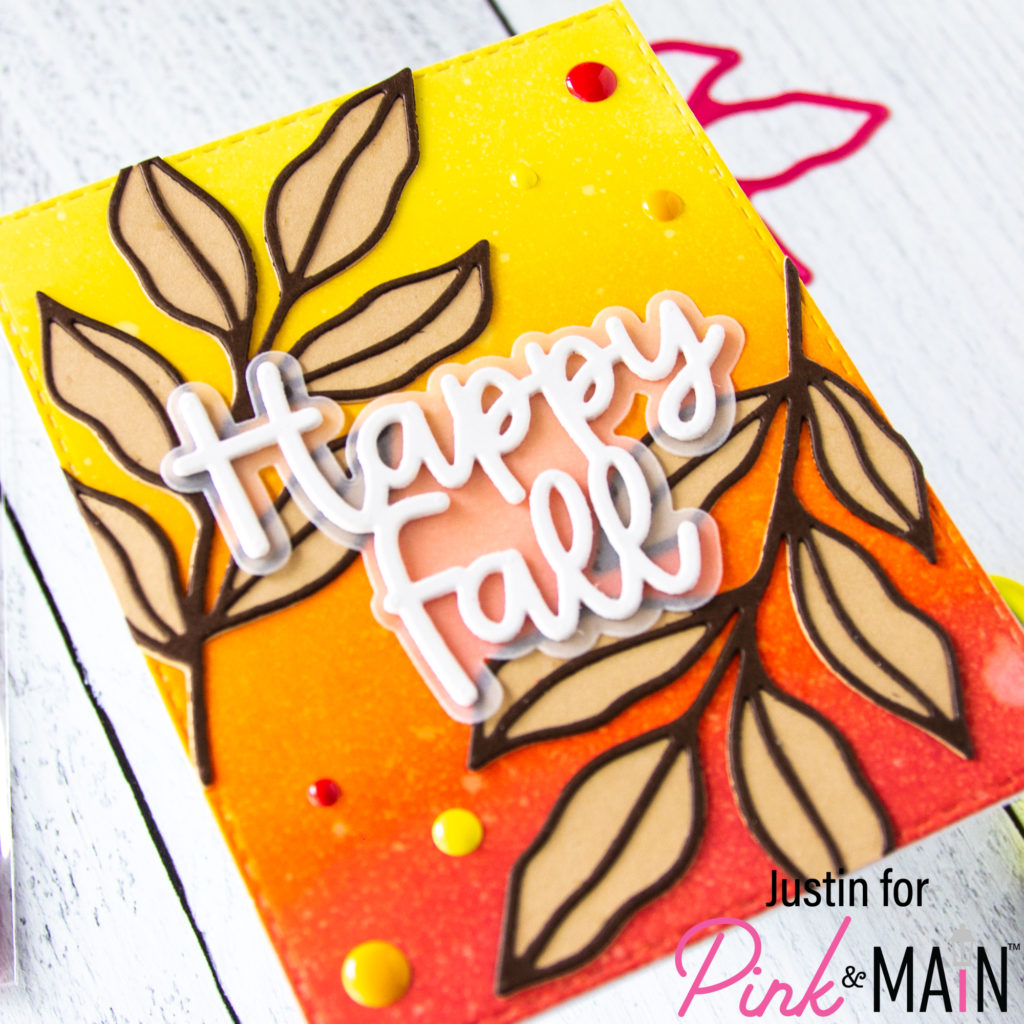
Using the Leafy Dies 1 set, I die cut (2) outline dies from Coffee Shop Cardstock & (2) background dies from Pebble Cardstock. I adhered each outline die cut on top of the corresponding background die cut with liquid adhesive and then adhered them to my oxide background. I did allow for the dies to slightly overhang off the sides of the panel and trimmed them with scissors.
For my sentiment, I die cut the Happy Fall Word Die 3 times from white cardstock, and the shadow die from vellum. I stacked each Happy Fall Word Die on top of each other, adhering them together as (1) unit. I then adhered the 3-stack sentiment on top of the vellum, finishing by adhering the vellum to my card front. On the backside of the vellum, I only placed adhesive on the portions underneath the white word die so it would be hidden.
I finished up my card by placing a few Musical Enamel Dots and adhering my entire panel to an A2-sized card base! I was completed!
Thank you so very much for stopping by my blog today! I hope this card leaves you inspired to break into your stash and make a fall creation using the new Leafy 1 Dies!
Happy Crafting!
Justin
Be sure to follow me on Instagram at @justanotebyjustin for all my crafting projects!
Note: This blog does use affiliate links when possible. Please know that I only recommend products that I love and think you’ll love too!
Did you know that I have written a special blog post that I rank all of the current Distress Oxide colors?
Check it out if you haven’t yet! I have had a lot of great response from people who have used this list to start their Distress Oxide Journey!
Leave a Reply