

Hey everyone! I am so excited to be sharing my project for our Therm O Web’s Guy Talk week! And what guy talks more than a news anchor?! I used some Deco Foil Flock, Foil, and the new Adhesive Transfer Sheets to put my card together!
Note: This blog post uses affiliate links at no additional cost to you!
Below is a list of products I used to create today’s card:
Therm O Web Products Used:
Deco Foil Flock Transfer Sheets- Teal Waters
Deco Foil Transfer Gel Blanco
Brutus Monroe Foil Transfer Sheets- Blue Waves
Deco Foil Transfer Sheets- Silver
Deco Foil Adhesive Transfer Designs by Unity- Sentiments 2
Deco Foil Toner Sheets
iCraft 3D Foam Tape- 1/16″- White
Ultra Bond Liquid Adhesive
Pixie Tape
Stencil Pal
Other Products Used:
Breaking News Stamp Set by Kindred Stamps
Simple Sunburst Stencil by Heffy Doodle
Outside-In Stitched Star Stackables by Lawn Fawn
Distress Oxide Inks: Salvaged Patina & Peacock Feathers
Peacock Feathers Distress Ink
Liquid Pixie Dust by Ink on 3
Copic Markers
Coloring Paper
Blackout Ink by Ink On 3
Blending Cardstock
Snowfall Embossing Powder
Embossing Ink Pad
Colored Cardstock
Ann’s Quilt Shaker Mix
Below is a quick tutorial for how I put my card together.
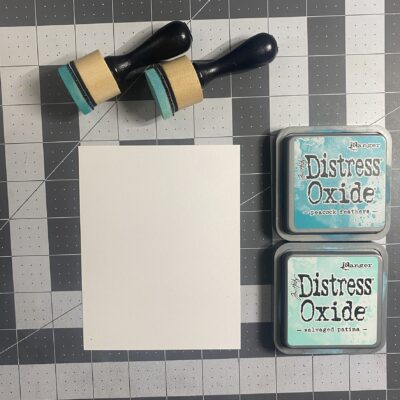
I colored up my News Anchor with Copic Markers, fussy cut him out and set him aside. Next, I took a piece of blending cardstock and blended Salvaged Patina and Peacock Feathers Distress Oxide Inks.
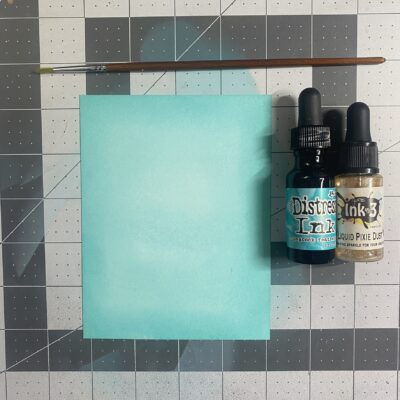
Once my panel was blended, I splatted my panel with water, then Peacock Feathers Distress Ink and then Ink on 3 Liquid Pixie Dust.
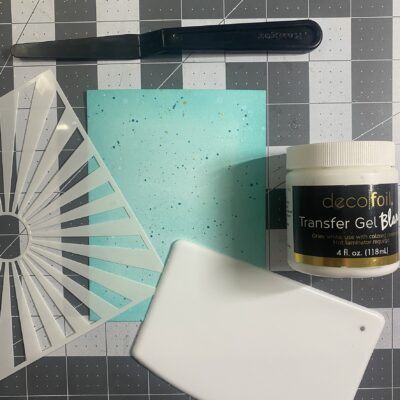
I placed my Simple Sunburst Stencil over my panel, tacked it down with Pixie Tape, and used my Stencil Pal to spread an even coat of Transfer Gel Blanco. I removed my stencil, set my panel aside to dry entirely, and washed my tools immediately.
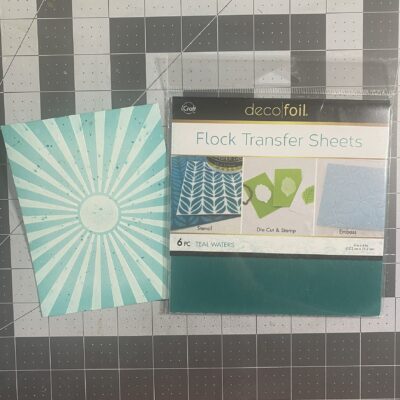
Once my panel was entirely dry, I placed a piece of Teal Waters Flock Transfer Sheet on to of my panel, and processed it through my laminator, panel side up.
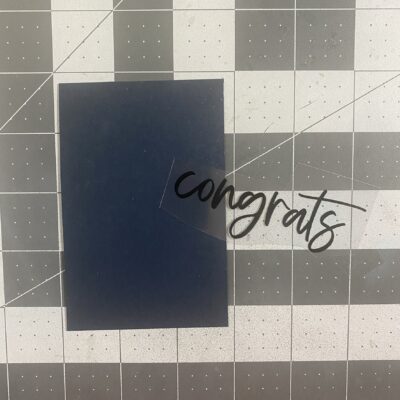
I grabbed a piece of scrap navy cardstock, placed a cut out “Congrats” sentiment by the Sentiments 2 by Unity Transfer Adhesives, and processed it through my laminator.
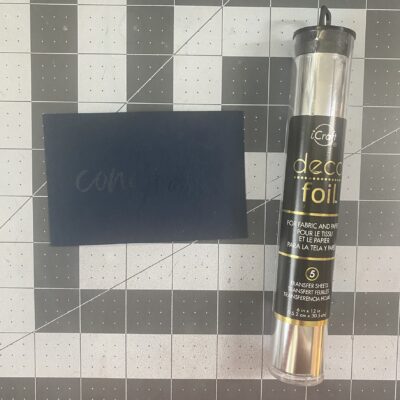
I then placed a piece of Silver Deco Foil on top and processed the piece through my laminator once again. I fussy cut the sentiment after it was foiled.
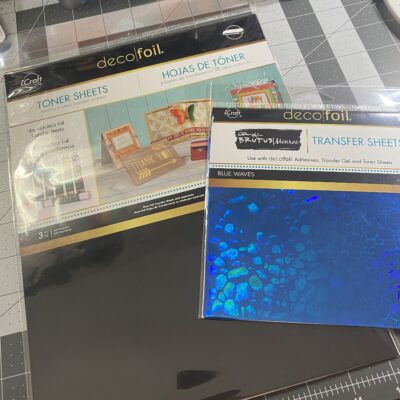
I trimmed down a toner sheet to 6″ x 6″, placed a piece of Blue Waves Transfer Foil by Brutus Monroe, and processed it through my laminator.

Using my stitched star die cuts, I die cut out 3 stars from my Blue Waves toner sheet.
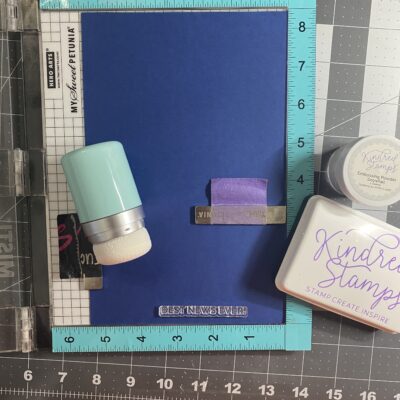
I heat embossed the sentiment “Best News Ever” in Snowfall Embossing Powder and die cut it with a sentiment strip die.
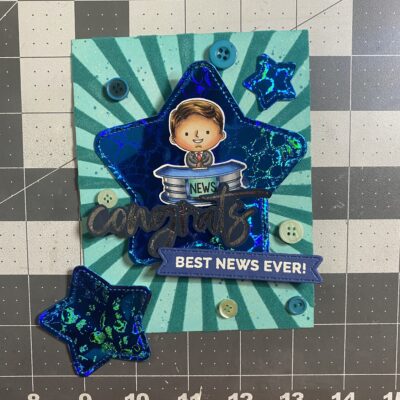
My card was ready for assembly! I used a combination of 1/16″ iCraft 3D Foam Tape in White and UltraBond adhesive to adhere my elements together! My card was completed!
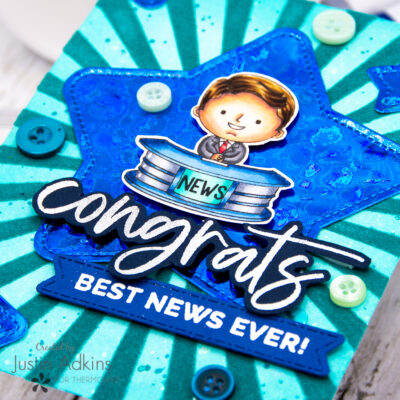
Below are a few more images of my final project!
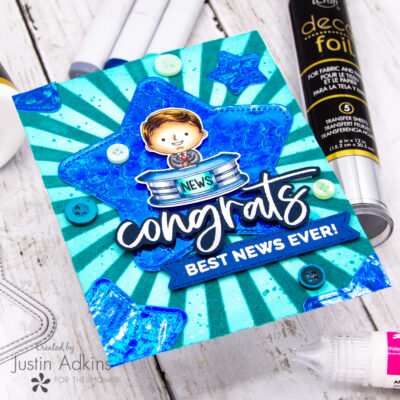
I hope you are loving the Guy Talk theme week and it has left you with some inspiration to create a project for one of the guys in your life!
Thank you once again for stopping by my blog! Happy Crafting!
Justin
Be sure to follow me on Instagram at @justanotebyjustin for all my crafting projects!
Note: This blog does use affiliate links when possible. Please know that I only recommend products that I love and think you’ll love too!
Did you know that I have written a special blog post that I rank all of the current Distress Oxide colors?
Check it out if you haven’t yet! I have had a lot of great response from people who have used this list to start their Distress Oxide Journey!
Leave a Reply