

Before we jump into today’s project, I wanted to let you know that I sometimes use affiliate links to share my favorite products. Don’t worry, these links won’t cost you a dime – they’re just little crafty helpers behind the scenes that help support me if you use them to make a purchase! Let’s dive into today’s creative journey together!
Hello, friends! Justin Adkins here, and today I’m sharing a project that’s extra bright, extra fun, and full of enchanting inspiration using products from Miss Ink Stamps. If you’ve ever wanted to add a little “owl-post” charm to your cards—or recreate the iconic look of colorful house-themed seals—this tutorial is for you! I’m over on the Miss Ink Stamps YouTube Channel with a brand-new video showing you exactly how to create your own faux wax seals using dies, ink blending, and a few simple techniques.
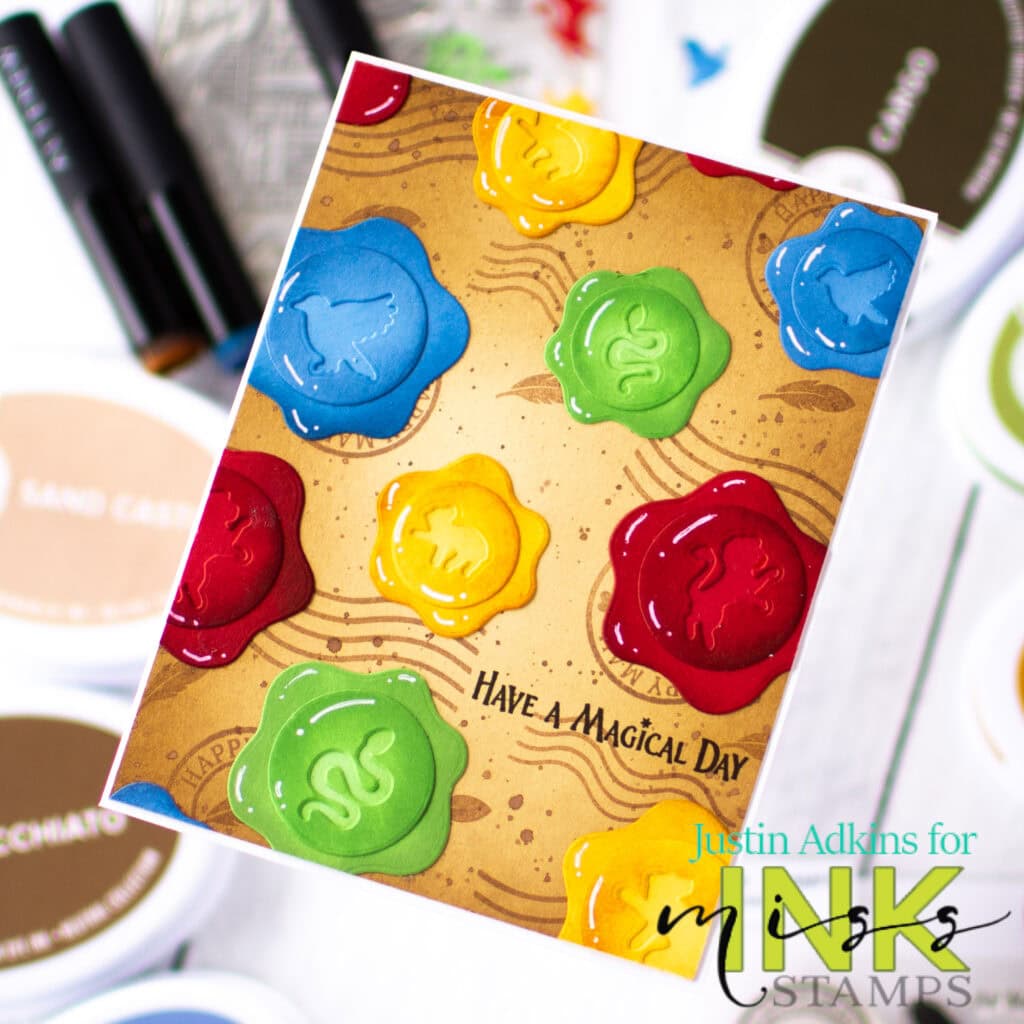
This card is inspired by classic magical mail, complete with four bold seal colors that nod to four very distinct “houses.” Paired with rustic postmarks and a warm, parchment-style background, the final look feels straight out of a magical world.
Miss Ink Stamps Products Featured
- Magical World Stamp Set
- Postmarks Stamp Set
- Shield & Crests Die Set
- Postage, Seal and Shaker Collection Die Set
Other Key Supplies
- Sand Castle Ink
- Macchiato Ink
- Cargo Ink
- Peppermint Scrub Ink
- Amber Ink
- Succulent Ink
- Cove Blue Ink
- Misti Precision Glue Press
- Mini Misti
- Mini Blending Brush
To begin, I created a distressed mail-themed background using warm neutral inks and the Postmarks Stamp Set. This adds instant depth and gives the whole card that aged, magical-parchment feel.
Next came the star of the project—vibrant faux wax seals! Using the Shield & Crests Die Set along with the Postage, Seal and Shaker Collection Die Set, I built layered pieces and blended them with rich, house-color inks from Catherine Pooler. A few white gel-pen highlights finish off that glossy, melted-wax effect.
Finally, everything was arranged across the card in a joyful rainbow layout, creating a piece full of texture, color, and whimsical charm.

If you’d like to see the entire process from start to finish—including how I assemble and shade the faux wax seals—be sure to stop by the Miss Ink Stamps YouTube Channel where the full video tutorial is now live!

Also! Some of the products included in this video are eligible for additional discounts through the Miss Ink Stamps Black Friday sale! Snag your favorites by December 2nd, 2025, to get 15-20% off select items!
Thanks so much for stopping by, and I hope this project brings a little magic to your crafting table today!
Happy Crafting!
Justin
Be sure to follow me on Instagram at @justanotebyjustin and subscribe to my YouTube Channel for even more crafting inspiration!
Note: This blog does use affiliate links when possible. Please know that I only recommend products that I love and think you’ll love too!
Did you know that I have written a special blog post that I rank all of the current Distress Oxide colors?
Check it out if you haven’t yet! I have had a lot of great response from people who have used this list to start their Distress Oxide Journey!
Leave a Reply